Here’s another kit that we found in a closet this summer:

Sparkling 3D Paint Activity Kit (Amazon Affiliate Link)
I had picked it out for my 8 year old daughter for Christmas. It seemed like something she would like – she likes instructions, but once she understand the instructions, she likes to come up with her own ways to use the kit parts. I thought this would be open ended enough for her to enjoy. And it sort of was. I have a mixed review of this kit. It’s fun, but should come with a lot of warning.
My 8 year old girl, my 6 year old son and I tried out this kit one evening recently.
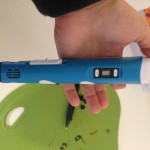
To use this kit you first have to use one sort of paint as an outline. Then you wait for that to dry before you fill it in with the other more colorful paints in the kit. This initial drying time when starting the project upset one kid, and the other did not like being constrained to using the two included outline colors (black and silver).
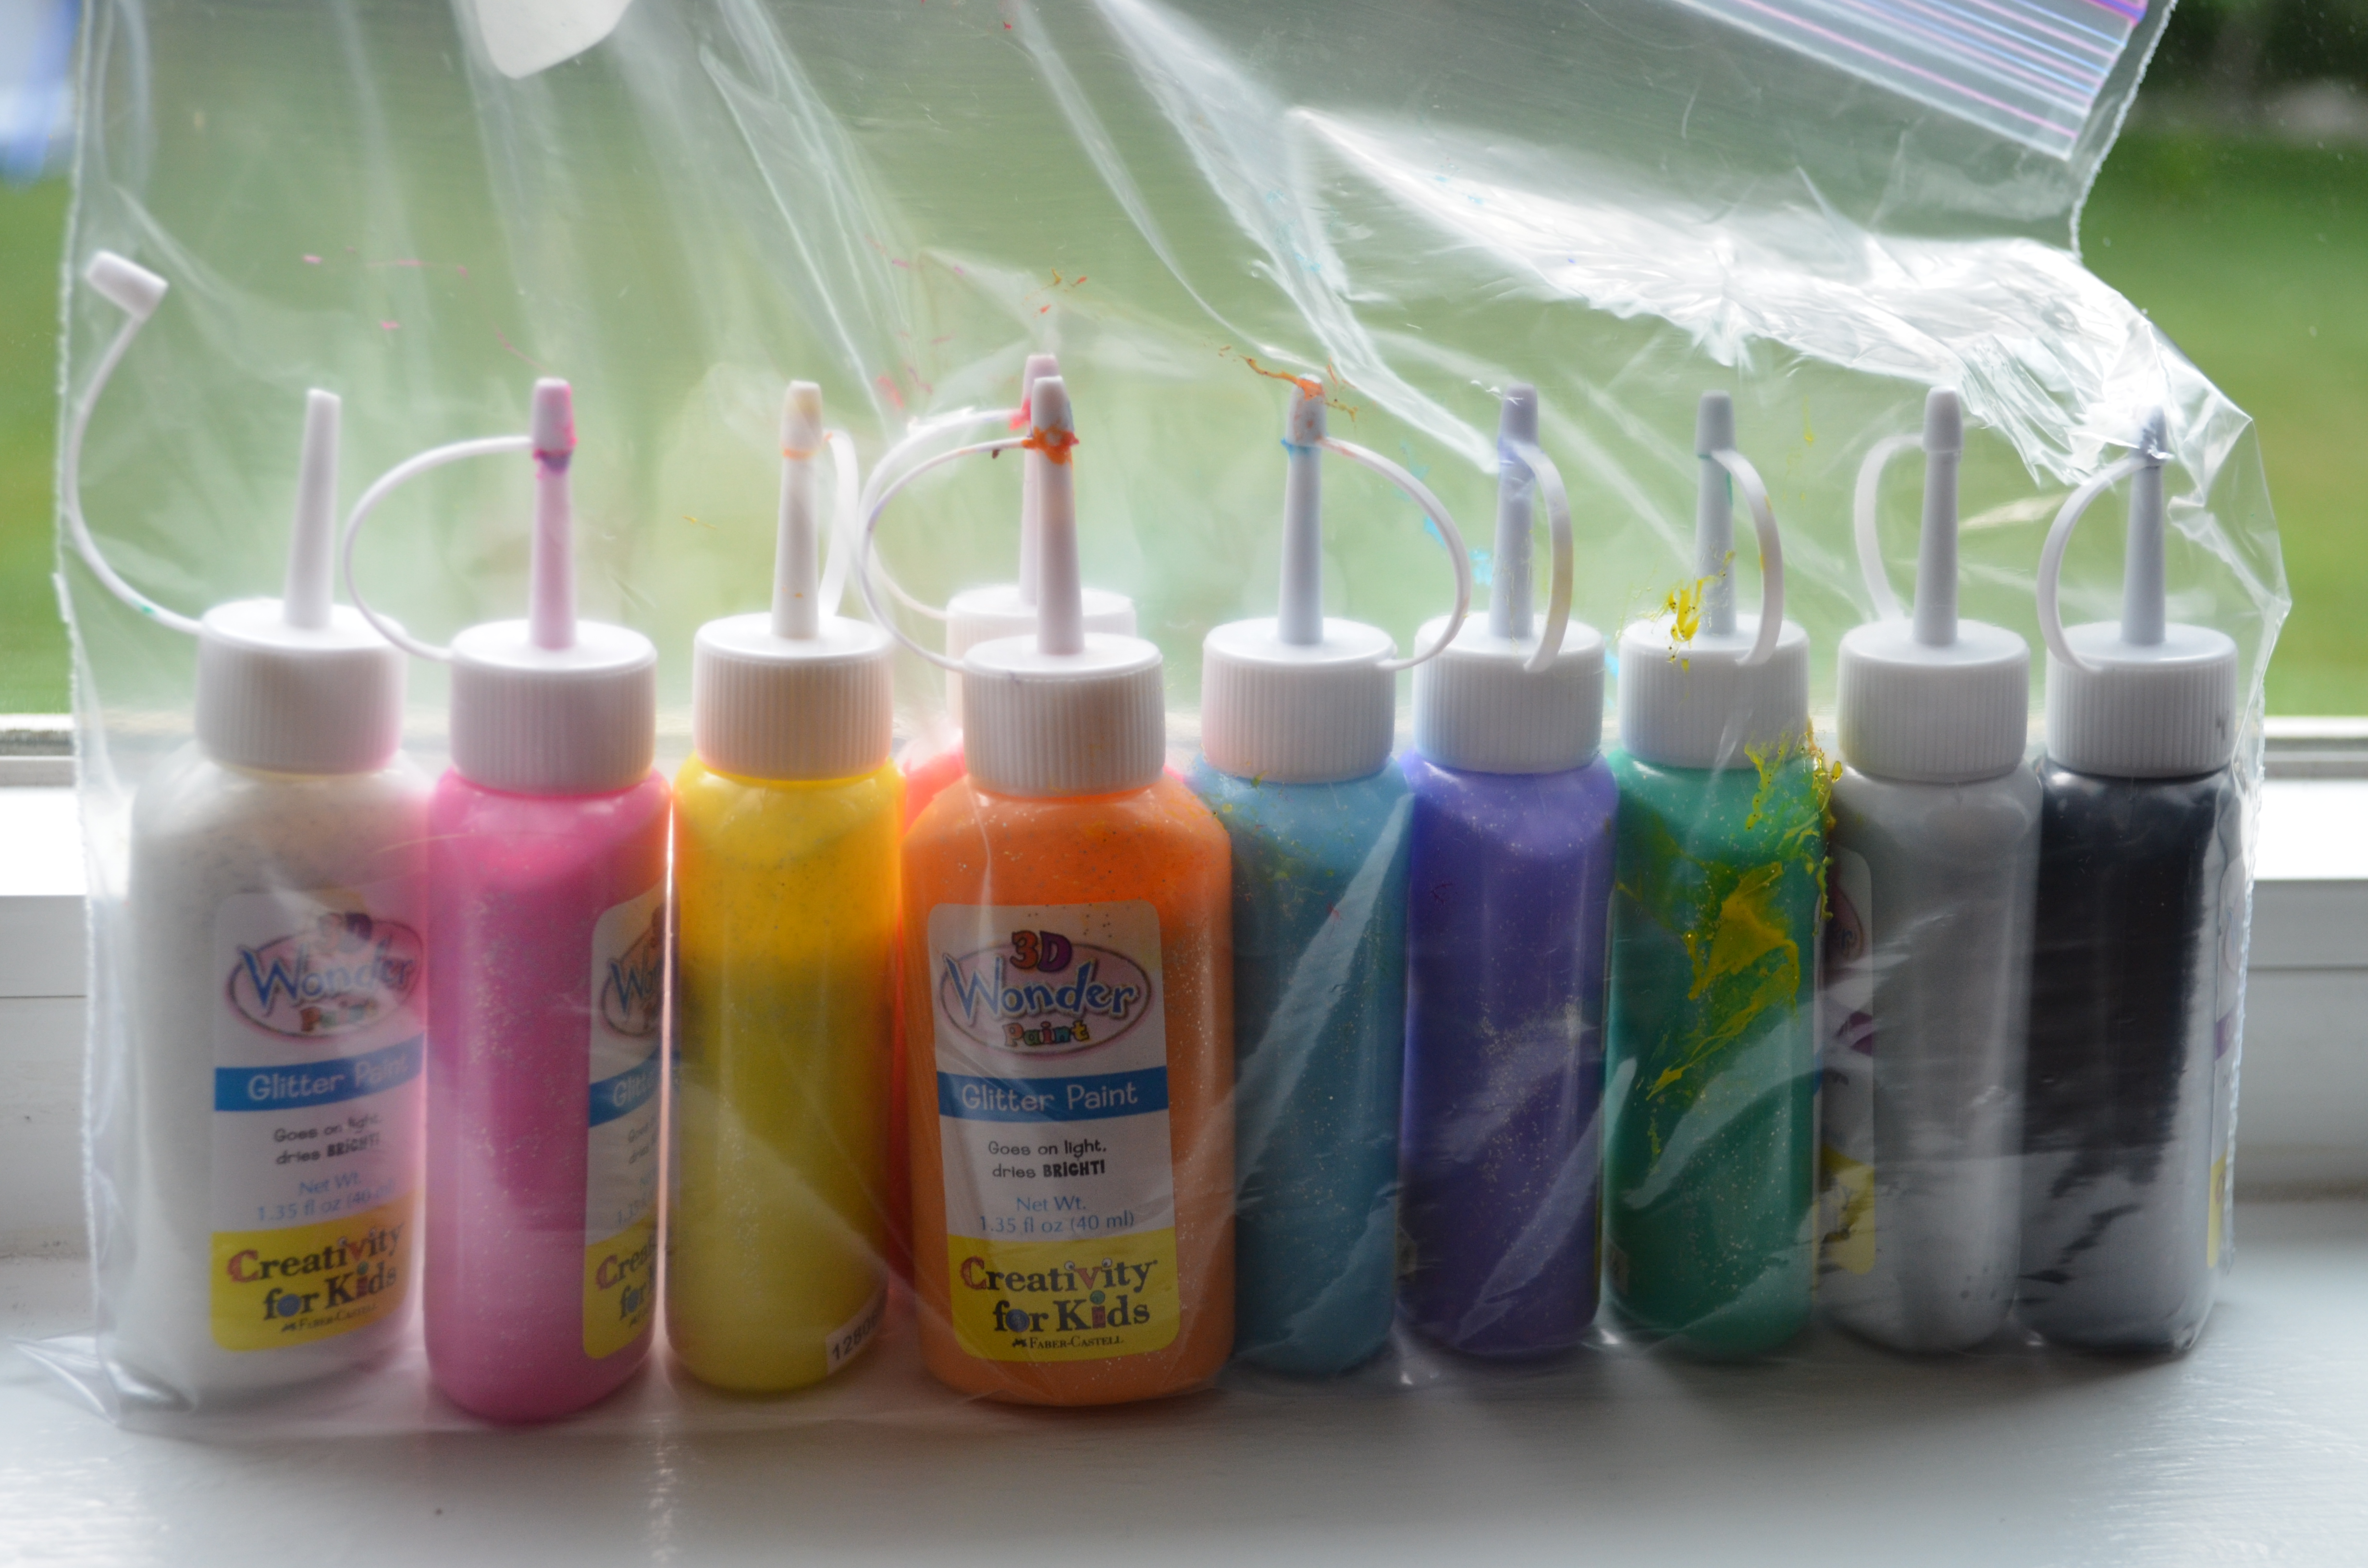
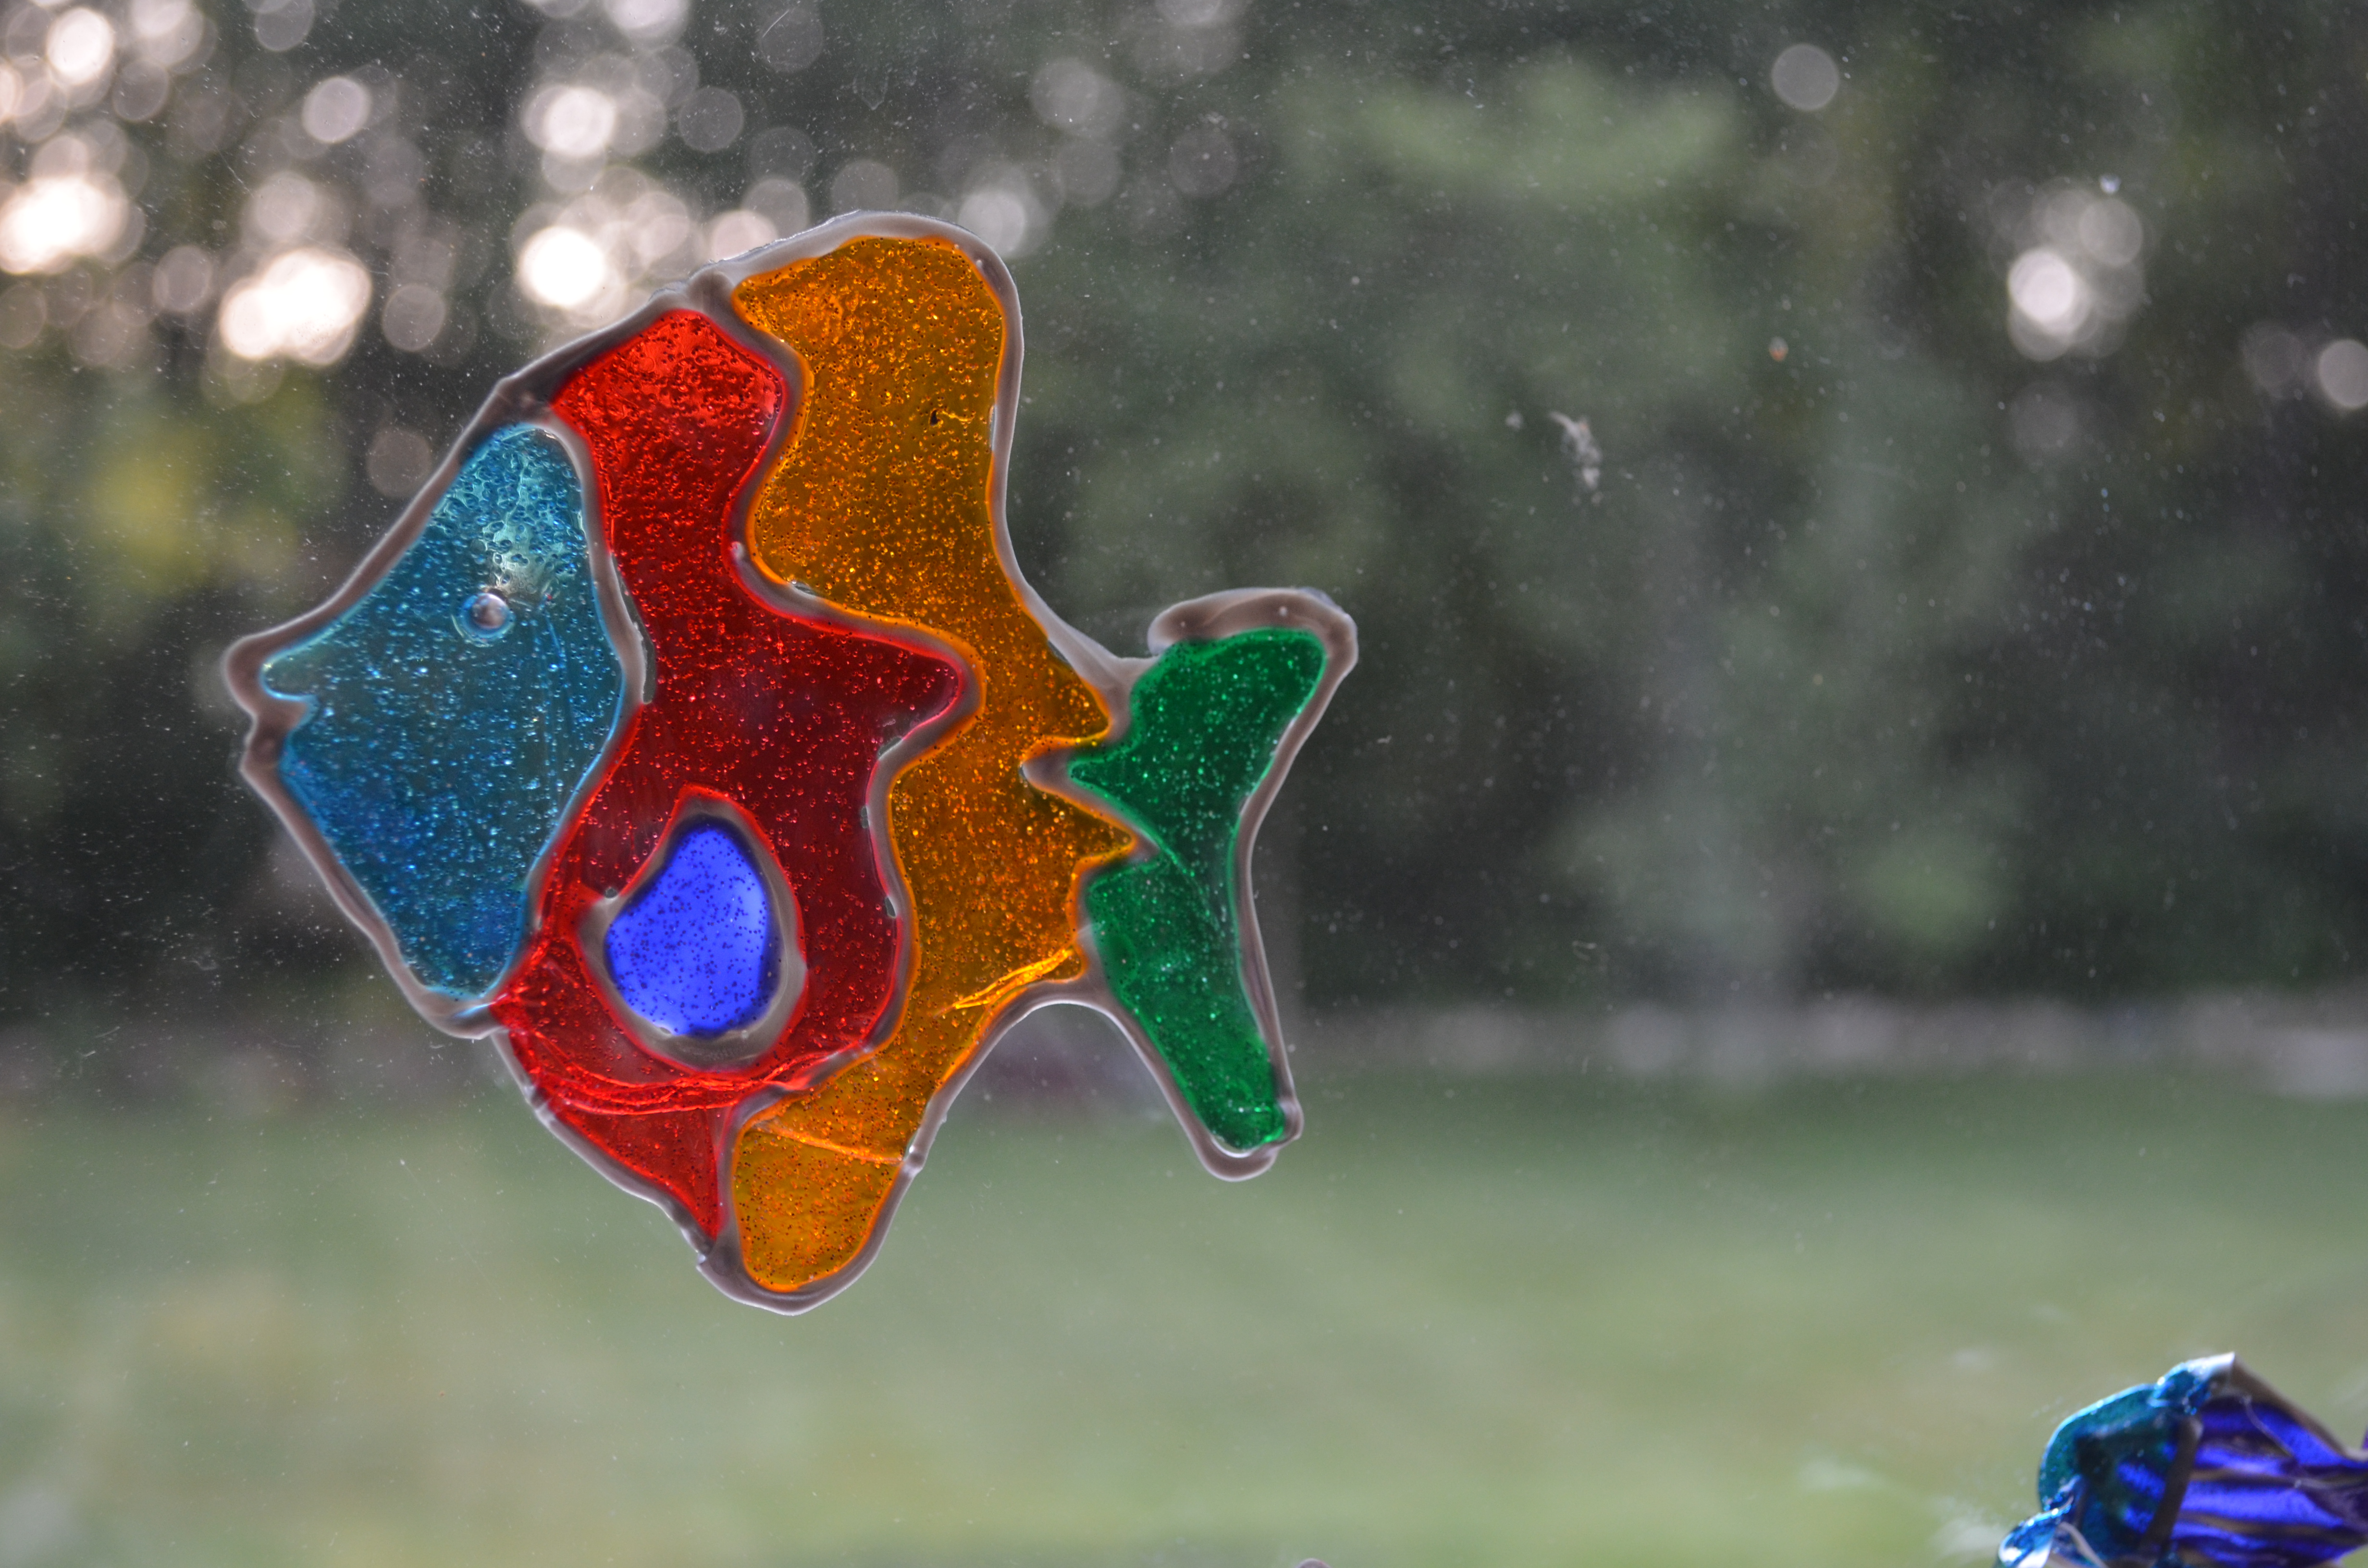
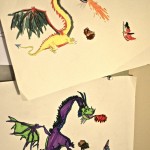
The kit included two sheet protectors to paint (squeeze from bottles) on, and line drawings on pages that you can slide into the sheet protectors to trace (you obviously don’t have to stick to the kit included/suggested drawings and could slide in a drawing or printout of text or your favorite cartoon character or other drawing or freehand whatever you want, just as long as it is a continuous line). My 8 and 6 year old did not find “tracing” these drawings while evenly squeezing out the outline paint from the squeeze bottles easy. In fact, they found it down right frustrating. Thankfully, we found more sheet protectors around the house (and photo copied the sheet of fish so more than one of us could make fish projects at the same time), and we had get a bunch of shapes going at once. This worked out great.
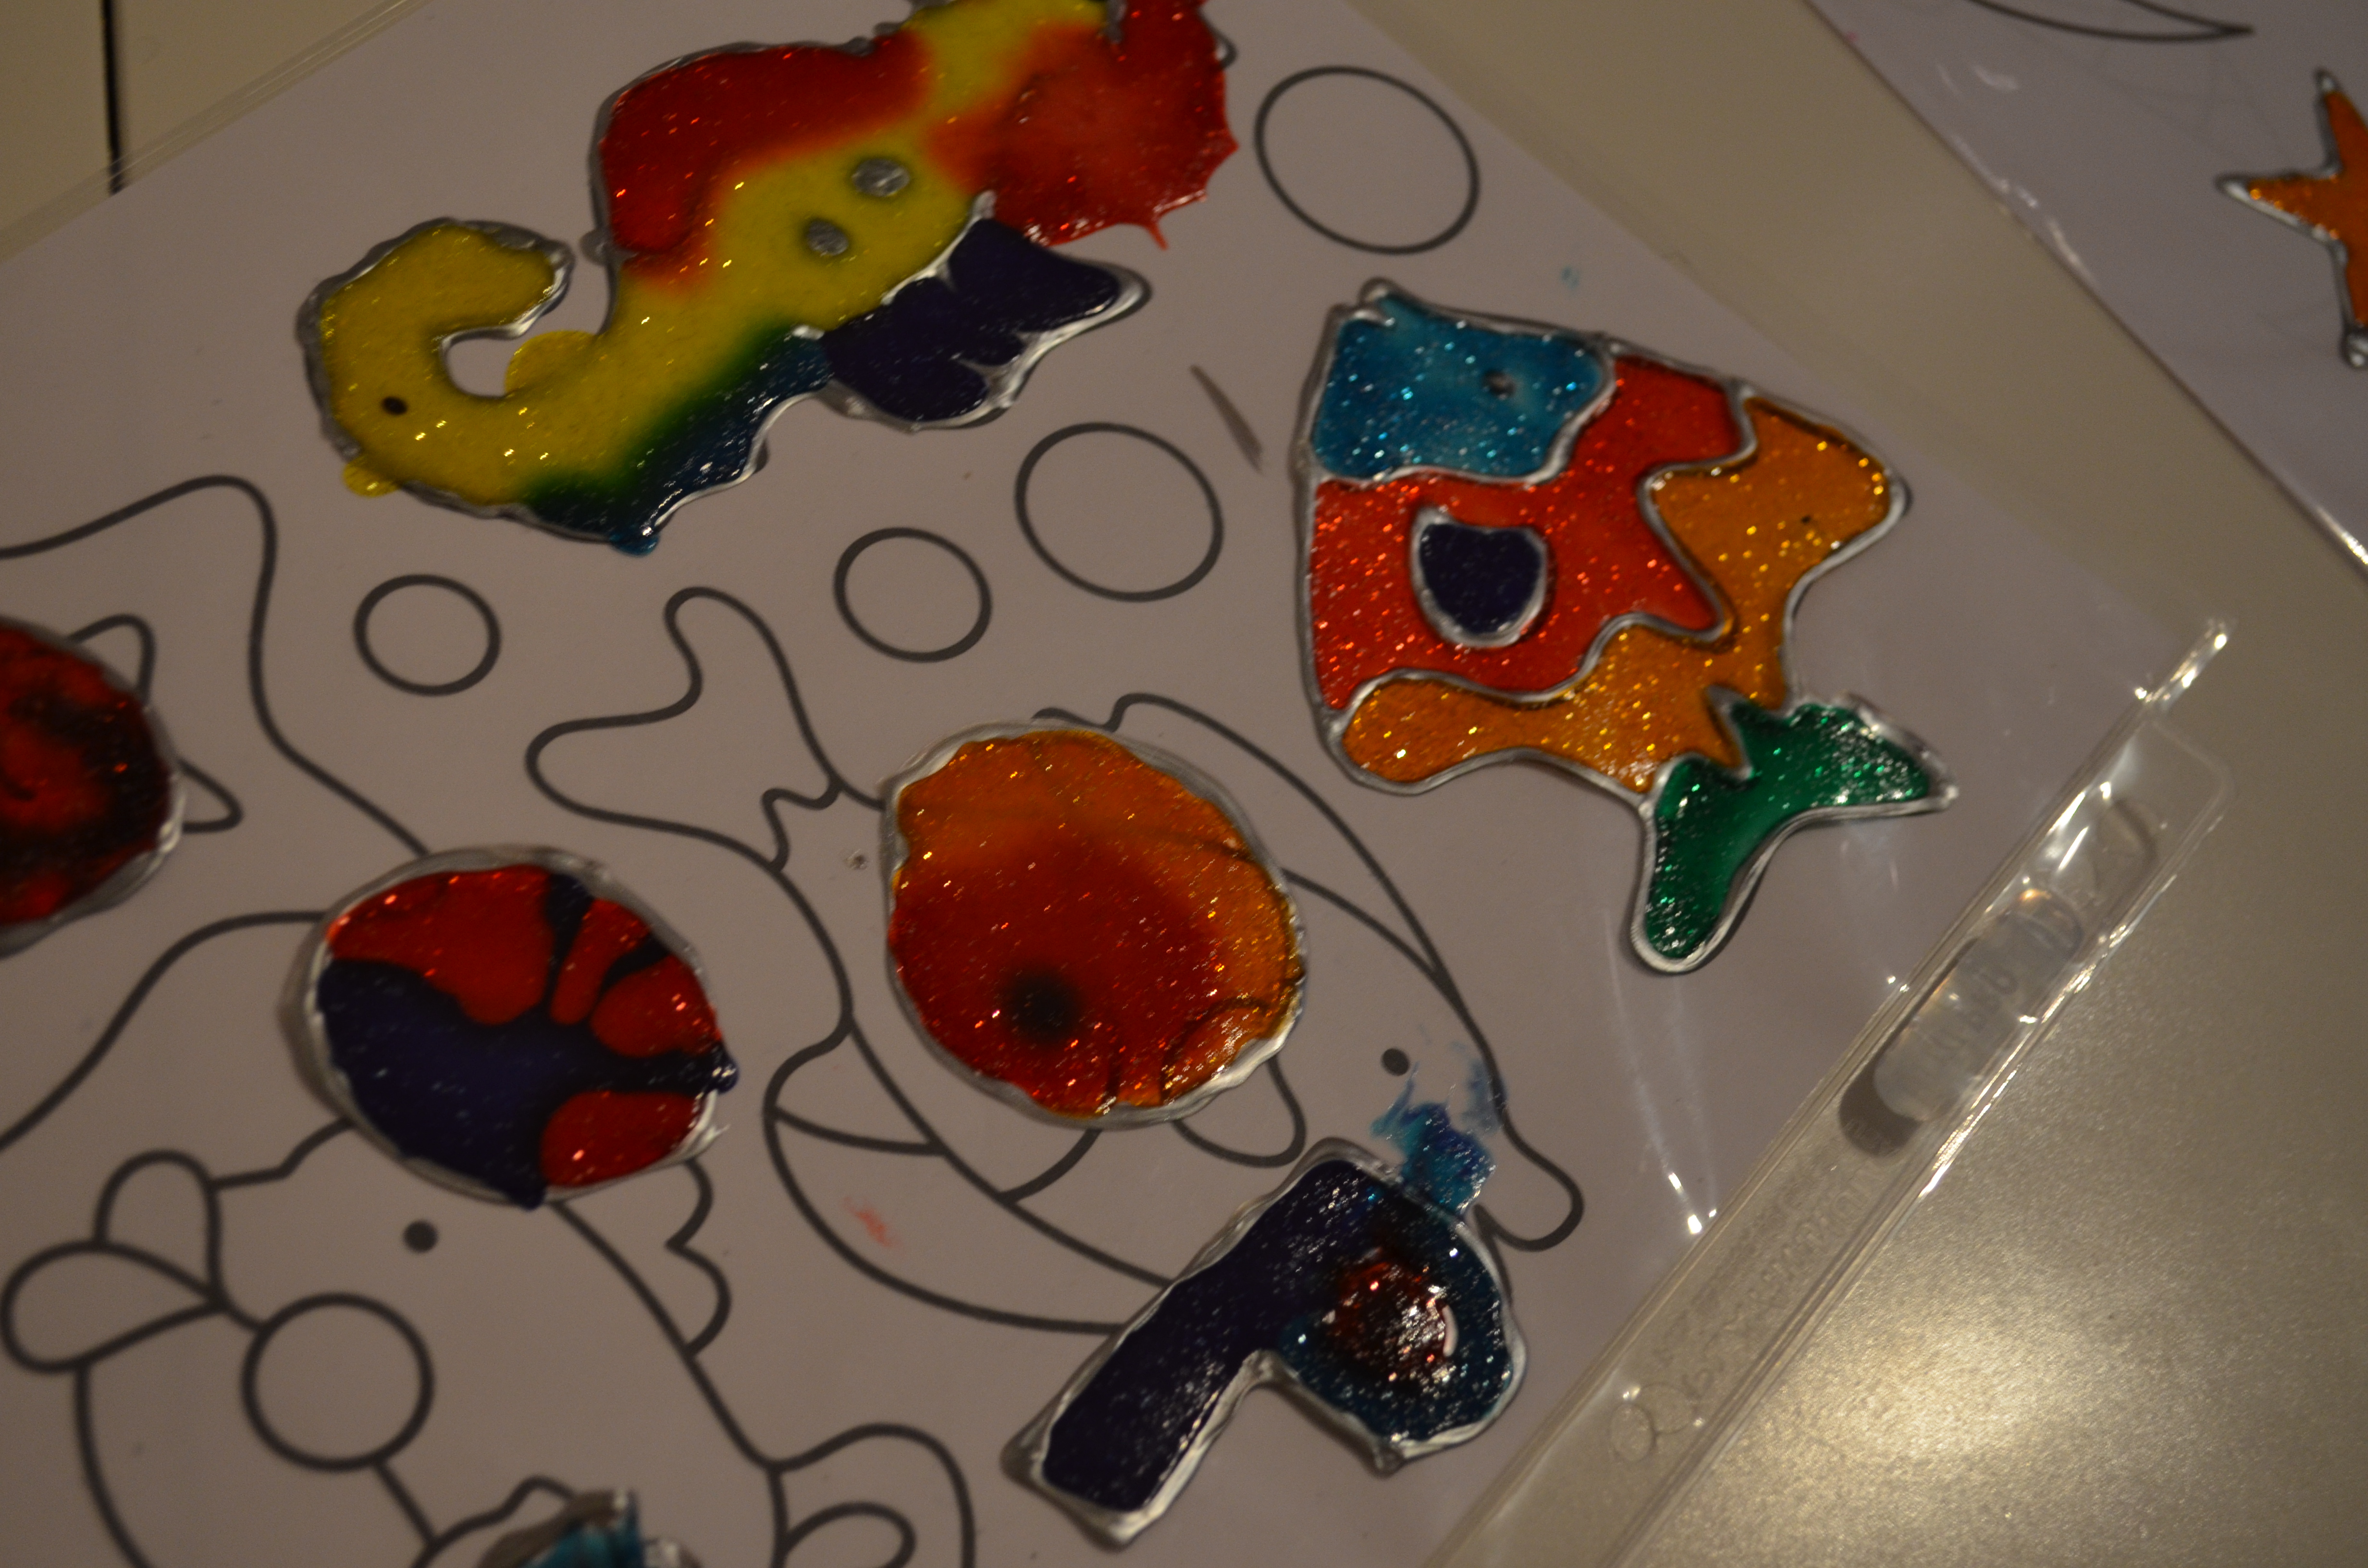
The filling in of paint was fun. My kids liked to mix paints. You can use techniques described in the kit directions to make swirl, tie die and starburst effects using toothpicks. They come out easily and look really cool. We liked this and quickly squeezed out just some outlined circles to have fun experimenting with this. That was a lot of fun. But when the project dried, the all swirls and effects just mixed and the result was cloudy instead of cool. Maybe if you let colors dry more first before adding another the pattern would stay, we haven’t tried that yet.

The kit directions say let dry for a while the longest time suggested was “overnight.” We let ours sit overnight, when we tried to peel the results off in the morning, it was very very sticky. The projects were beyond hard to remove from the sheet protectors, and would stick to themselves and be ruined. We were sad. and frustrated. We stopped trying and I set the sheets in the dining room because I didn’t feel like cleaning it up. The next morning they peeled off much much easier, so I guess they just required more drying time. This was made things a lot better and we wanted to try again, knowing lots of extra time, patience and sheet protectors from home make this kit better.

All in all, this project came with frustrations, but was fun to do. If you think you can handle this, I definitely recommend having extra sheet protectors on hand, saving it for older kids, and leaving a couple days of drying time.