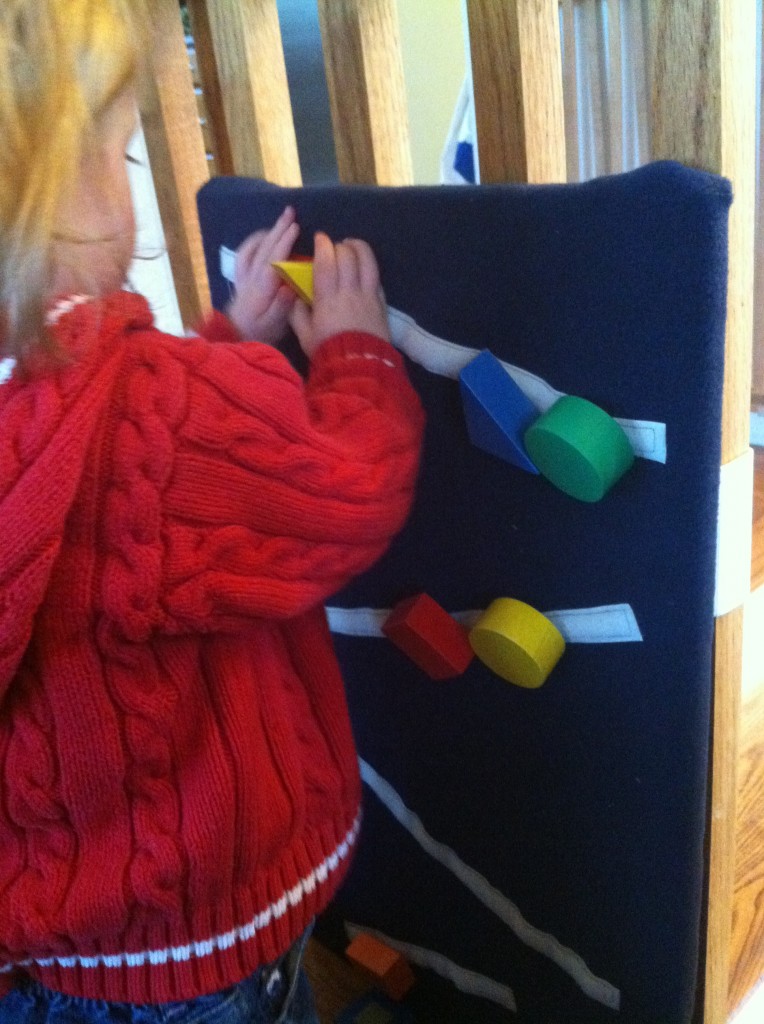
I feel like the big boy is the star of my part of this blog. I do have two other children. My baby girl has been a little behind with her gross motor development. We are working with a physical therapist to strengthen her muscles. The PT suggested that she should play standing up and work on her core muscles in particular. She suggested building a Velcro game for her. Ideally the pulling off of the objects that have been Velcroed on to a surface will strengthen her arms and work on her balance, as a result strengthening her core.
So I put together a board with strips of the soft side of the Velcro sewn on to some fleece. And then adhered the hook end of the Velcro to wooden blocks.
Even if your toddler is developing normally this is be a fun game to put together.
Velcro Block Board
Supplies
- piece of plywood – I used a piece a little bigger than 1 foot x 2 feet. It was just what we had lying around.
- fabric – enough to cover the board with a two inch overlap on all sides. I used fleece because it is what I had and it is soft, inviting, and stretchy.
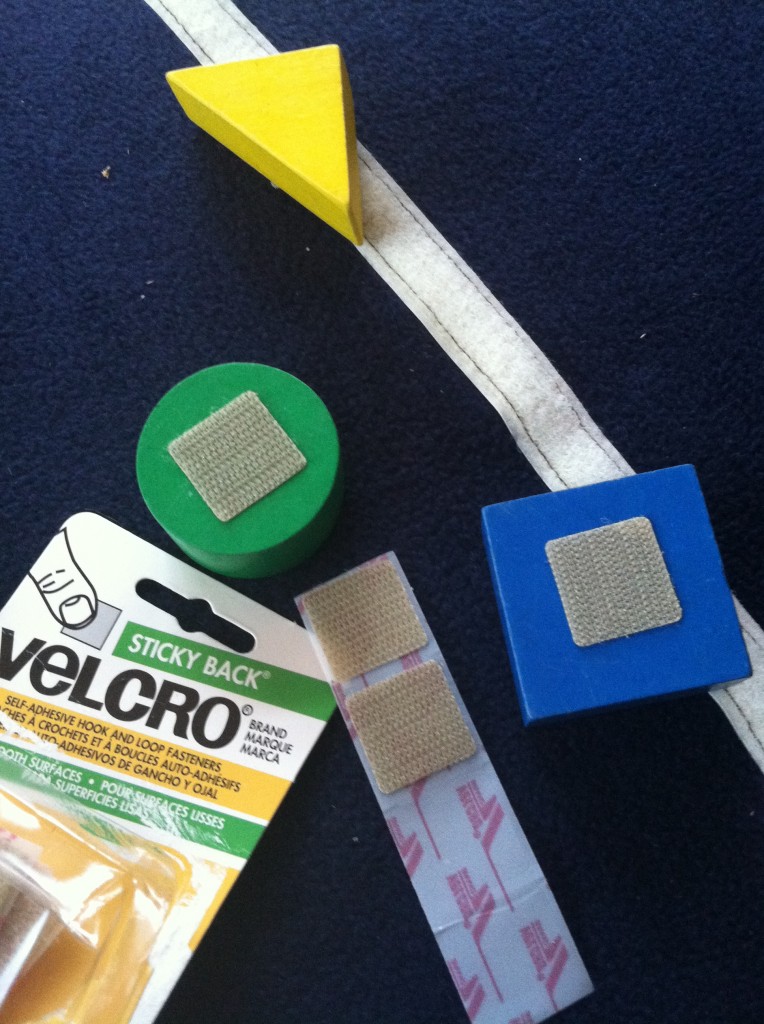
- Velcro – long strips of the soft side for sewing, I used 4 strips at 12 inches each and self adhering Velcro for the blocks
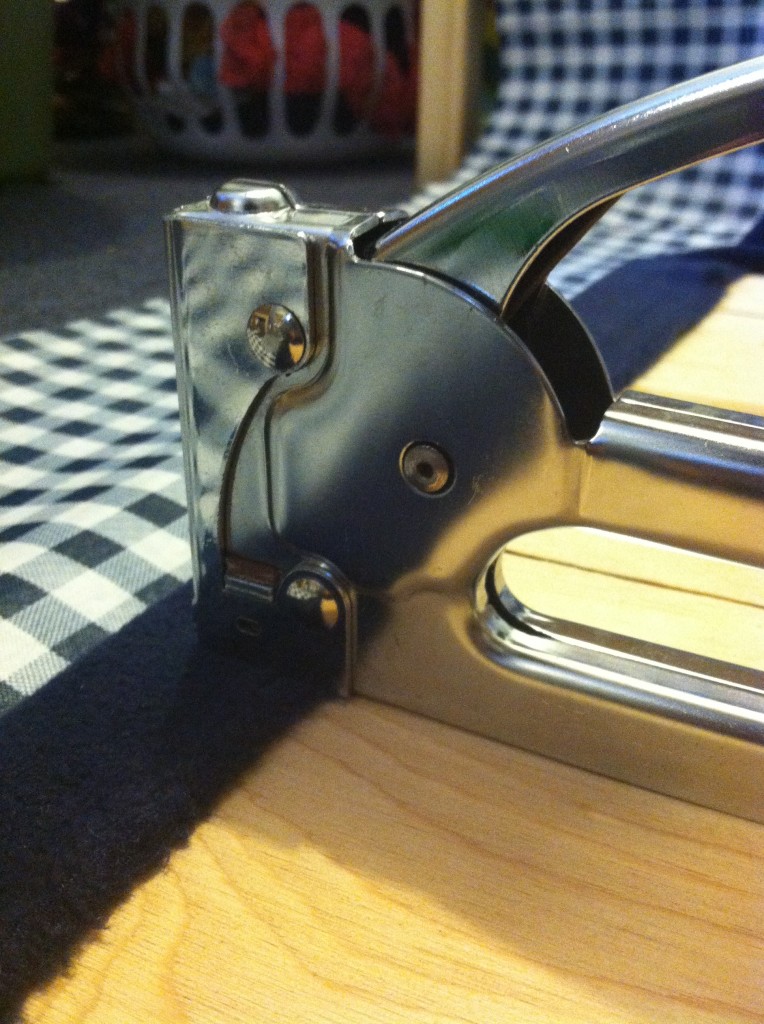
- staple gun
- appropriate staples for your staple gun
- scissors
- a hammer is handy to have close by too
- Several blocks different colors and shapes. Big wooden puzzle pieces would work well too.
Directions
- Lay out the fabric. Place the plywood on top of the fabric. Cut out the fabric leaving about 2 inches around the edges. You will need enough to pull the fabric over to the other side of the plywood. If your plywood is particularly thick you may need a bit more around the edge. After you have measured and cut the fabric put the plywood to the side for a couple minutes.
- Arrange the long Velcro strips on the front side of the fabric the way you want them. Pin them into place.
- Sew the long Velcro strips to the fabric.
- Return the fabric to the plywood. Place the fabric front side down and center the wood on the fabric. Wrap the long side around the edge. Place a staple in the center parallel with the edge. Wrap the other long side around the edge pull tight. Place a staple in the center parallel with the edge. Wrap the short side around the edge pull tight. Place a staple in the center parallel with the edge. Wrap the other short side around the edge pull tight. Place a staple in the center parallel with the edge. Continue working around the wood one side at a time. Check out this video on stretching a canvas. If the staples don’t go in far enough a hammer is helpful to tap them in the rest of the way.
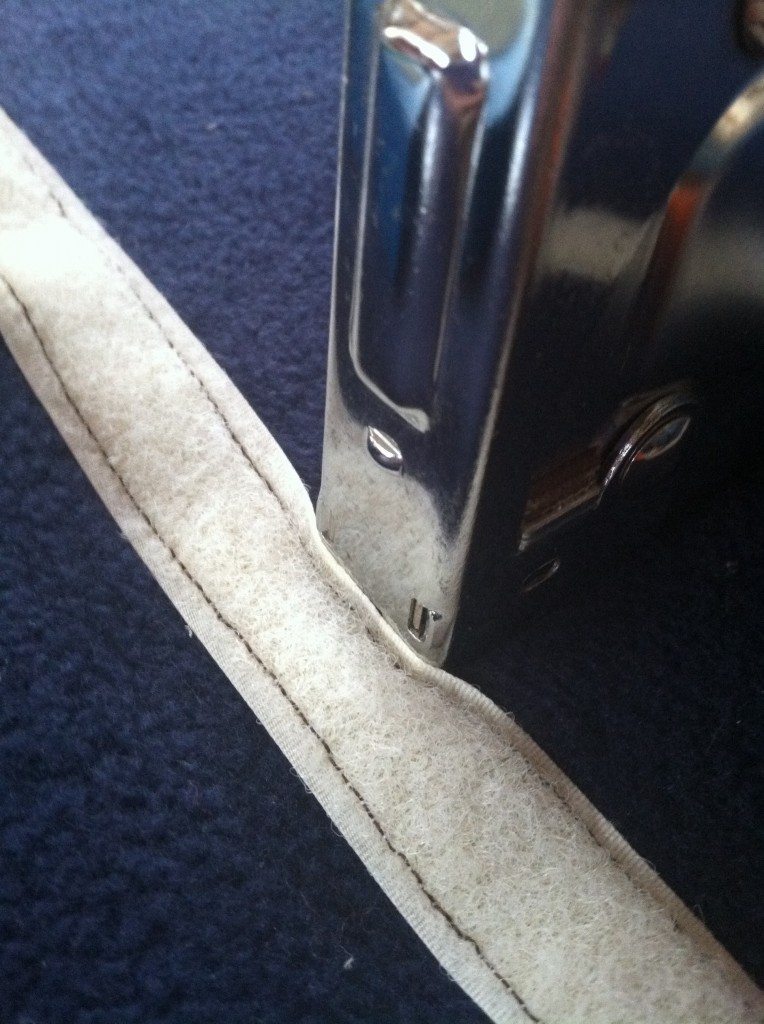
- Once the fabric is secured on the back flip the whole thing over. Place a couple staples very close to the edge of the Velcro. The staples disappear under the Velcro. I found when the blocks are being pulled off the board the fabric will come too. This secures the fabric better to the board.
- Clean and dry the blocks. Adhere the hook side of the Velcro to the back of all the blocks.
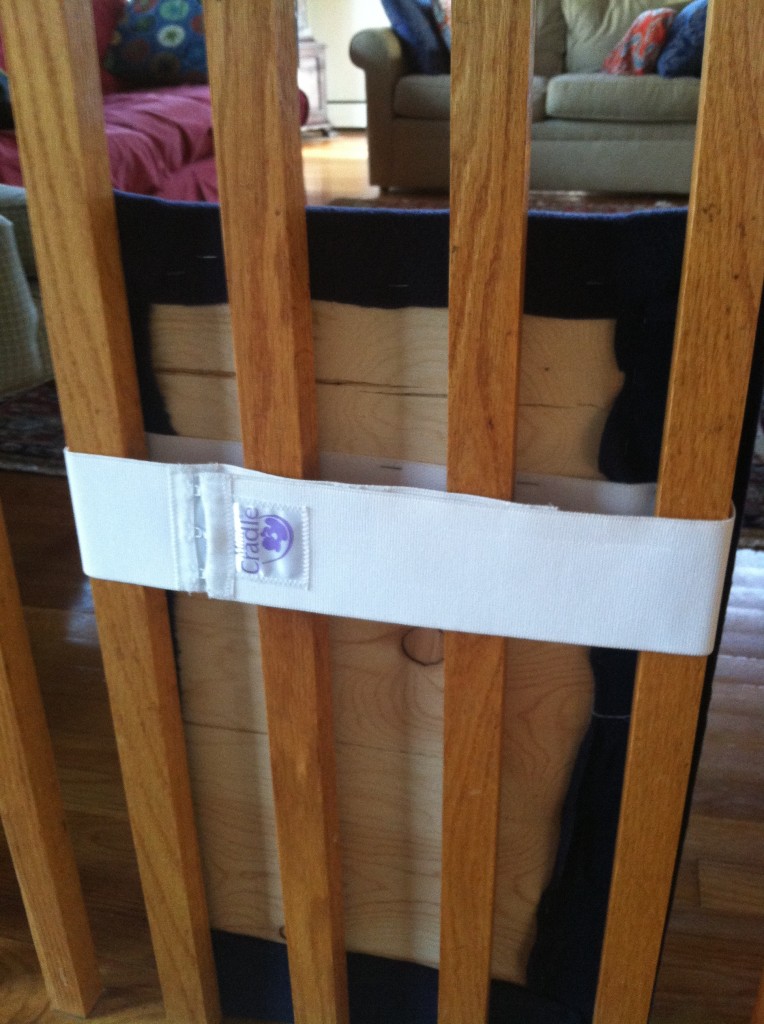
- How to mount it to the wall is up to you. I places it at the top of my stairs in the living room and used my old maternity belt to strap it to the railing. I knew I was keeping the belt around for some reason.
- Have fun playing!!