Have you seen that kids toothbrush holder/roll thing that’s all over Pinterest? The one where you fold up a washcloth and run a few straight stitches, add ties and you are done? I’ve seen these on Etsy for about $10. That’s crazy. Send your washcloths and some ribbon over here if you ever consider that. Or just roll your toothbrush in any old washcloth and put a rubber band or ribbon around it and call it a day. Anyhow, I thought I’d make some of these for my kids for visiting family this summer and for sleepovers.
During this thought, which lasted at least a couple of months, Southern Fabric posted this Pretty Face Cloth project from A Spoonful of Sugar on their Facebook page. It’s was an open page on my iPhone browser for months to remind me about it.
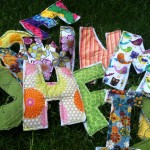
[I don’t have any affiliation with Southern Fabric, by the way, but they often post cool, simple, modern tutorials on their Facebook page so are worth checking out if you are into that kind of thing (like the alphabet letters that Sarah made a few weeks ago).]
Shortly after the Southern Fabric post, my mother-in-law brought me a bag of castoffs and hand me downs. In the bag was a full-sized bath towel. I cut it up for the toothbrush roll things, and then use the Pretty Face Cloth double bias strip idea (using up some fabric stash) to finish the edges and tell the kids’ rolls apart, and put the rest in my scrap wipes bucket.
This was a fun and frustrating project because I need the double bias strip practice. I’m not good at it. Like at all. My end product is typically sloppy, crinkled, pleated, mismatched, dimpled, or a combination of all of those. I want to get better so that maybe I can quickly machine bind quilts, where pretty matters more than a holder for my kids toiletries.
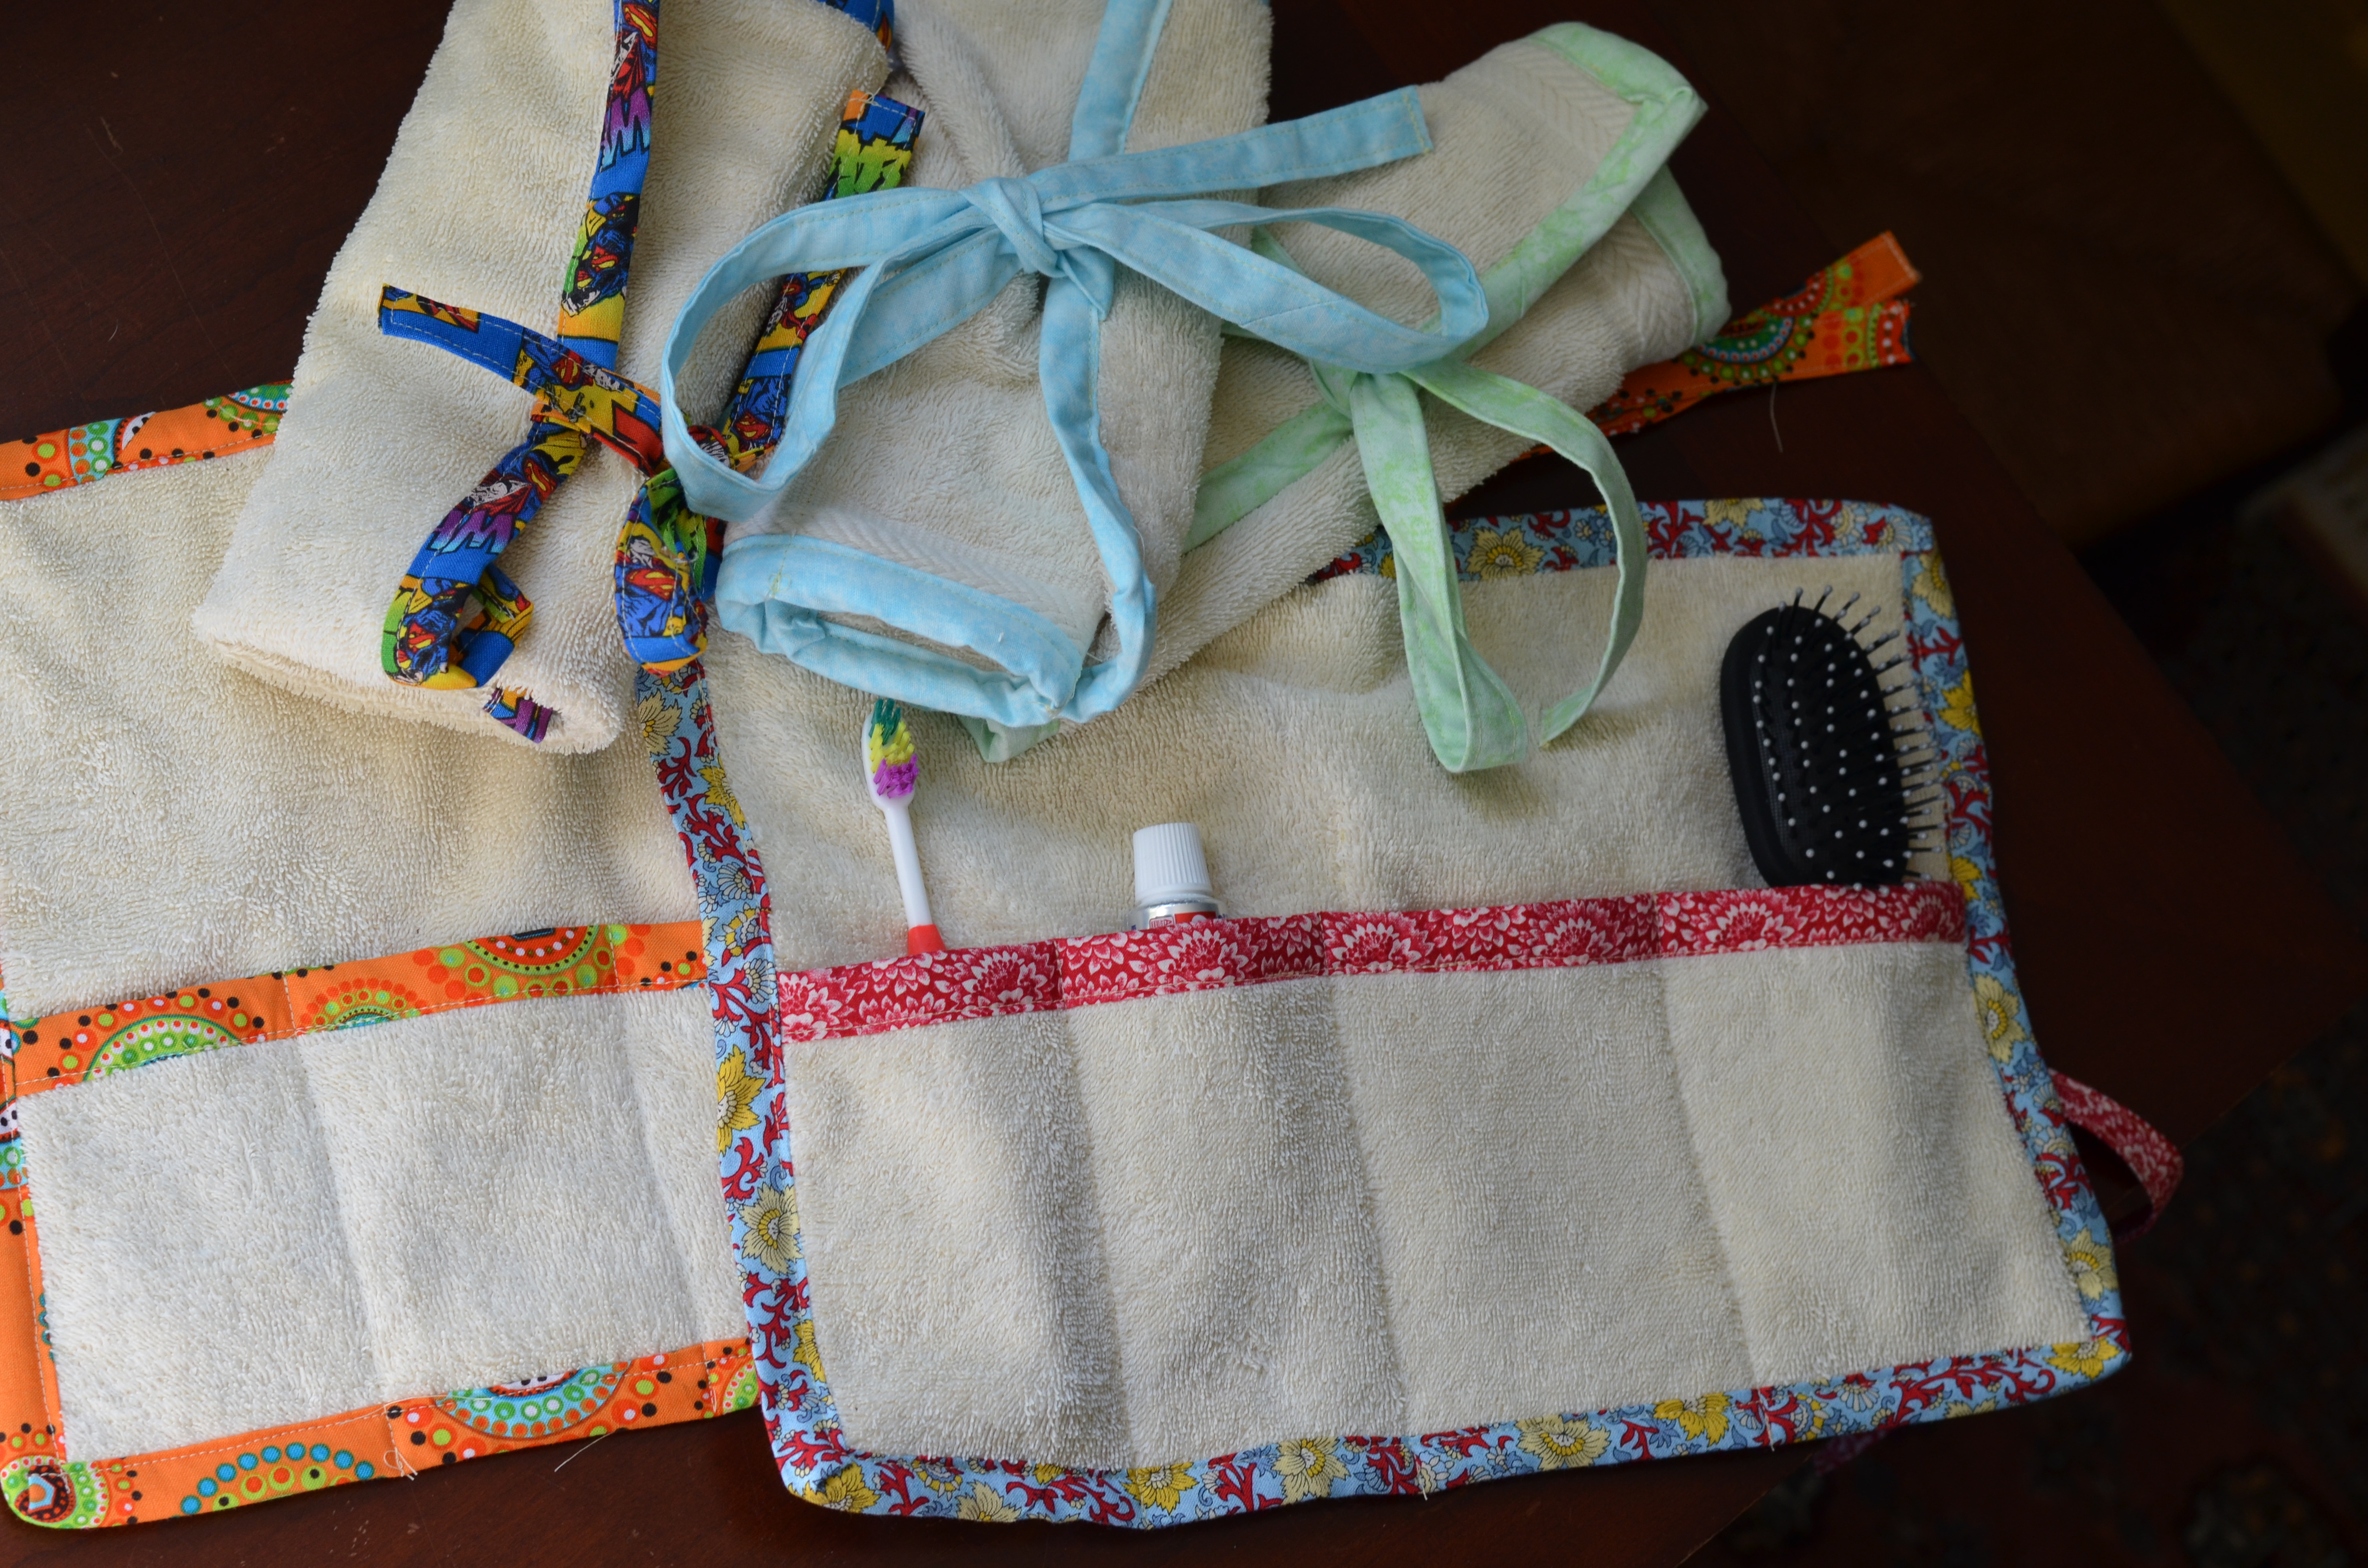
I finished these a few weeks ago and we used them on vacation last week. They were big enough to hold a toothbrush, little toothpaste, flossers, small hair brush and ponytail holders for the girls, and little tube of lotion for my two itchy dry skin/eczema kids with room to spare. My kids loved having their own place for their things. They could use them to wipe their mouths or the counter if they needed to, and I can just throw them in with the laundry if they get dirty.
You don’t really need directions if you are a sewer, and if you aren’t, you might need some more directions, but if you are somewhere in between, here’s a basic guide.

Overnight Toothbrush Roll Kits
Supplies:
- washcloth, bath towel, hand towel, or any sort of fabric, it doesn’t really have to be a finished terrycloth product.
- quilting fabric (to be cut into bias strips) or ready made double fold bias strips
- thread, needles, scissors, measuring tape, and other normal sewing notions.
Directions:
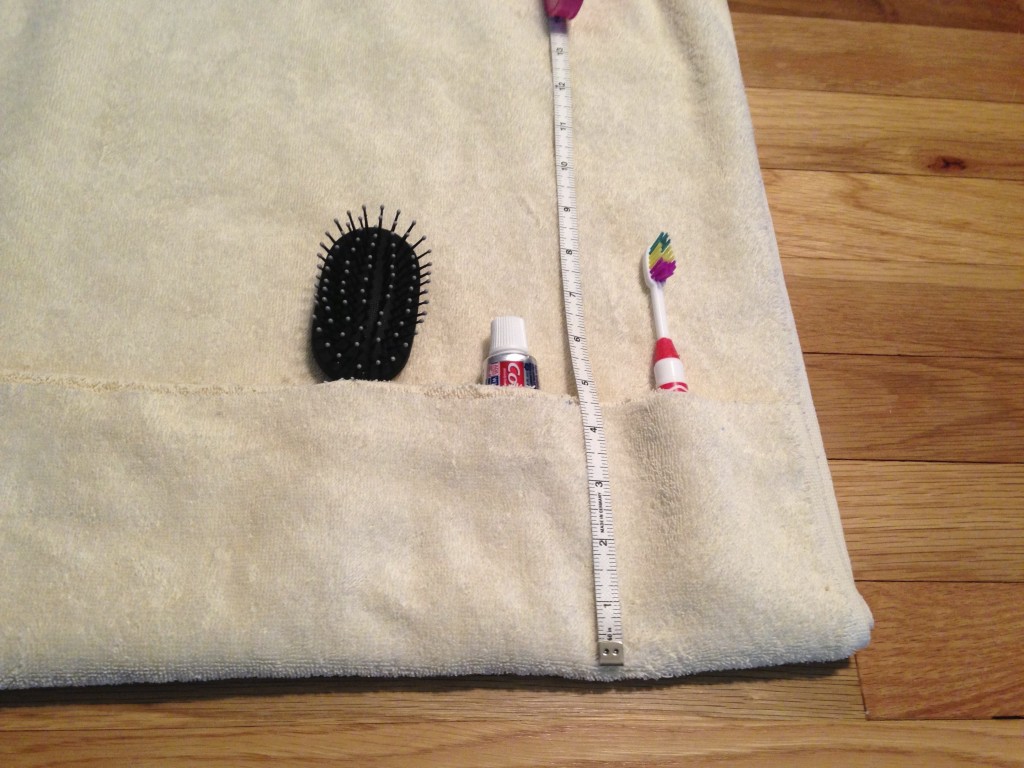
- If necessary, cut the towel to your desired size. Most washcloths are about 13″ x 13″, I cut five 14″ x 16″ pieces from the bath towel. I wanted them longer so that we could put hairbrush in one end and roll them over so the hairbrush didn’t touch the toothbrush.
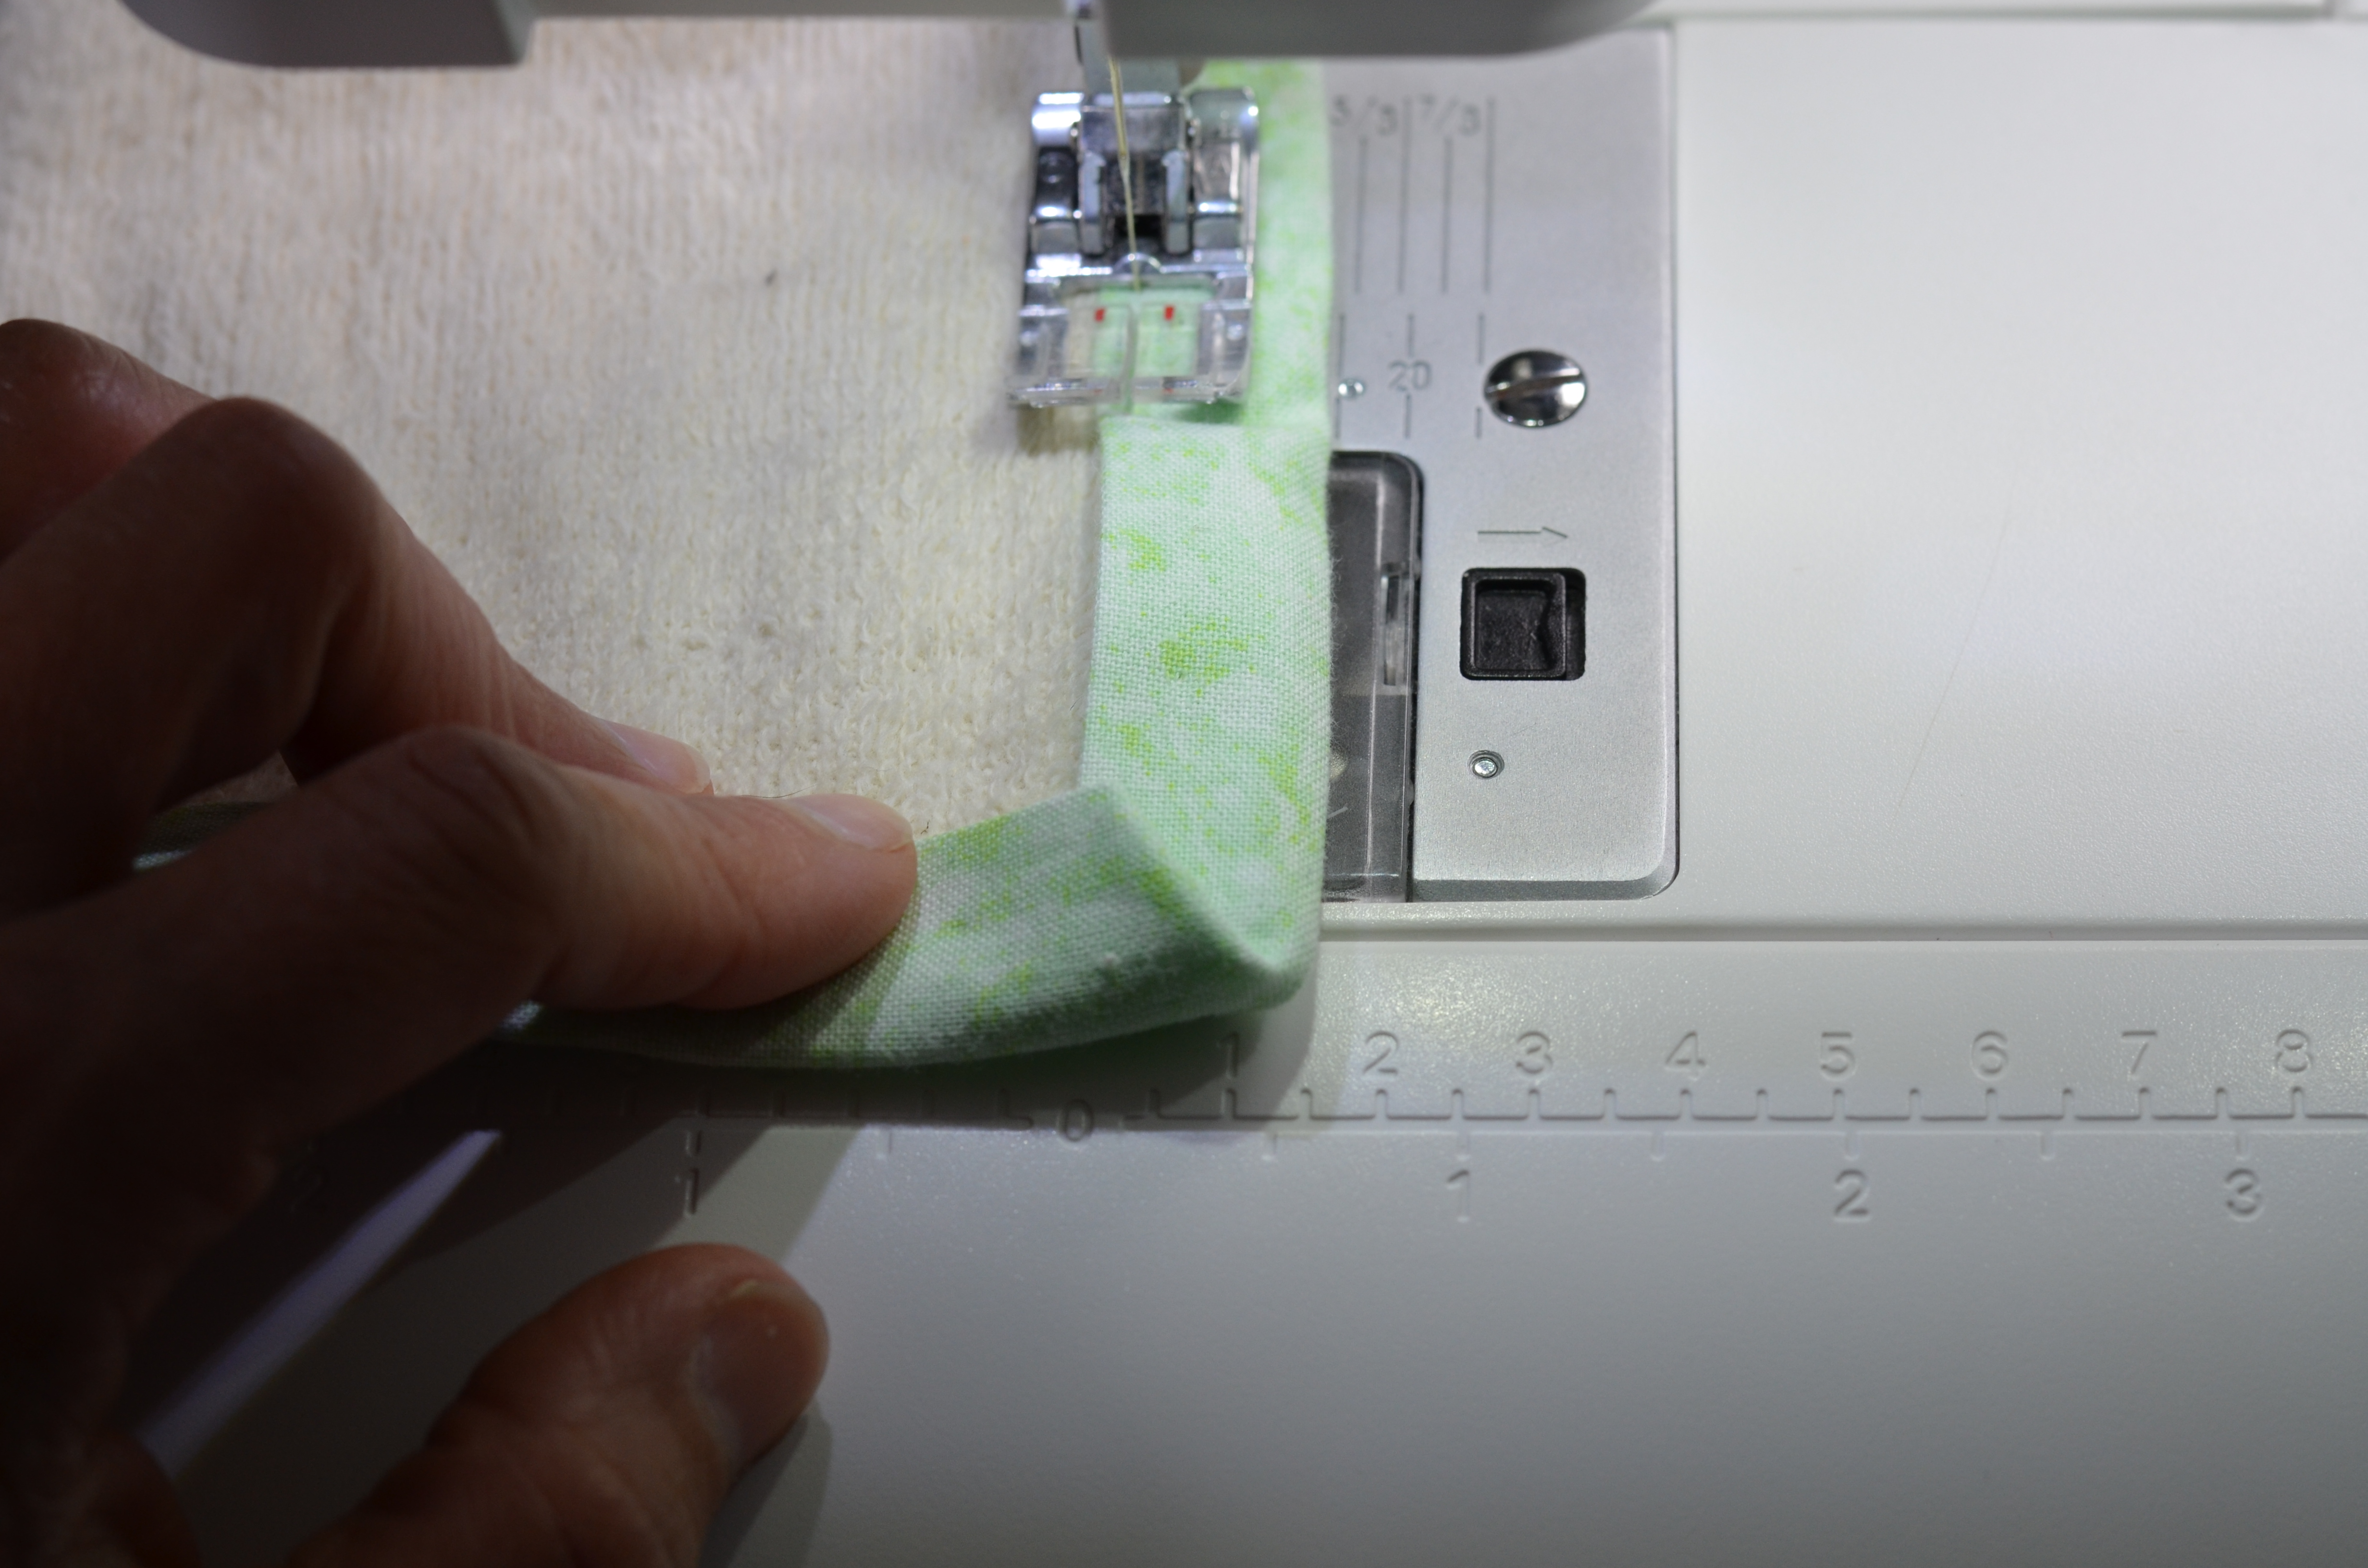
- Cut 2 1/2 inch strips of the quilting fabric to be turned into double fold bias strips and 2 ties. Preferably cut on the bias, but if you are using up scraps or have pattern alignment preferences, go with whatever. You can patch together different fabrics to make the strips long enough or pretty if you want. You need the bias strip to be at least a few inches longer than the perimeter plus the length plus however long you want your ties, mine are 12″-15″ each. I made the ties long so they could wrap around the roll once and kids who are newer at tying bows have enough length to (attempt to) tie them closed easily. For the ties, you’ll want to run vertical stitches 1/4″ from the edge of a folded up bias strip to turn the strips into laces.
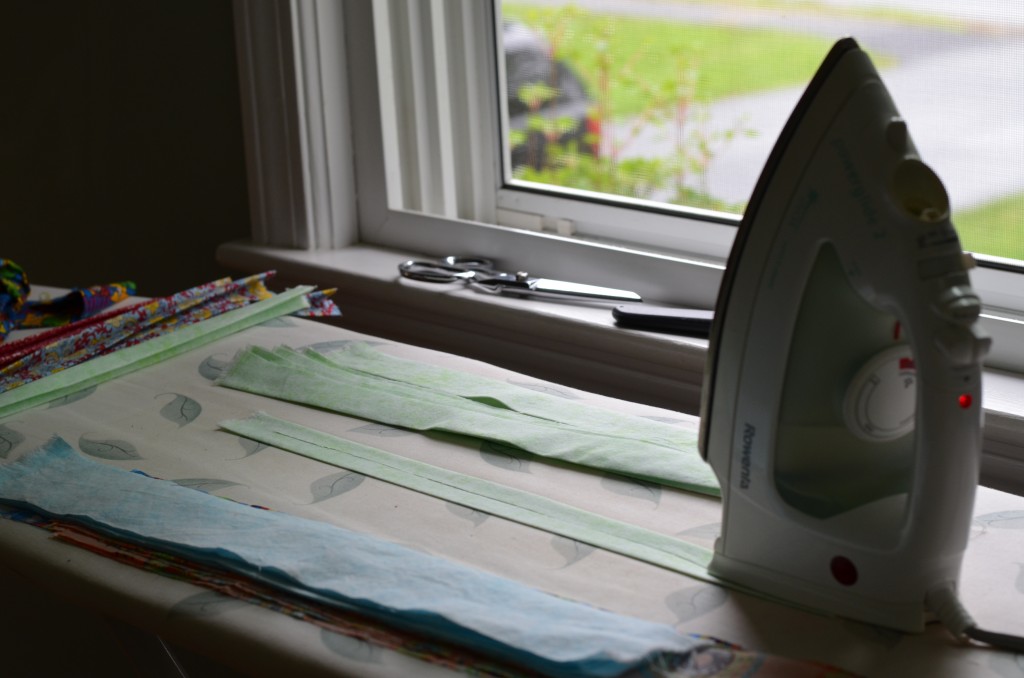
- Press your strips into the double fold: Fold the 2 1/2″ strip in half lengthwise and press. Open up the fold and fold each long side in half into the center fold. Press. Fold in half lengthwise and press again.
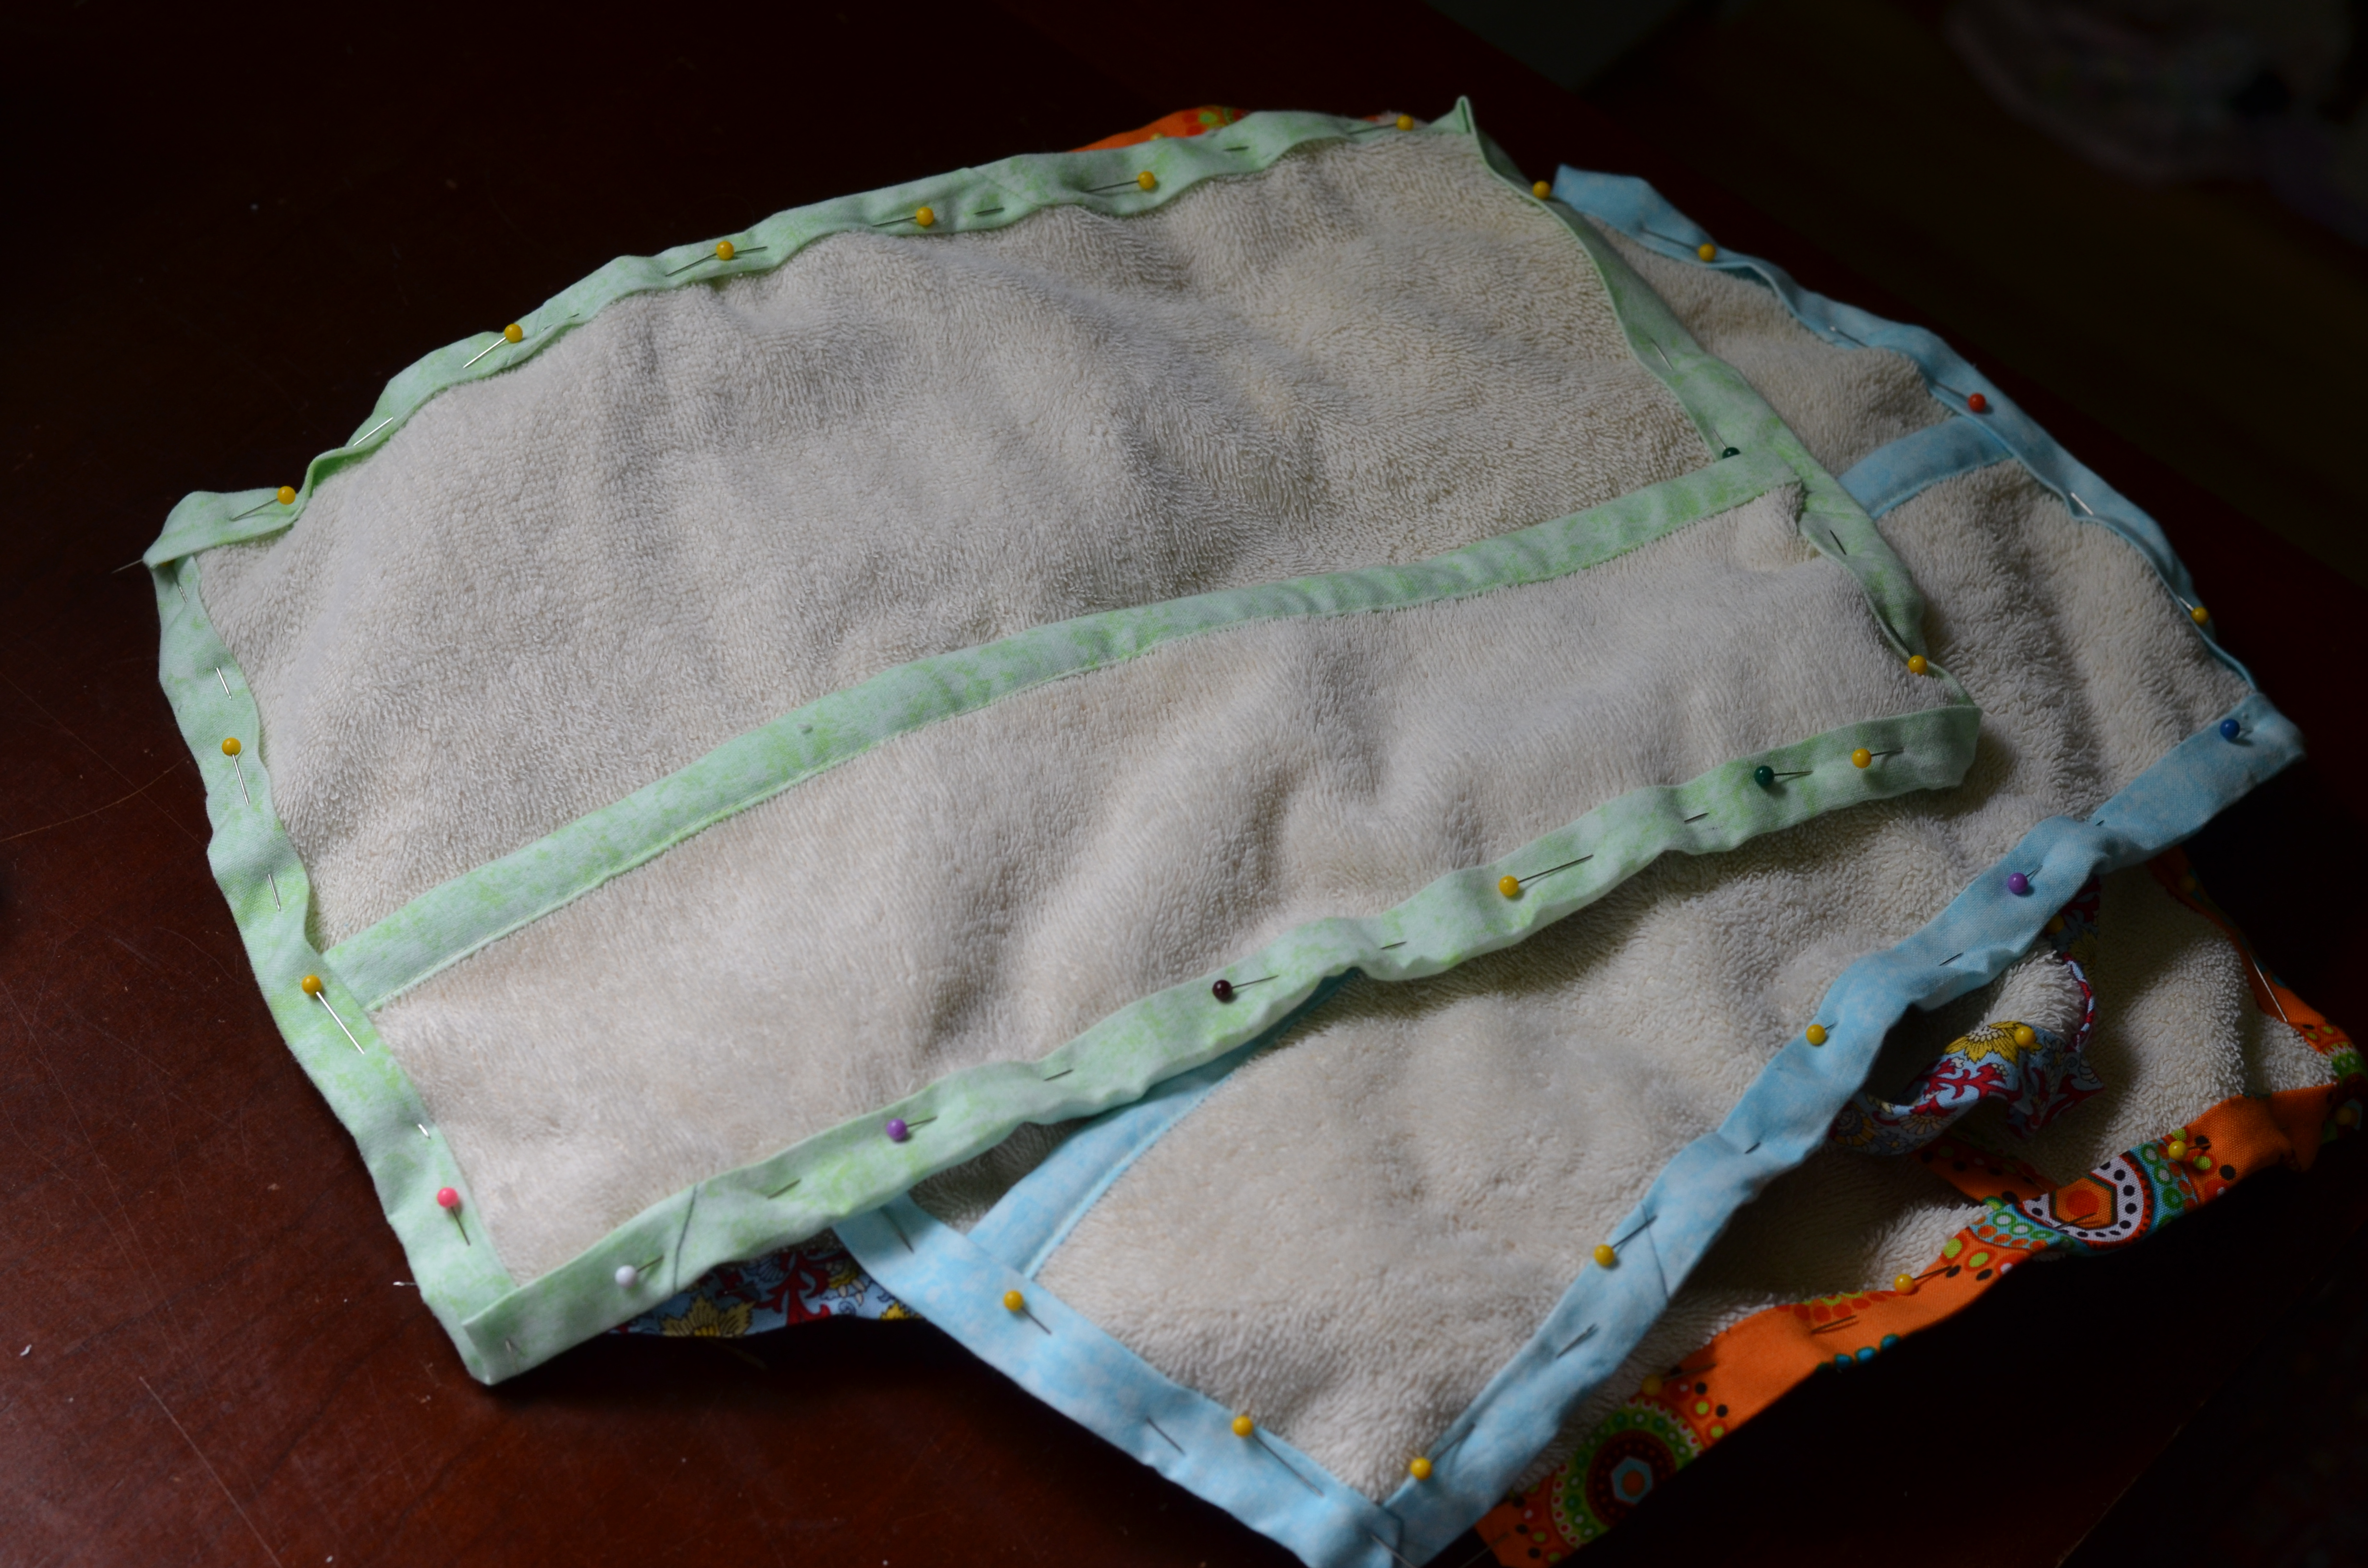
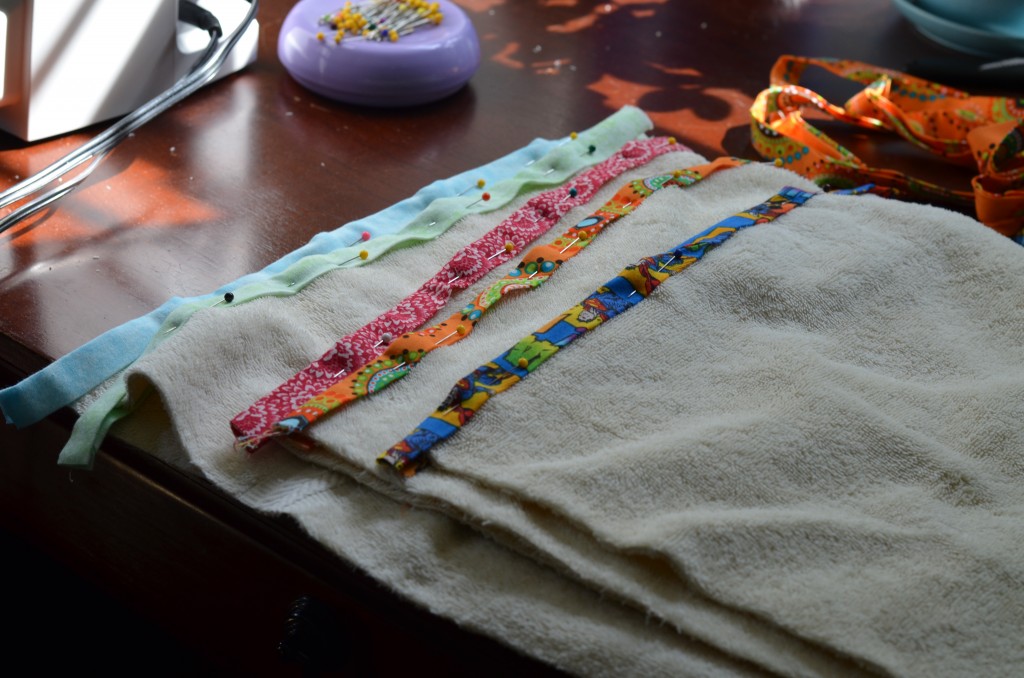
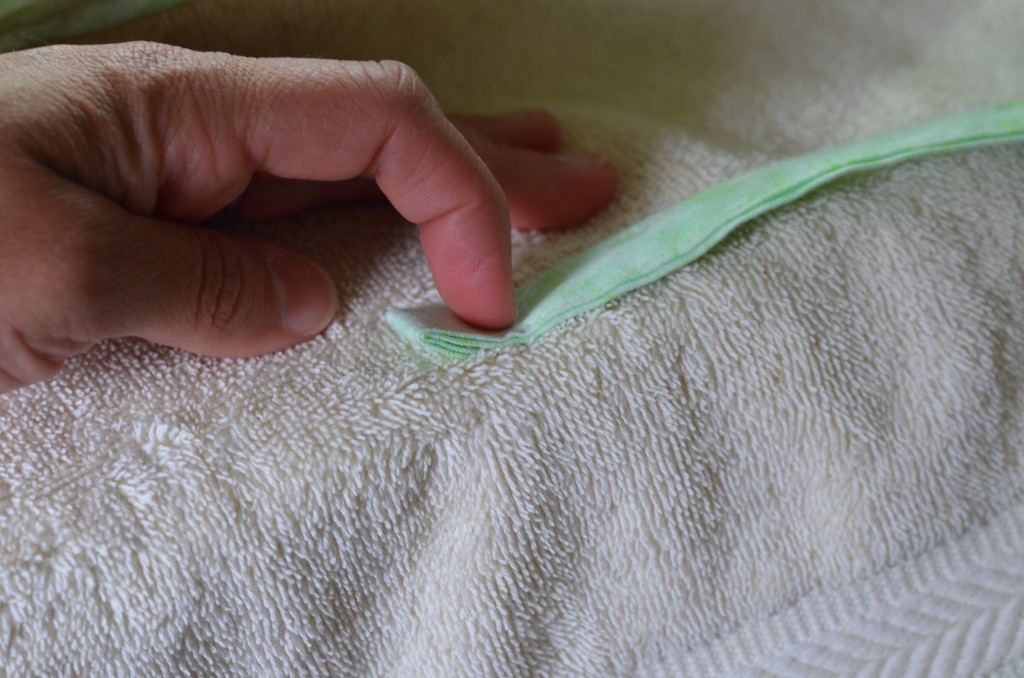
- Pin the bias strip along one of edge of the washcloth (so the washcloth is in the inside and strip overhangs each side). This will be the edge that you fold up to make the pocket, so pin the appropriate side. Trim the bias to length and stitch along close to the open edge, securing the bias to the washcloth. I have no tips on doing this well, other than make sure you did a good even job creating and pinning your bias strips. Good luck!!!
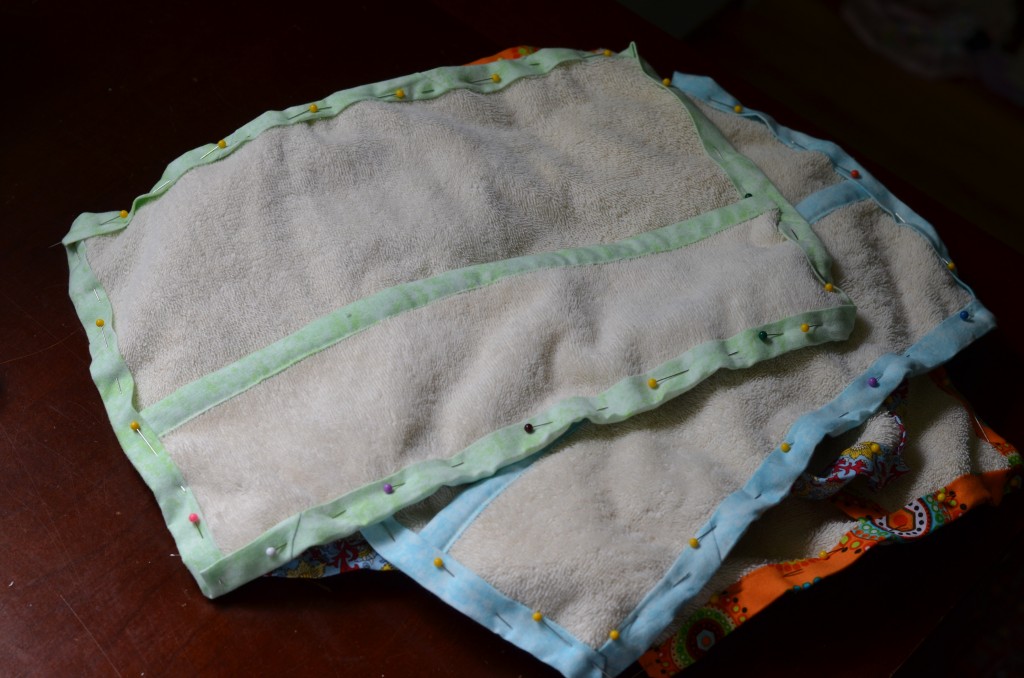
- Fold the bias strip lined edge up your desired pocket height (mine are about 4″), and pin the bias around the perimeter. When your ends meet together, you’ll have to figure out how to match the lengths. I have them meet, turn one at a 90 degree angle and stitch on the diagonal. It takes me about 6 tries to get it right. I’m sure there are excellent tutorials on binding that you can find to help you along. But you can also just tuck one side under the other or do a vertical stitch and trim appropriately.
Cut a length of finished strip/lace to be one of the ties and slip/pin it under the non-pocket side of the bias strip about halfway down the side. Finish the opposite end by folding it over twice about 1/2″ and running a stitch across.
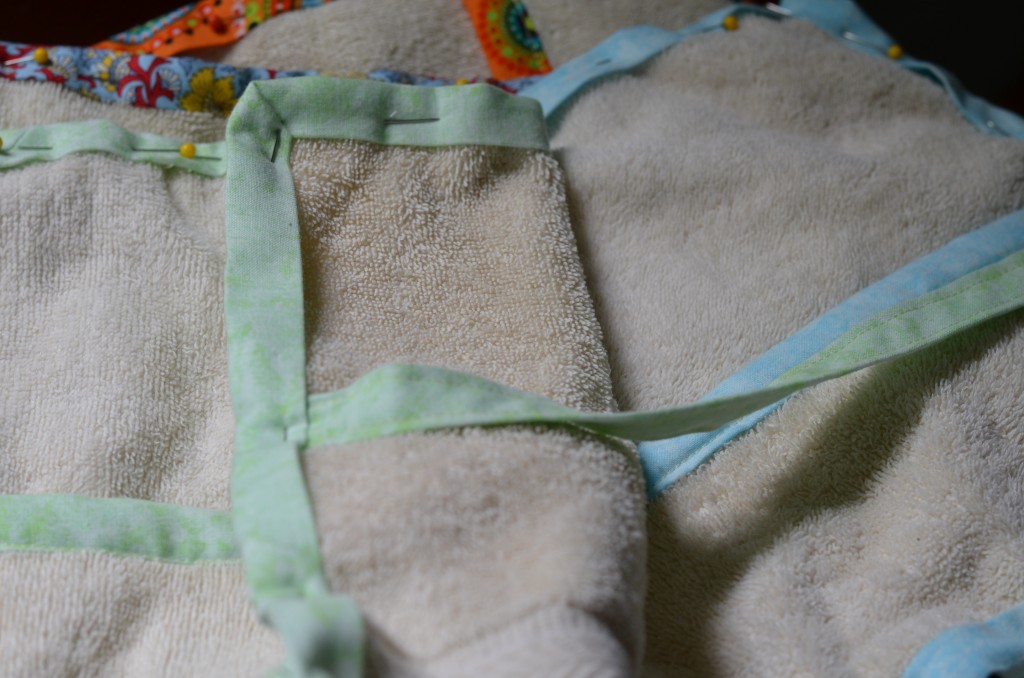
Stitch around the bias strips on the outside. I mitered my corners, but you can round yours.

- Stitch lines down the pocket wherever you want your divisions to be.
- Roll up the kit as though you were using it (you may want to fill the pockets if you are using bulky items) so that you can mark a location for your second tie on the non-pocket side of the washcloth. Fold over the edge and stitch it in place. Finish the other end as you did the other tie.
- All done! Time for vacation!