It is birthday season in my house. Pretty much from the end of summer to mid January we have a flow of celebrating. The main concentration in October and November. The rest of the week I am going to post about different fun things that I have done, friends have done, or plan to do for birthdays.
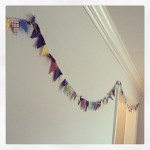
The birthday banner tacks stay in the wall in the dinning room, supporting this banner often these days.
Supplies
- one yard of fabric for flags. Fleece or felt is nice because the edges do not fray.
- half yard of contrasting fabric for letters. It can be all the same fabric or different.
- thread
- sewing machine
- scissors
- chalk
- ribbon
Directions
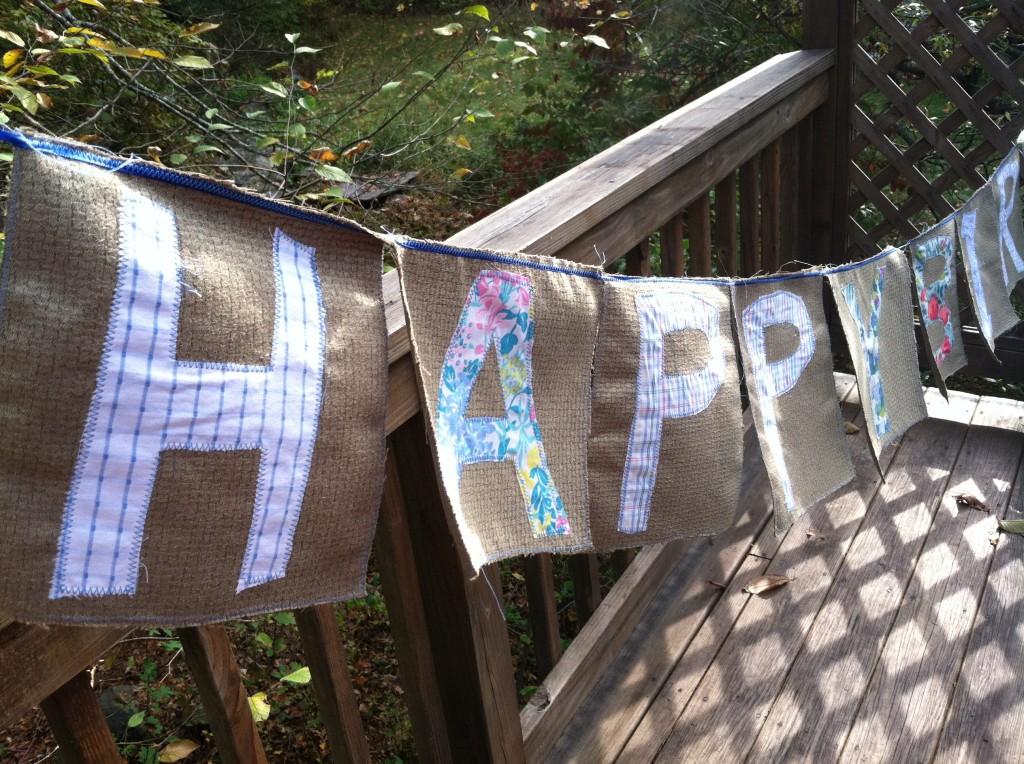
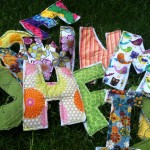
- Cut the yard of fabric into 13 equal sized flags. In the picture the flags are square. I have made banners with triangle flags as well.
- If the flag fabric frays – either fold the edges over, iron them, and hem the edges or stitch the edges with the zigzag stitch of the sewing machine.
- With a piece of chalk draw letter on the other fabric. Cut them out.
- Pin one letter to each flag.
- Sew the letters on to the flags around the edge of the letters using the zigzag stitch of the sewing machine.
- Lay out all the finished flags in order. Measure the ribbon so that you have about a yard at the beginning and end of the words.
- Make a pile of the flags starting with the last letter. The first letter of should be on the top of the pile. (H in this case)
- Sew the flags to the ribbon leaving about a yard at the beginning and end. The flags of each word should touch each other. Leave a little space between the words.
Variation
I have made many name banners as well. I am thinking of making a “Thank You” one for Thanksgiving. Any word or phrase that is important to you can be made into a banner. 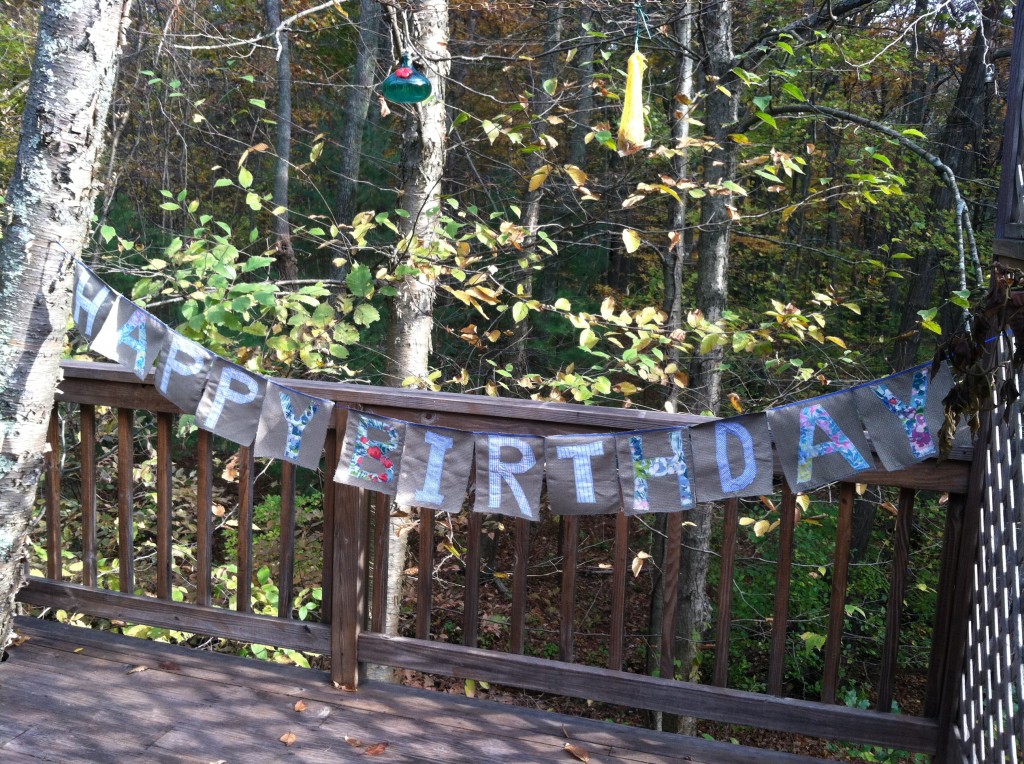


October 16, 2012 at 6:57 pm
Love the banner!
October 17, 2012 at 11:46 am
SO cute! I’m “pinning” this!
November 2, 2012 at 8:38 pm
Sarah,
I am working on my own this weekend at my Sisters’ Craft Day!! I’ll share post-production pic!!