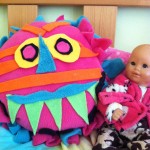
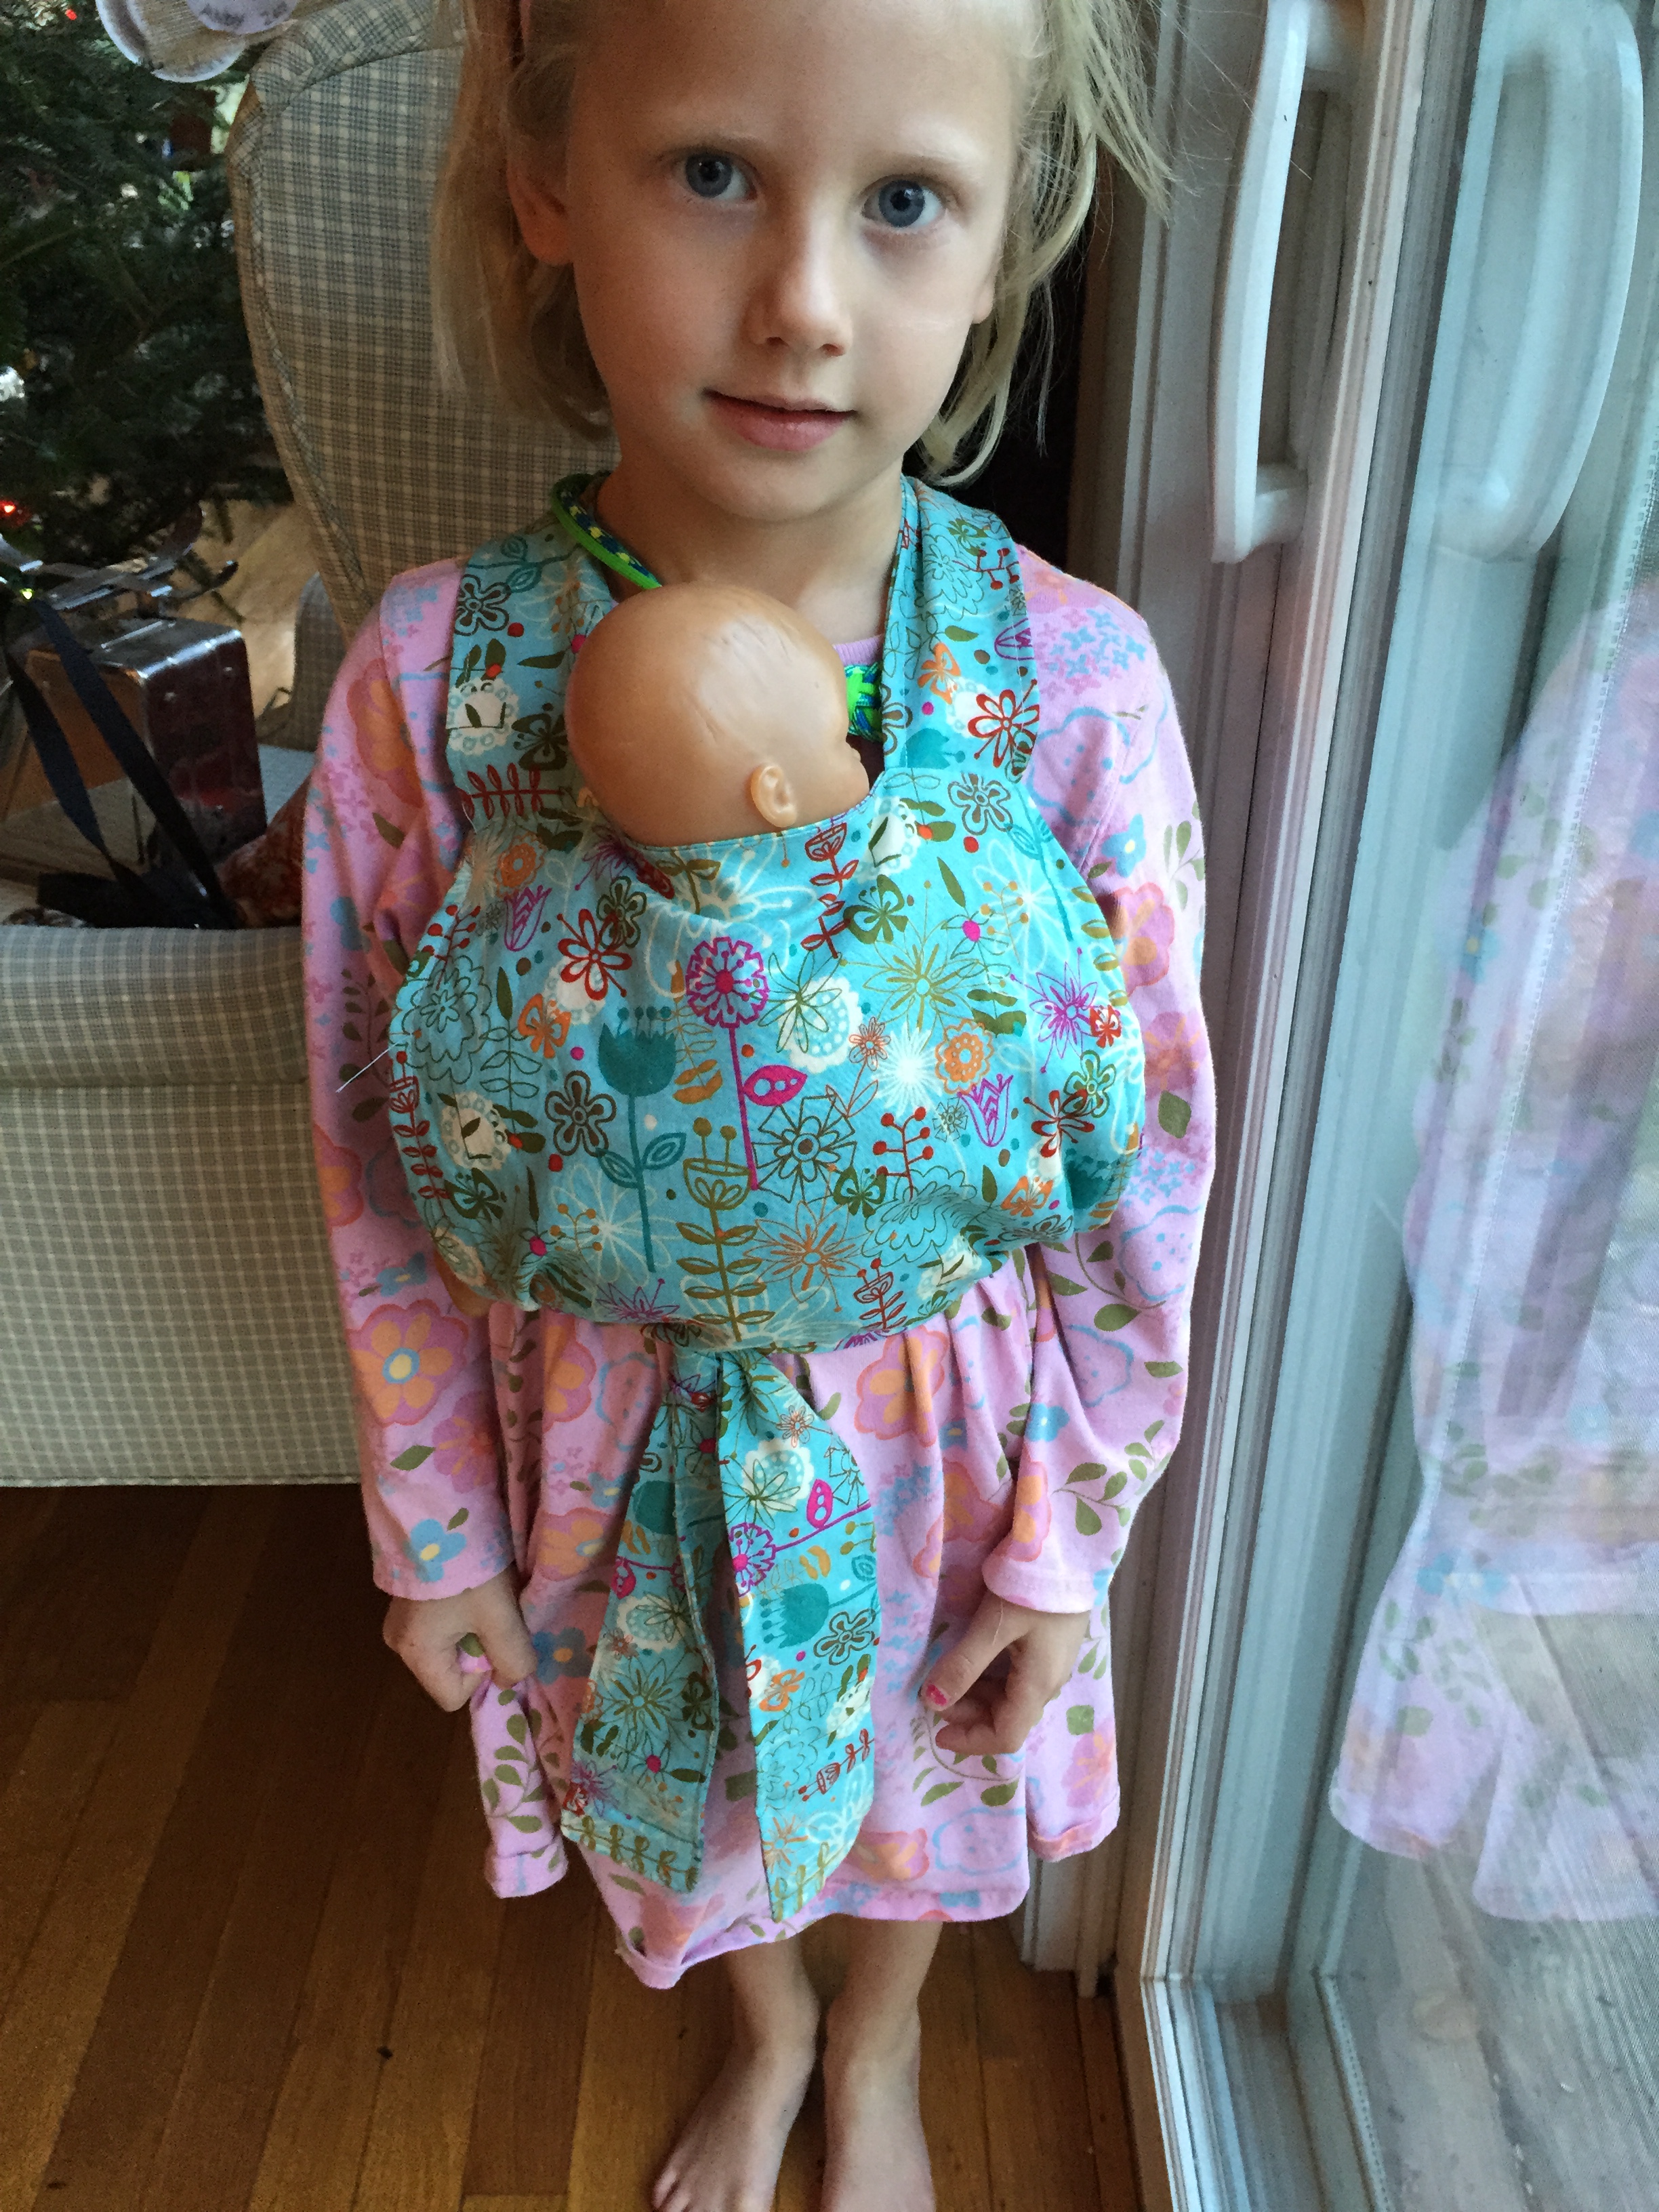
When my third was very little and I carrier her everywhere my middle daughter wanted to carry her baby too. So I rigged up a baby carrier for her. That first carrier is now mostly held together with safety pins, so we decided 3 years later we needed to make new ones.
Baby Doll Carrier
Supplies
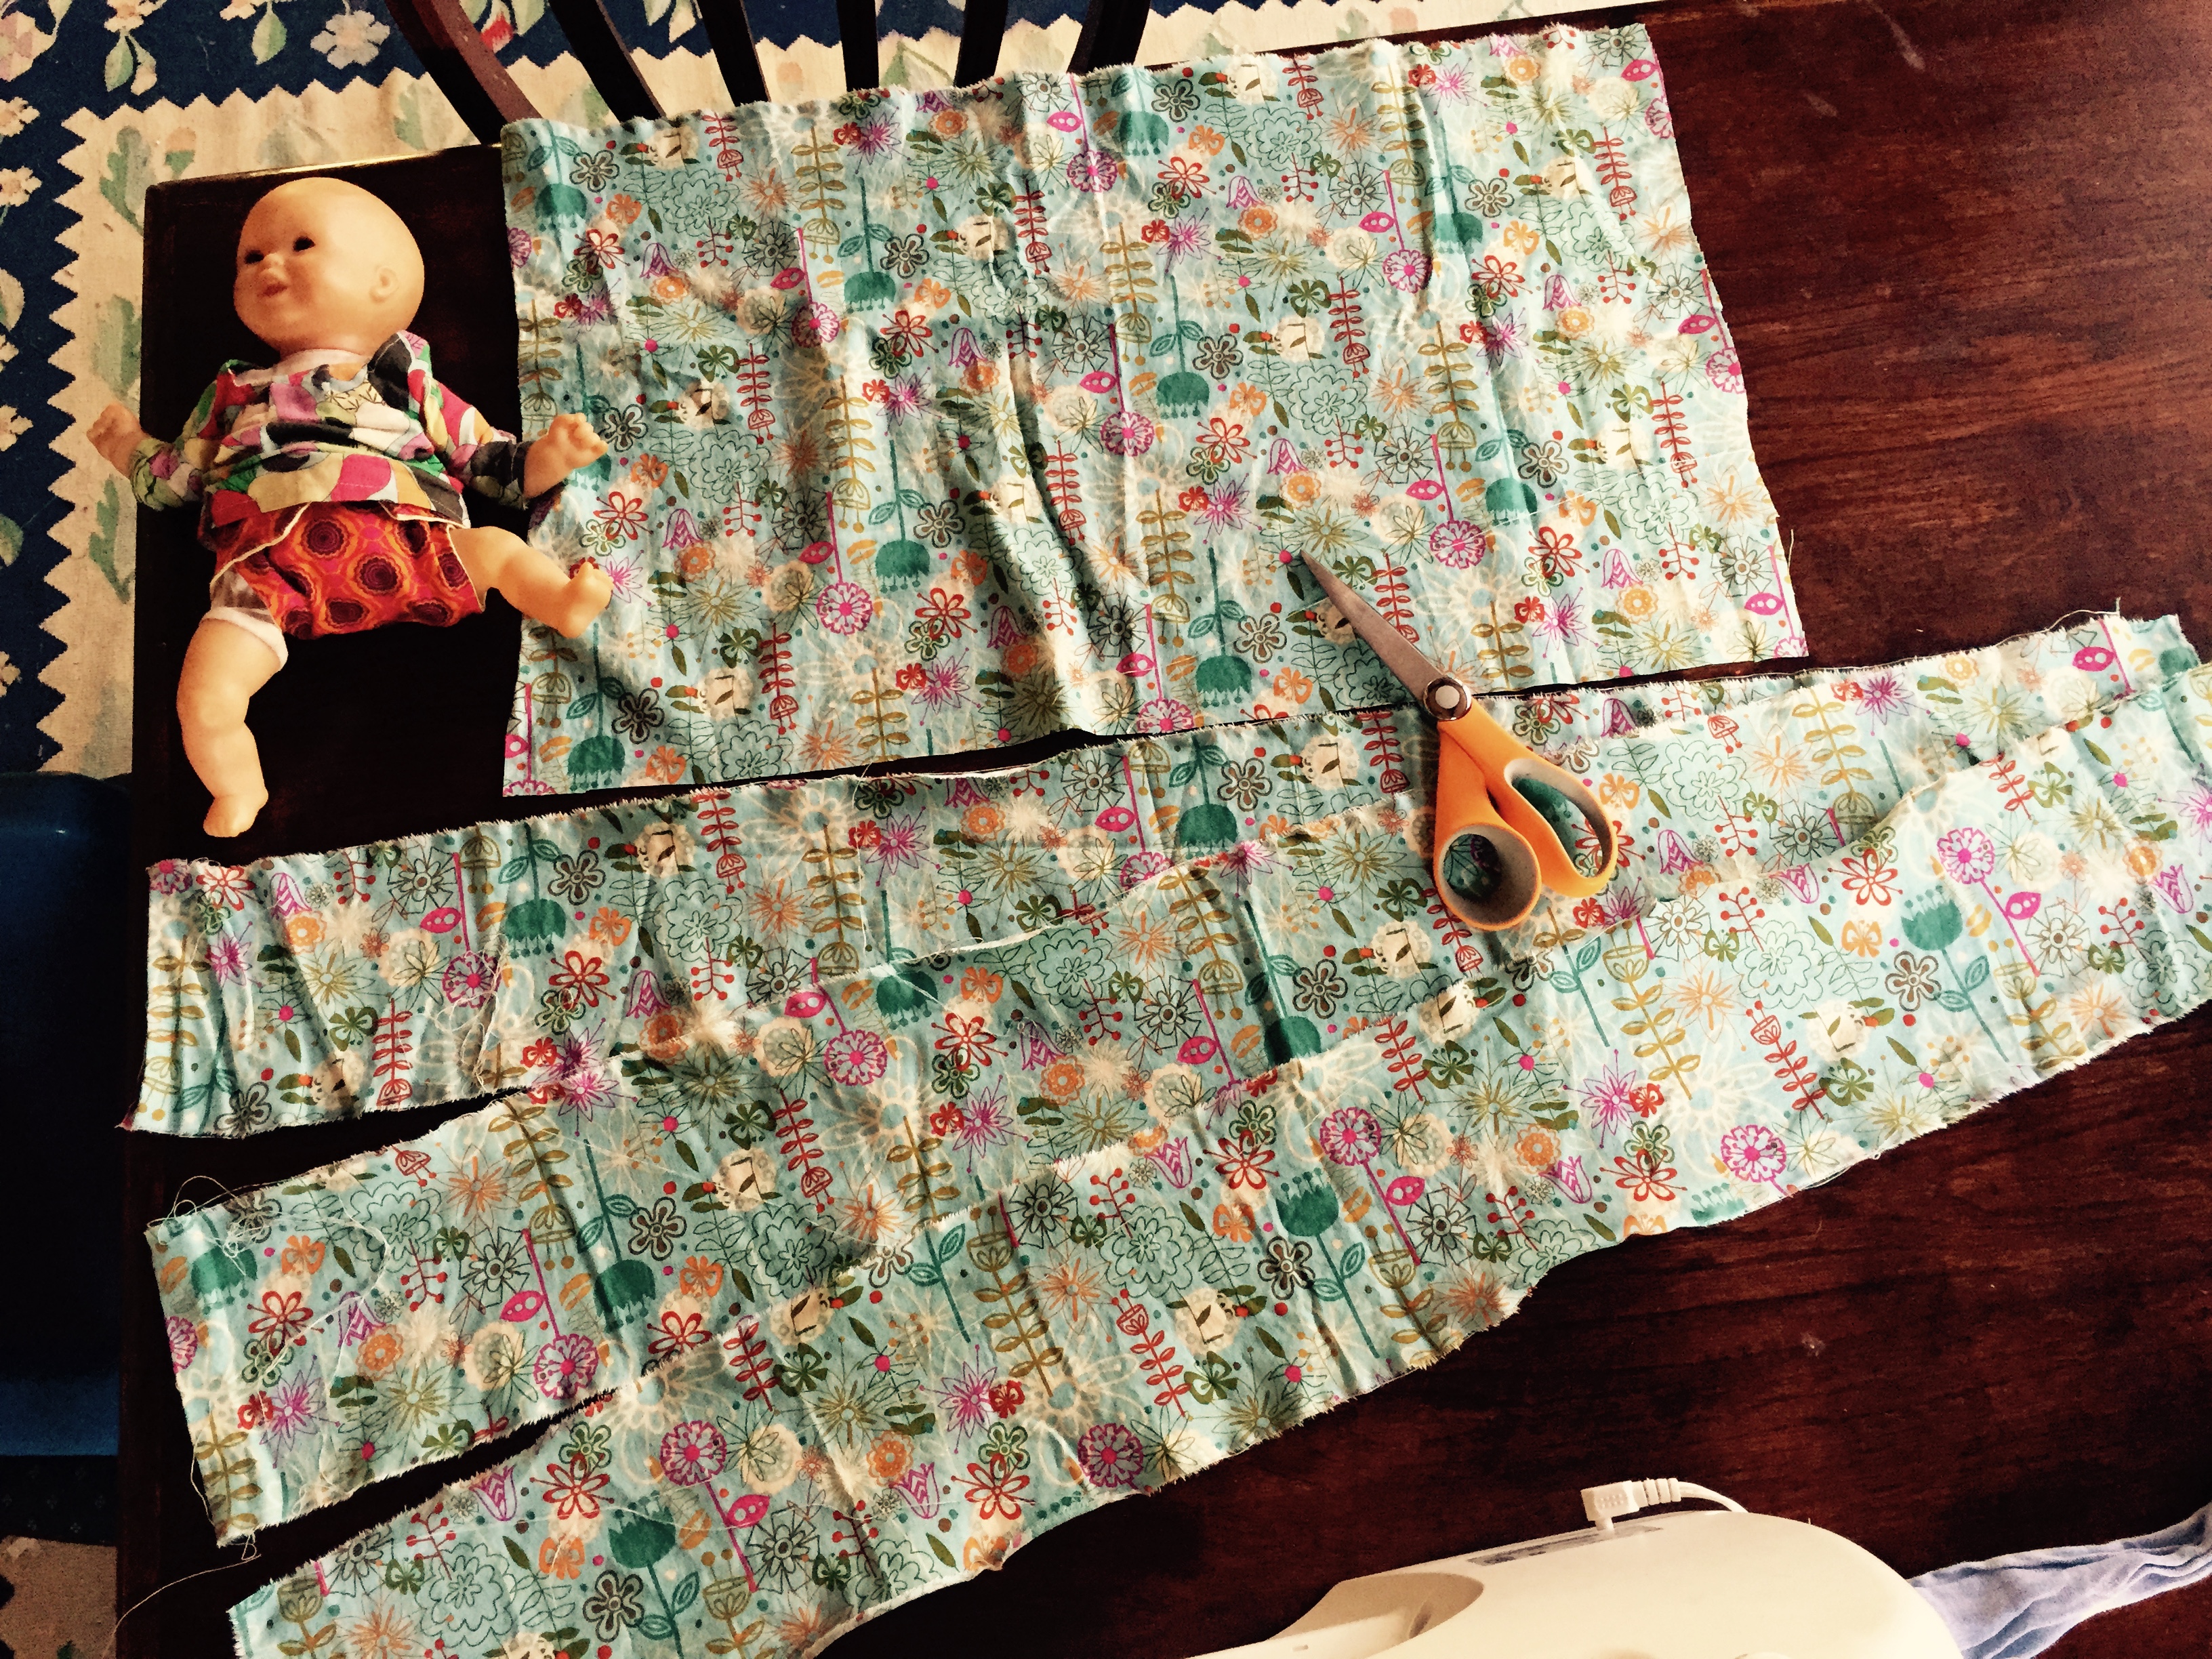
- fabric – 2 pieces 12″x12″, 2 pieces 18″x4″, 2 pieces 36″x4″
- sewing machine
Directions
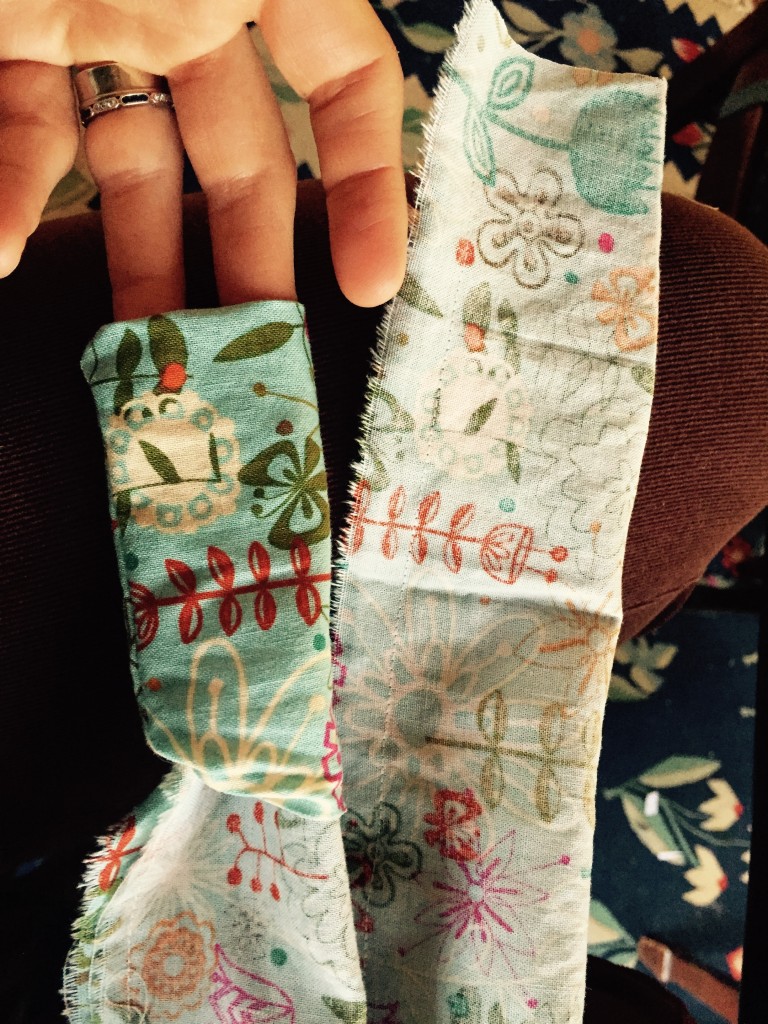
- Fold the 4 long pieces in half. Individuality sew them on the long side into tubes.
- Reverse the tubes. If you want to iron and sew around the edges to make a cleaner look feel free.
- Place one of the square 12″x12″ pieces on the table face up. Neatly fold up the tubes allowing about 3 inches to hang out of the folded pile.
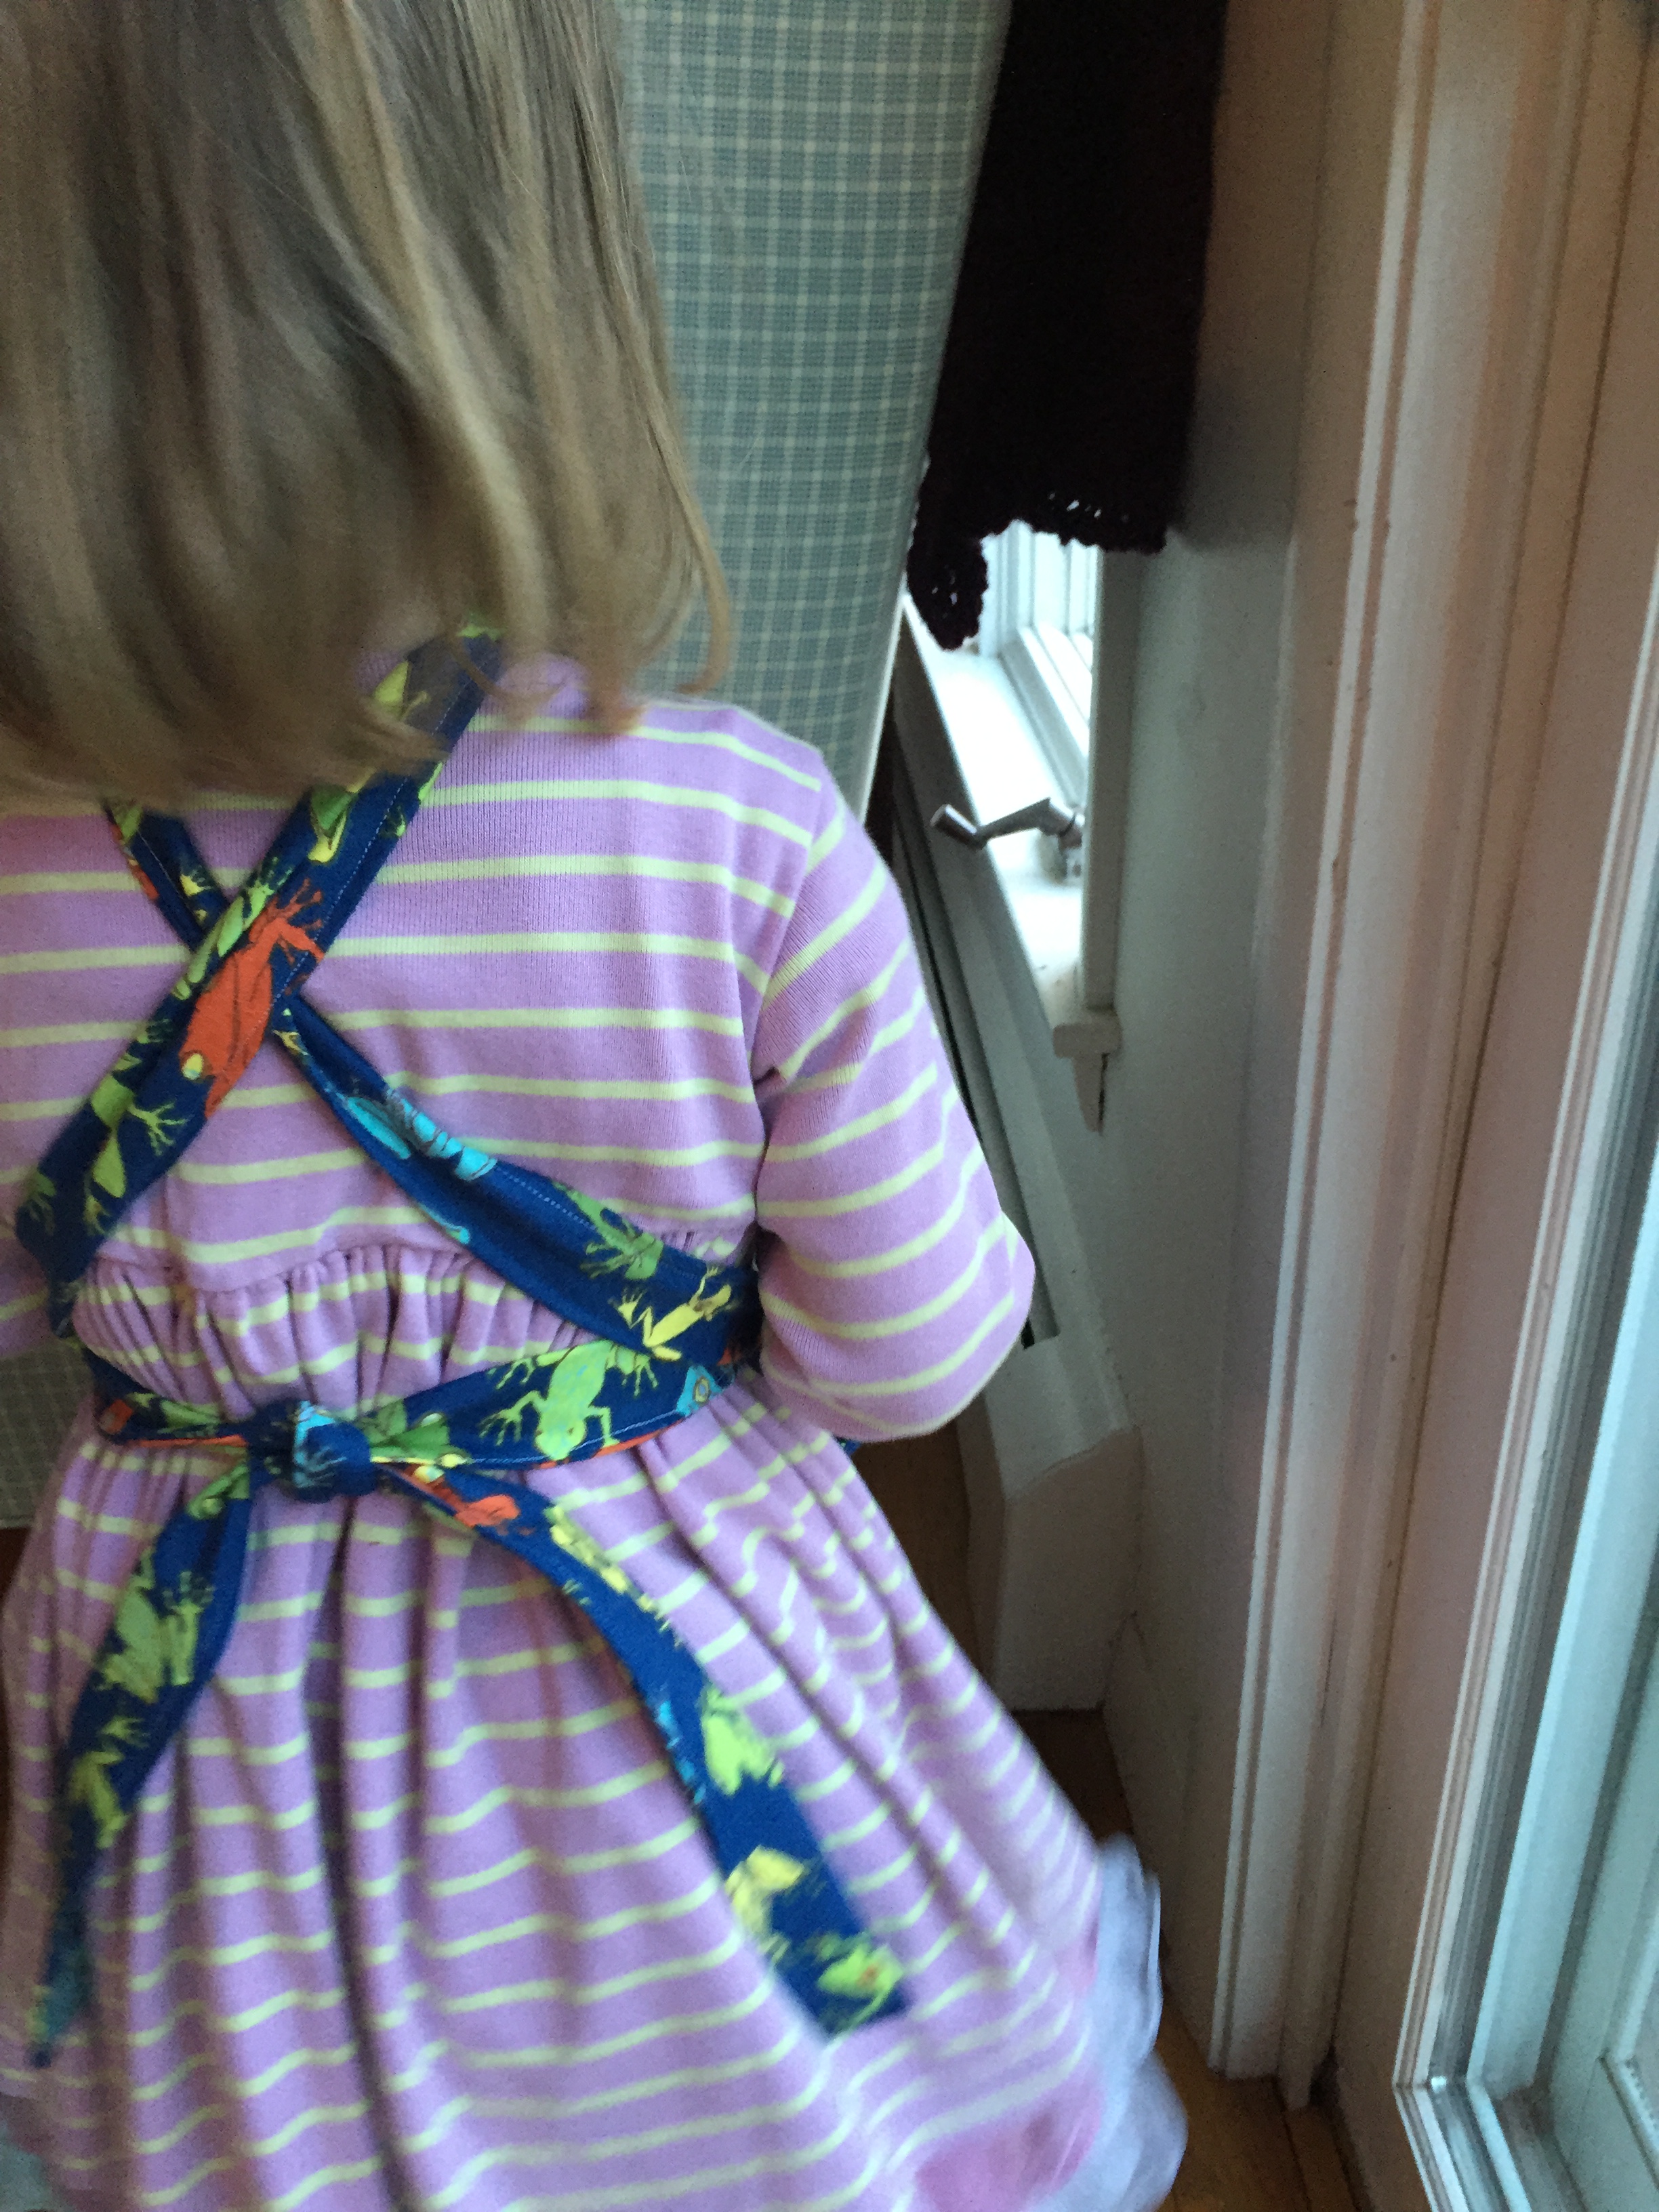
- Place the two shorter tubes on the bottom right and left sides of the square. Place the long tubes on the right and left top side of the square. Please refer to the picture.
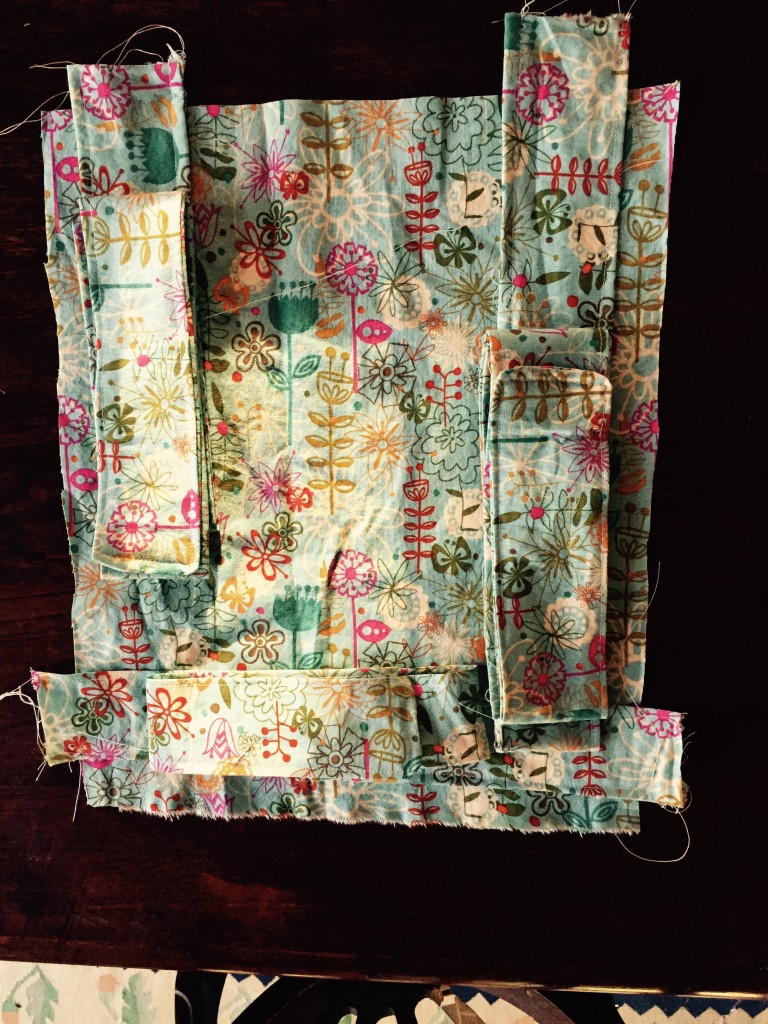
- Place the other 12″x12″ square fabric face down on top of the tubes (straps) and other fabric square. Pin it all together.
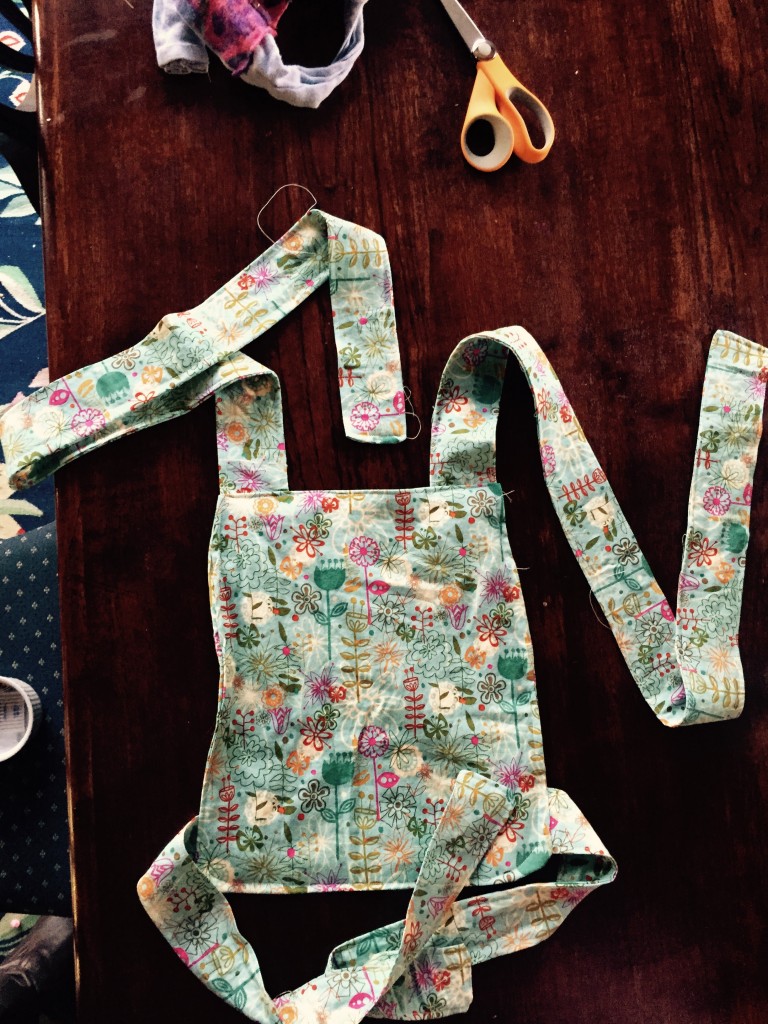
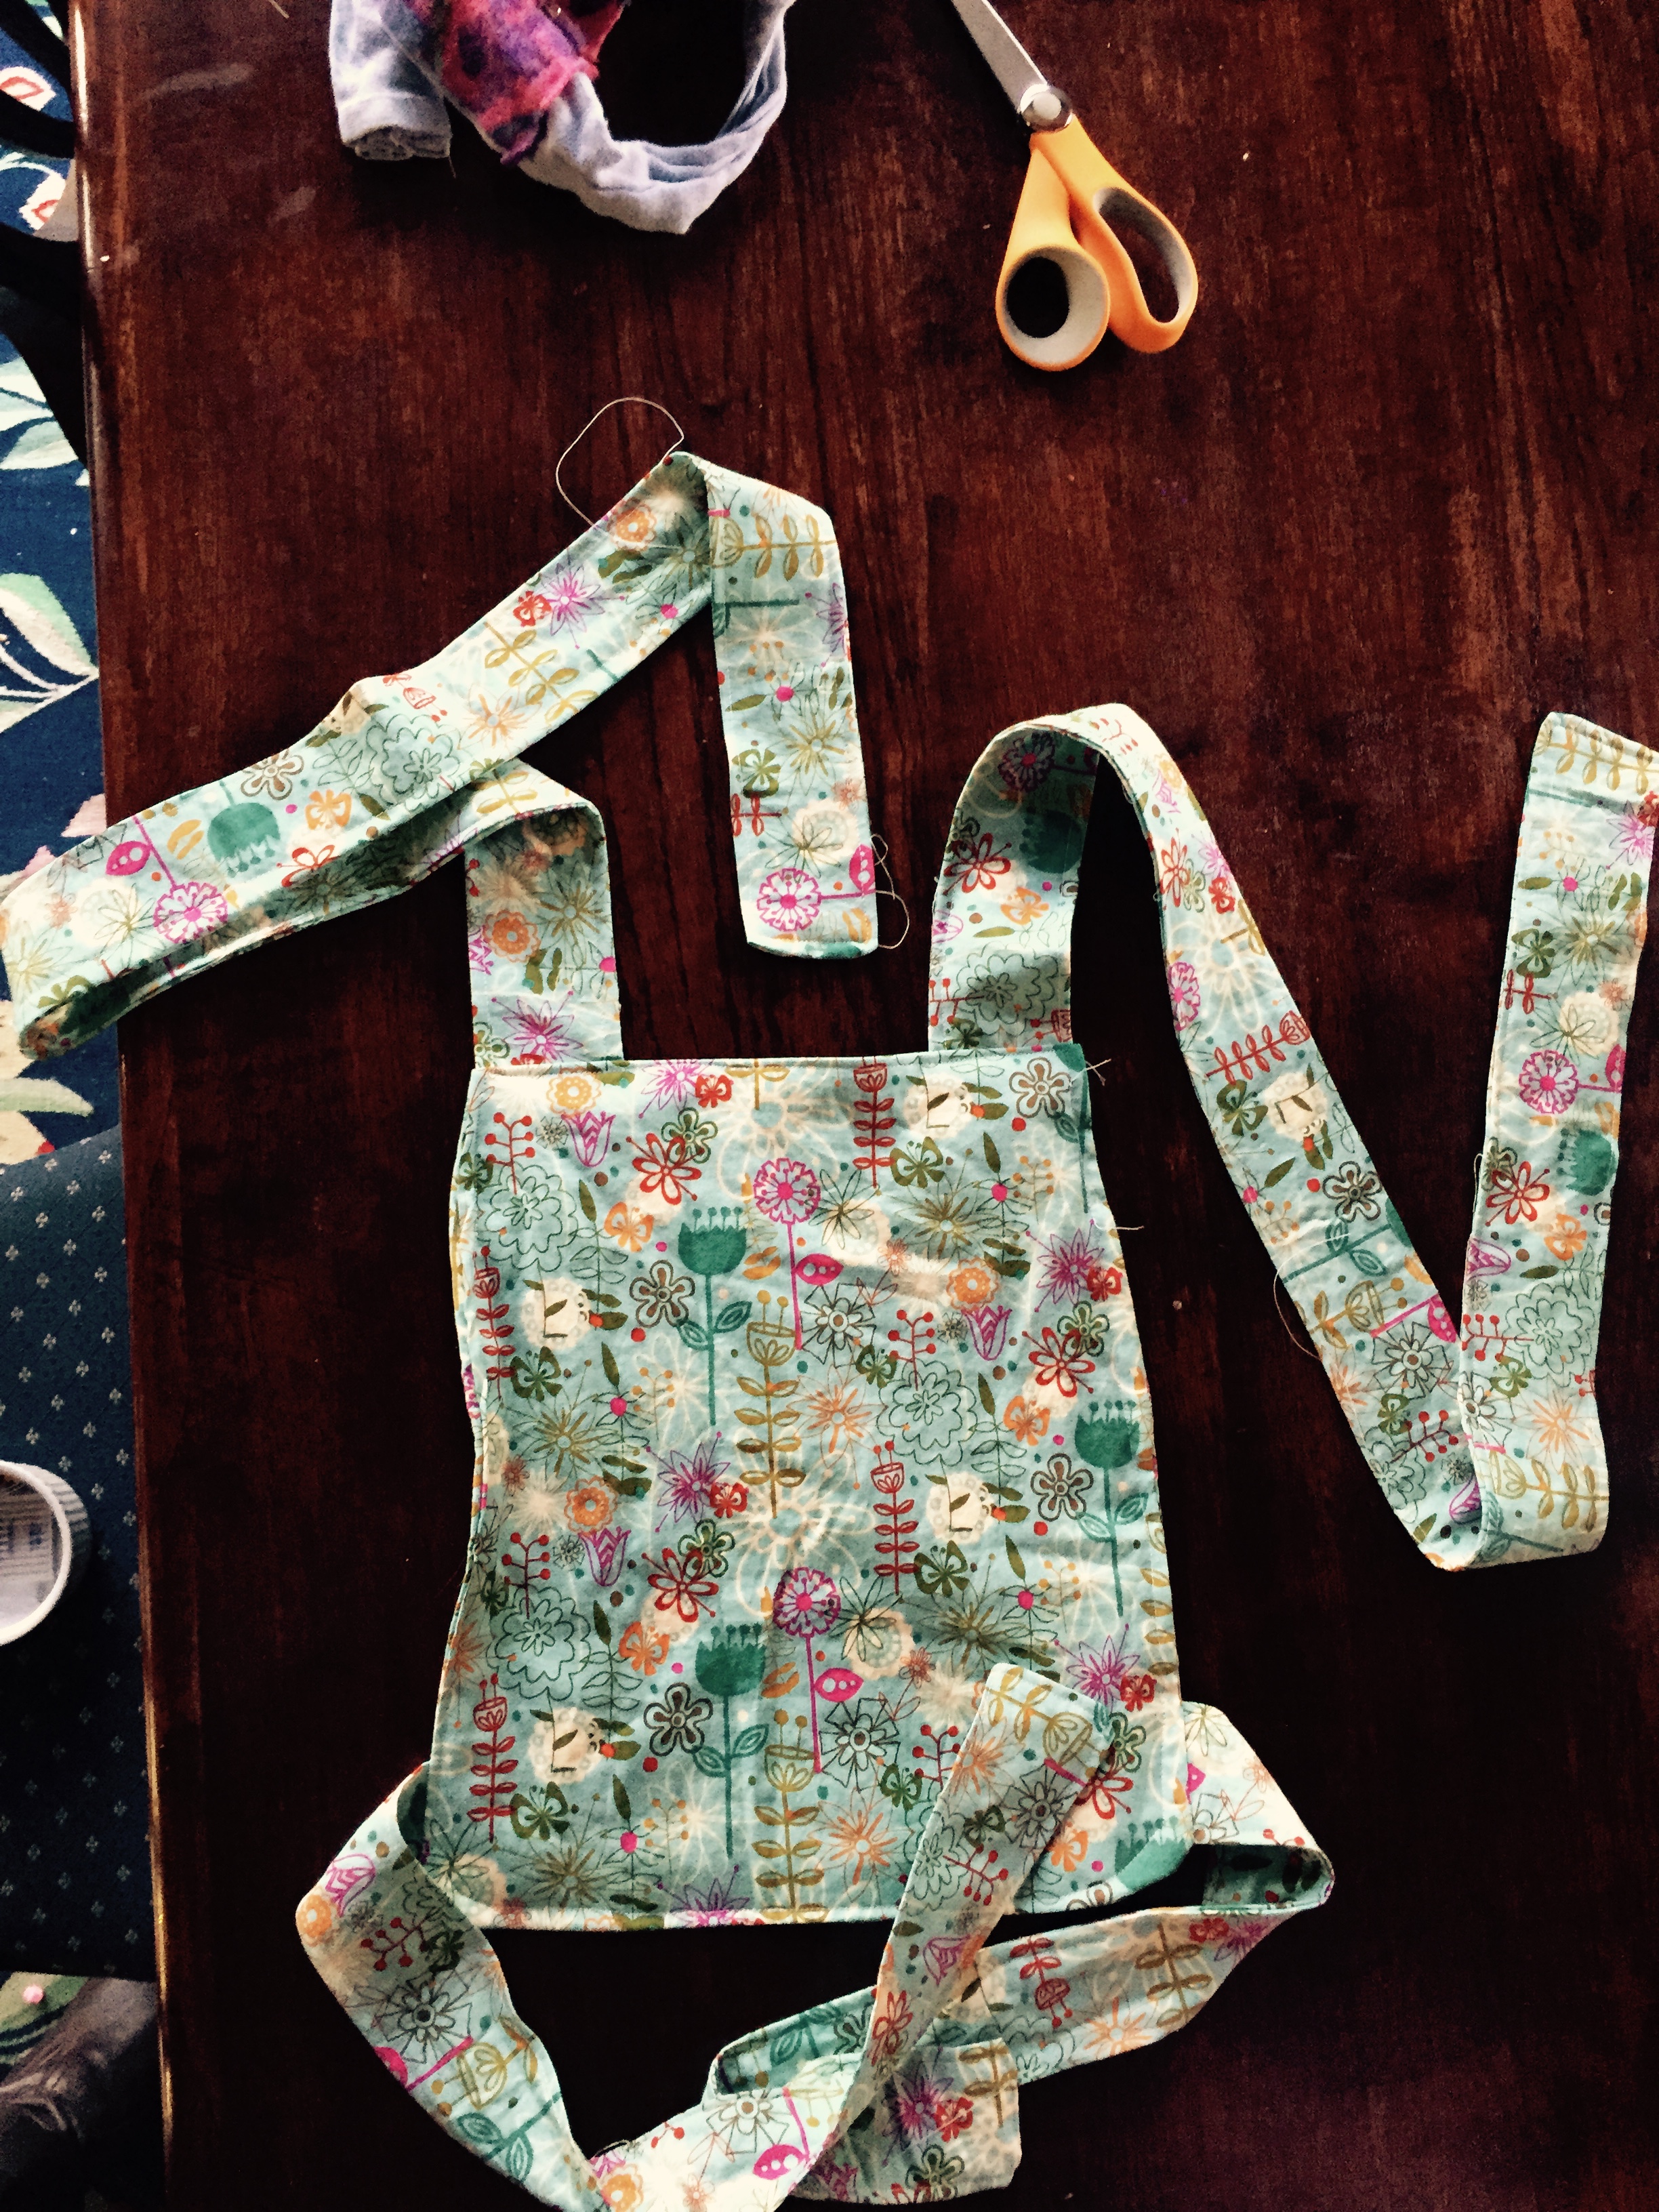
- Sew around the edge of the square leaving a small part un- sewn to flip it inside out.
- Reverse. Finish up the part left un-sewn. Again if you want a neater finish sew around the outside edge of the square.


Check out Youtube for videos on how to tie a Mei Tai this one is pretty good.