
Methods for taking in our skinny kids’ pants is a topic that Sarah and I have talked about a few times. We both usually just sew a couple tucks in the waist, either cutting out the excess fabric or leaving it in to be let out after potential growth spurts. Despite trying to fatten them up a bit with cookies, our kids are rather skinny, so it’s not all that pretty of a fix. We end up with pleated pants or the Prim Everdeen puckered duck butt look.
My 8-year-old now has a fashion opinion, but isn’t quite comfortable with a belt yet, so it’s time for a more discreet option. I tried something different for taking in her pants last night, so this post is for Sarah more than anyone else. Most pants have a doubled over waist band that you can slide in a length of elastic and secure to fit, converting a normal waistband into an elastic waistband. It’s really easy to do. I used my machine, but you could stitch this by hand quickly.
Taking in Pants by Adding Elastic
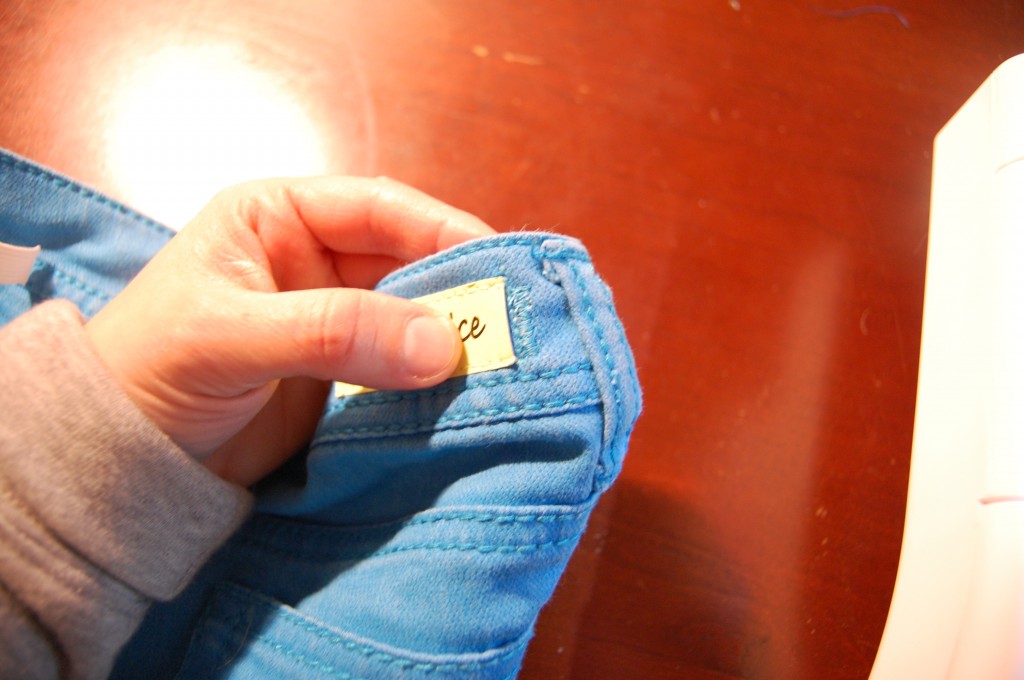
- Cut a vertical slit just big enough to slide in your elastic (3/8″ to 1″ wide elastic would work best) on one side of the waistband going through only one layer of fabric. I cut the slit on the outside of the pants, but the inside would be more inconspicuous. Cut a matching slit on the opposite side. Watch out – some pants have vertical stitching through the waistband that will be dead ends for your elastic band. You may need to snip these if they are just decorative (like for brand labels), or add elastic in just the back or in a few zones for the best (and least gathered) look.
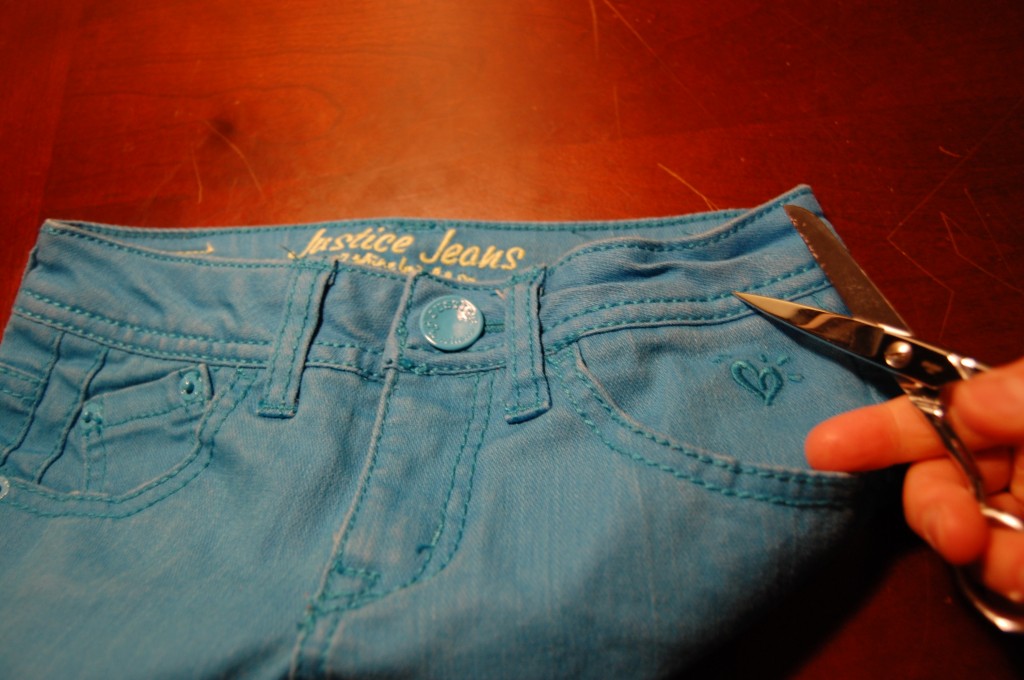
- Cut a vertical slit on each side through one layer of the waistband.
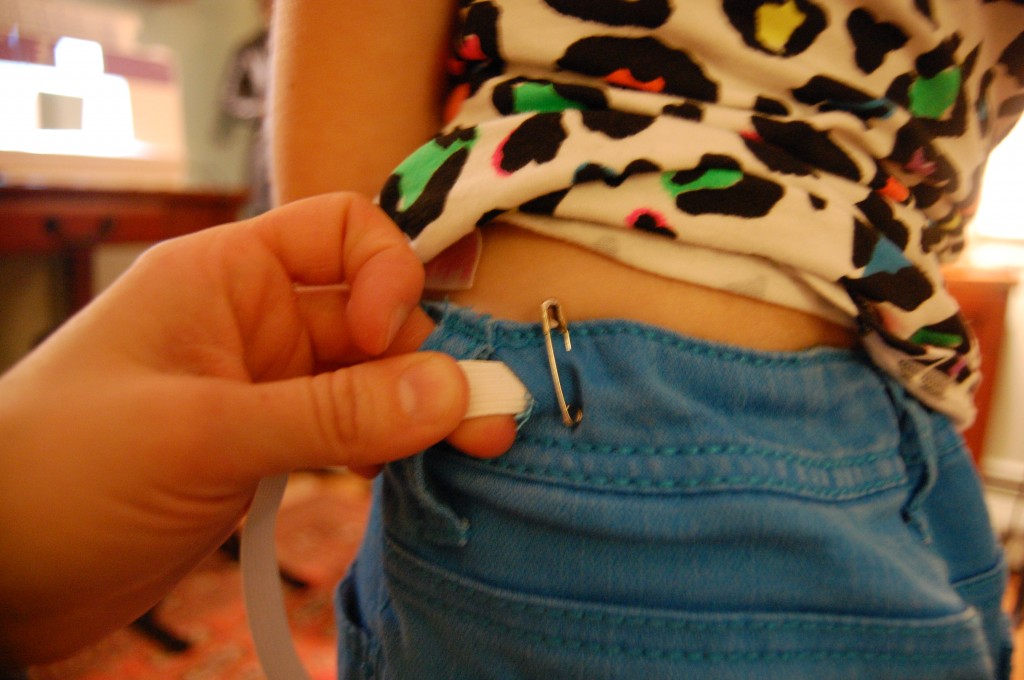
- Slip your elastic in to one slit and slide it all the way through to pull out on the other side. I used the safety pin attached to one end trick to give something to help maneuver the elastic through. Make sure you don’t pull your elastic out of the starting end. Pin down the ends of the elastic if they are near the edge of the length to risk slipping back through.
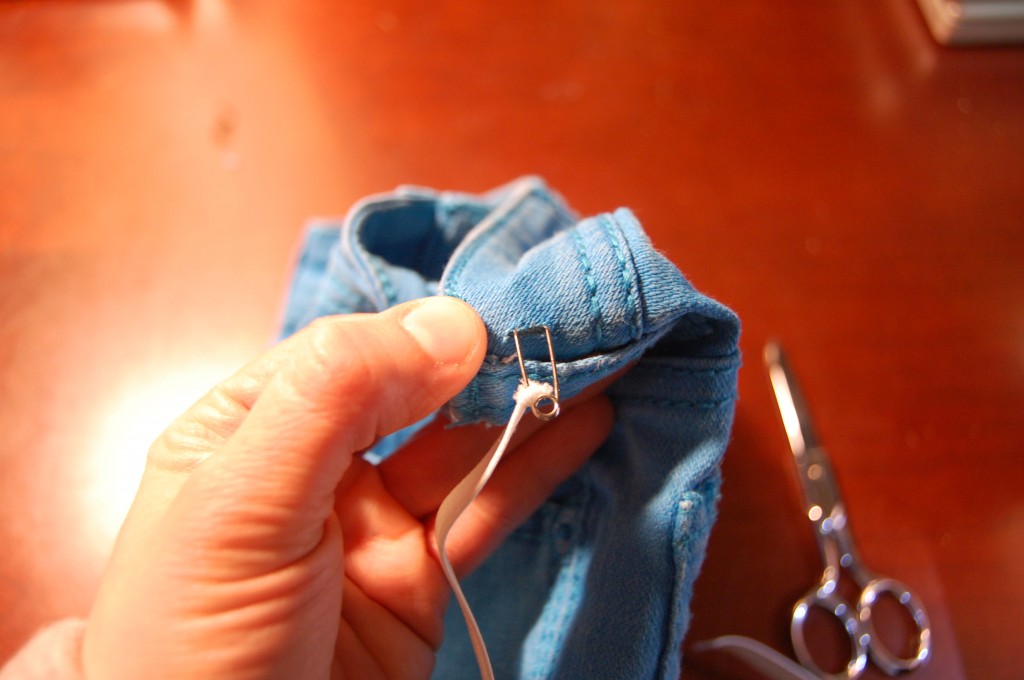
In one side…
… out the other.
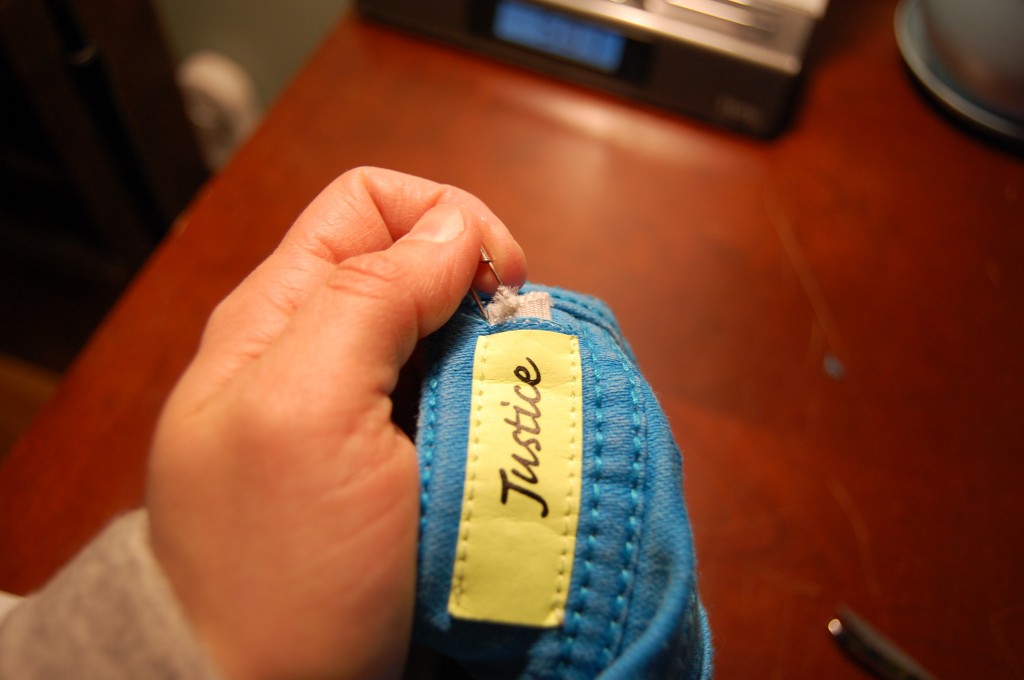
- Stitch your elastic down near one slit on the side of the slit that the elastic is heading using coordinating thread. I ran a straight machine stitch back and forth vertically a few times to hold the elastic securely. Trim your elastic so that you can slip a short length into the slit, then zig zag over your slit to close/cover it. This will both hide the slit and keep your pants from fraying/ripping, so be sure to catch both sides of the slit with a little clearance.
Run a few straight stitches up and down to secure the elastic.

Trim the end of the elastic slightly if necessary (not too close to the stitching or it may not hold) and tuck the edge into the slit.
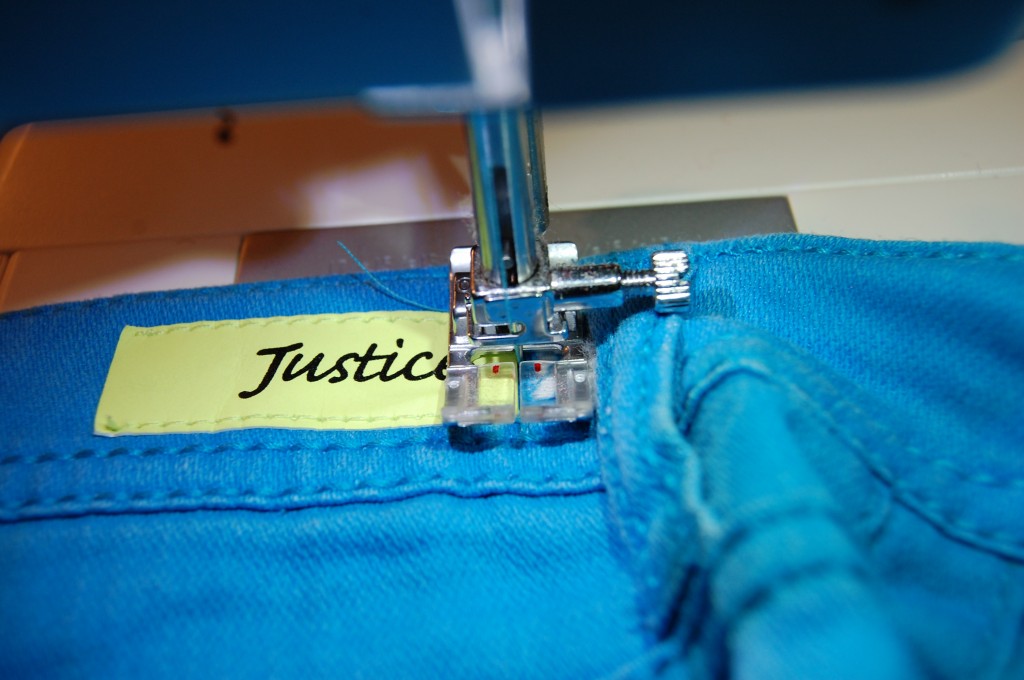
Close up the slit using a zig zag stitch. Or whip stitch by hand.
- Have the pants wearer try on the pants, pull the unsecured end of the elastic to the desired tightness and pin it down. Stitch the elastic and the slit as you did on the other side (be sure to remove the pants from the wearer before putting them back onto the sewing machine!) That’s it!
Try on the pants, pull the unsecured end of the elastic until the fit is comfortable, and pin the elastic in place.

Secure the elastic as done on the other side – vertical stitches, trim and tuck in the elastic, zig zag the slit closed.
To make this more hidden or do without a machine, make your slits on the inside of the pants. Slide the elastic through. Secure the elastic. Depending on how much you need to take in and the pants fabric, you may get away with only sewing on the inside of the pants fabric, but more likely, you’ll have to go through both layers to secure the elastic. Then you can close the slit with a whip stitch by just going through the inside waistband fabric or just leave it open and use a product like Fray Block.


Pingback: Zero Waste? A Simple Bag | Two Clever Moms
Pingback: Fabric Stash Project: Giant Scrunchie | Two Clever Moms