
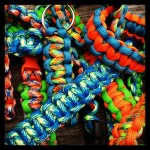
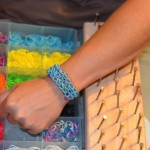
The rubber band bracelet fad hasn’t yet let up in our house. We are still pumping out bracelets on the homemade loom.
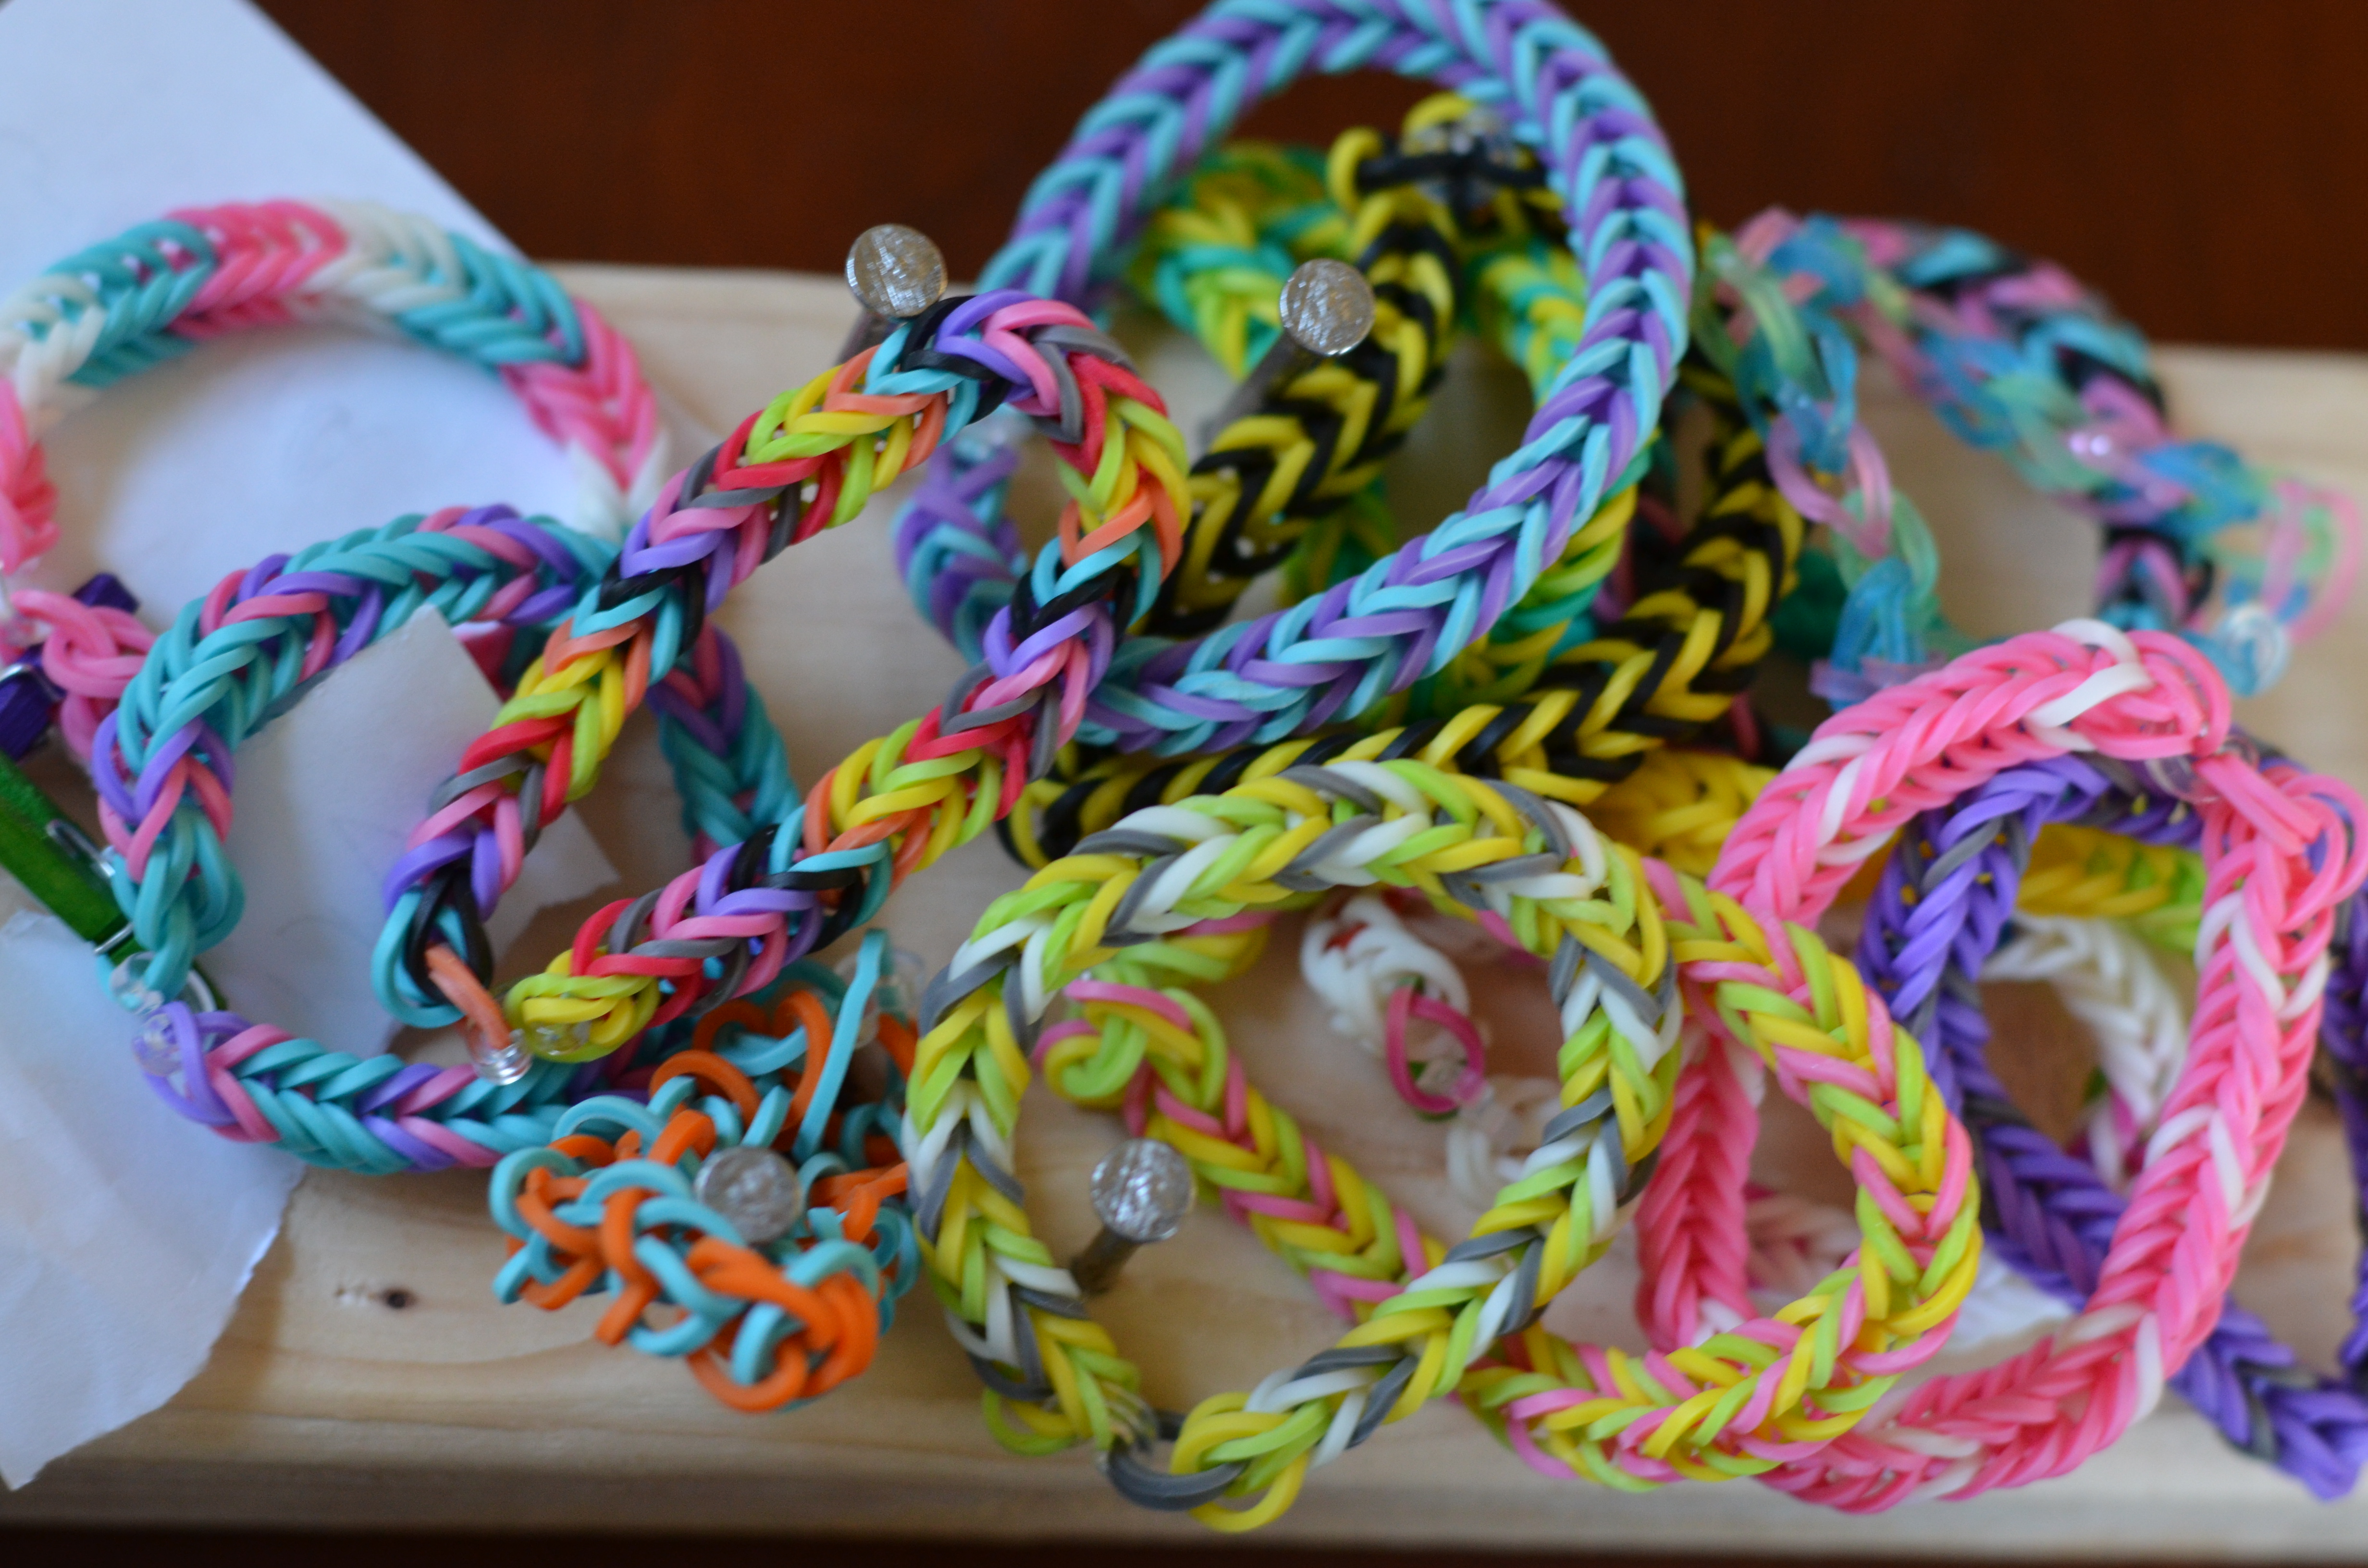
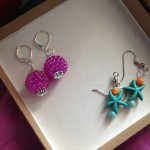
A couple of weeks ago A.C.Moore had a picture of the Double Pony Bead Stretch Band Bracelet in their promotional emails (I have no affiliation with A.C. Moore, Rainbow Loom or any rubber band company). It was the first time I saw non-charm sort of beads in the bracelets.
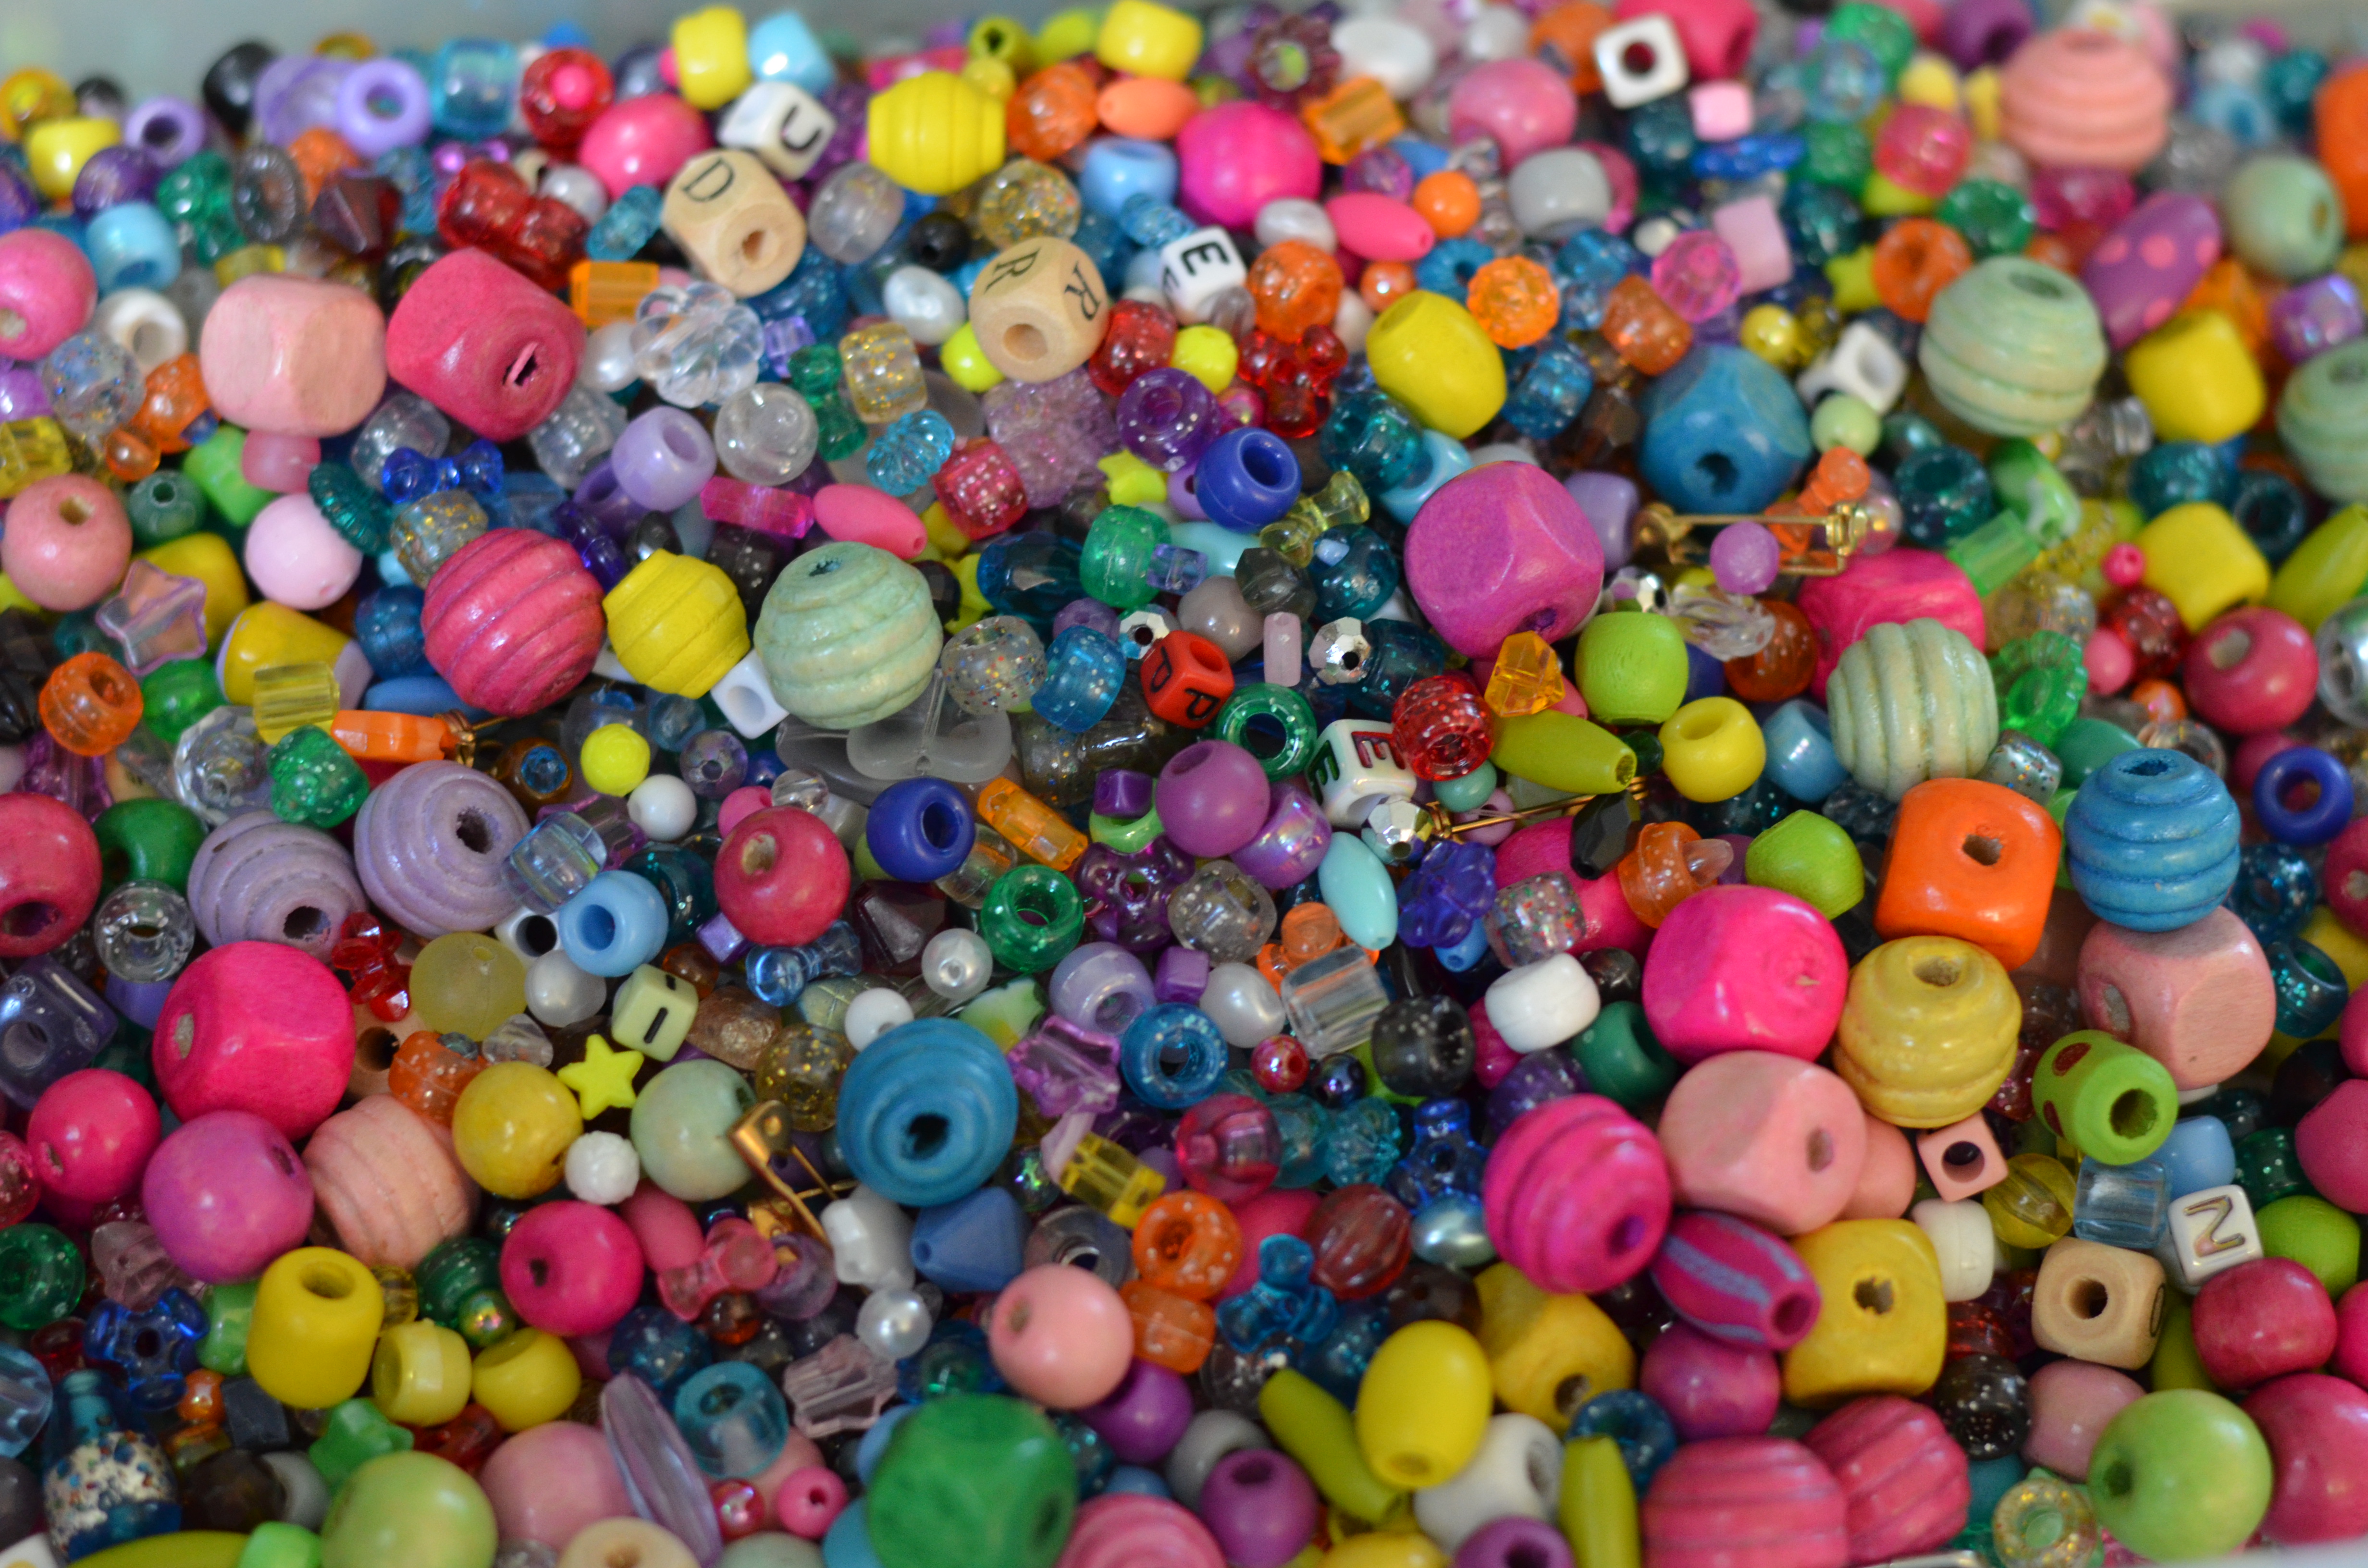
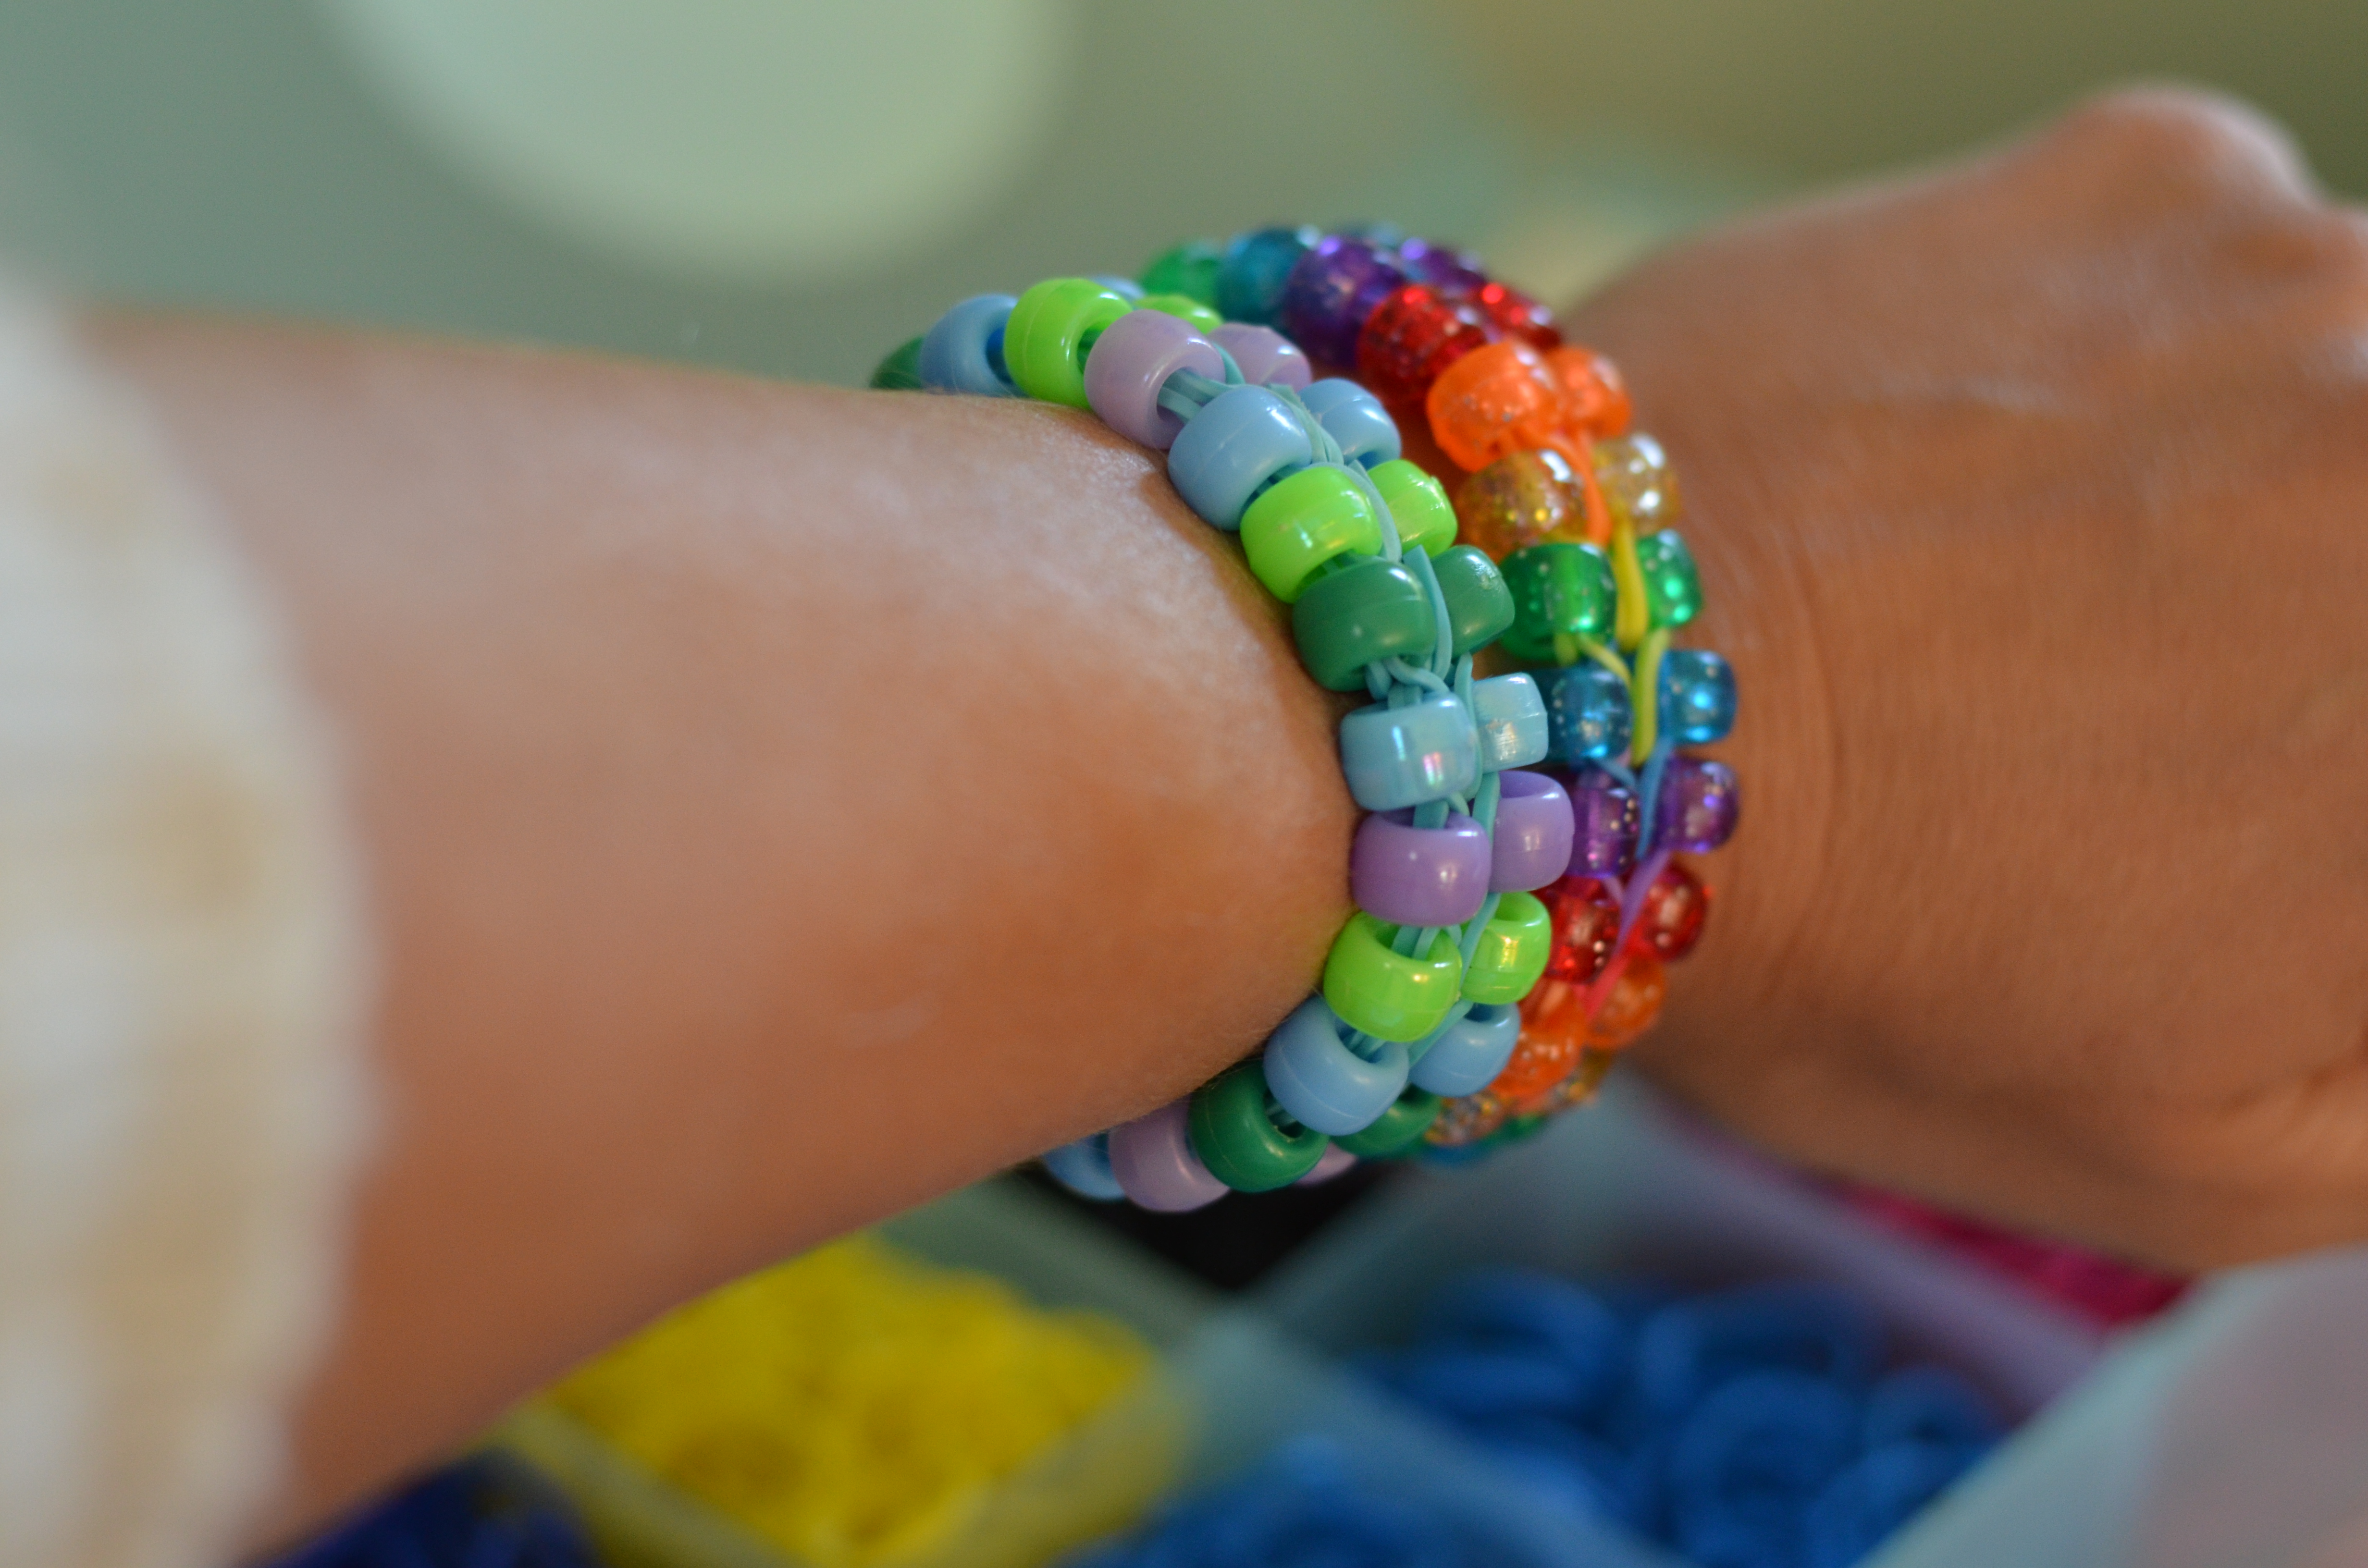
If there is one thing we have a lot of in this house it’s beads (alright, so we have a lot of more than one thing Sharpies, fabric, baseball cards and now small colored rubber bands – but no more acorns). We like to make jewelry and looking at beads so we have bought a bunch, but I think my daughters received at least a few sets every birthday and holiday for the past five years. We have the nicer beads in organizers, but the cheaper beads or larger sets have been dumped into plastic shoe boxes. I was excited to try the beaded rubber band bracelets out for the challenge and use up some of our bead stash. It wasn’t so difficult. You can follow the A.C. Moore tutorial to make the bracelets; it is the fishtail pattern with a pair of pony beads on most all of the rubber bands. My seven year old has been making rubber band and bead bracelets without putting the pony beads on every band in the fishtail pattern, just every few or a few pairs throughout.
The annoying thing about making these in our house is that if you want to make patterns, it takes a bunch of time to pick the pony beads out of the bin and then line up matches or coordinating colors. While doing this, I wondered how we could some of the other beads in the box out of my house integrated into the bracelets.
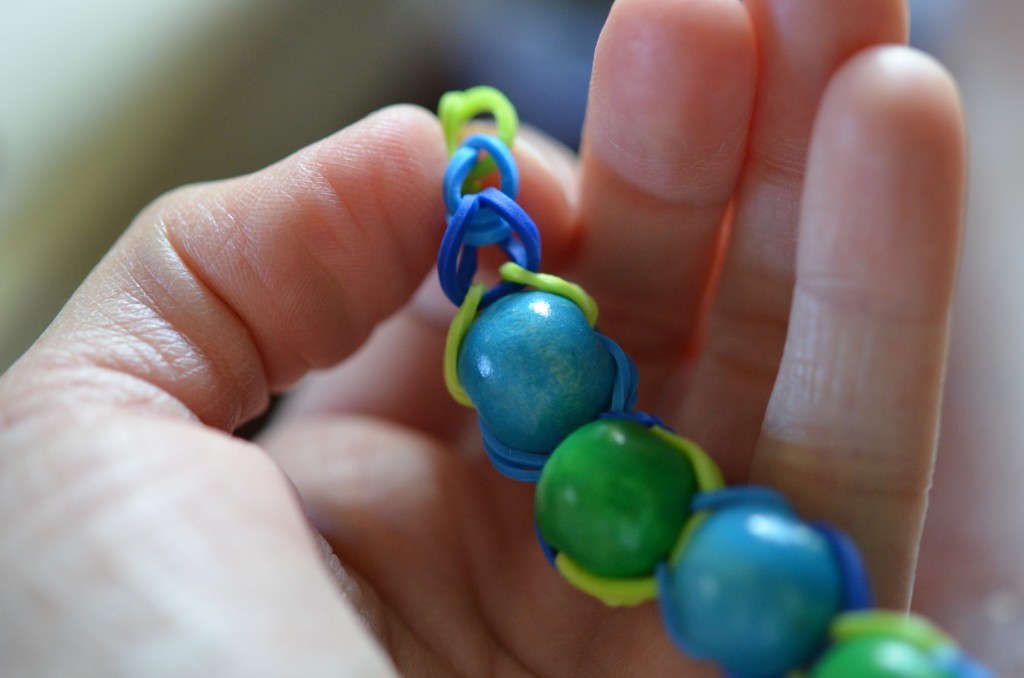
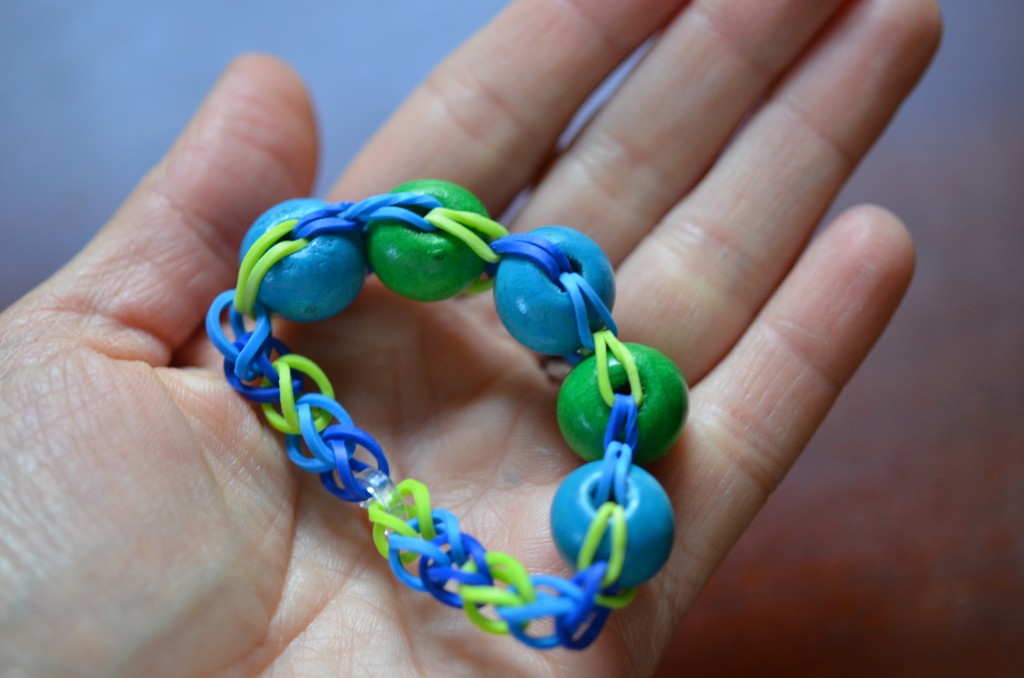
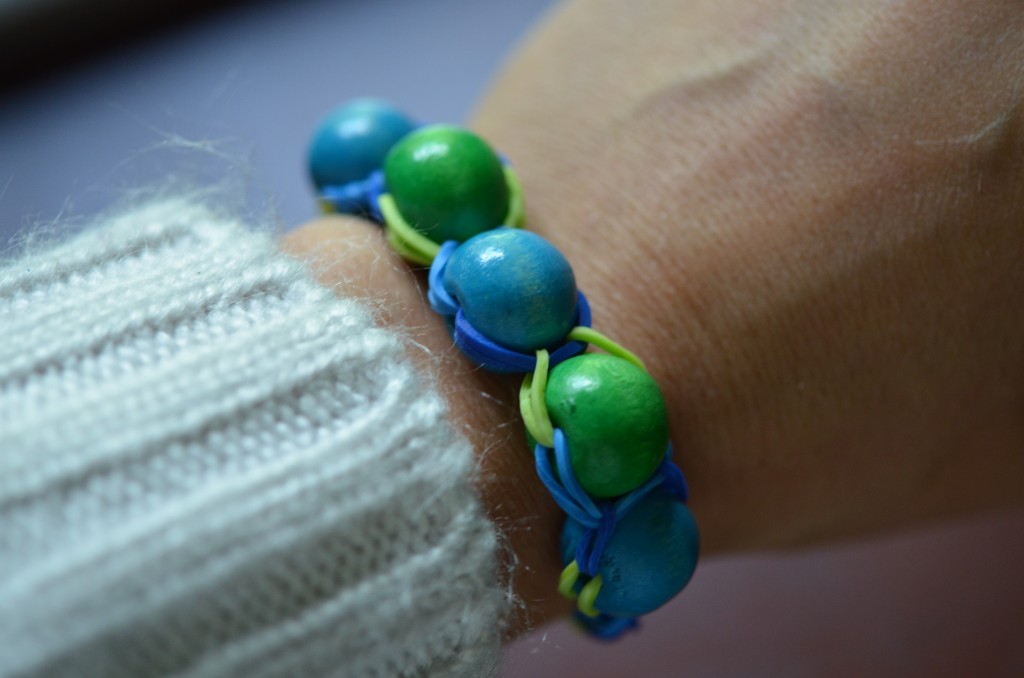
I ended up making a few bracelets using larger wooden beads and the basic chain pattern (no loom or tools necessary), and I think they came out pretty nice. It’s likely other people have done this before, but I haven’t seen this in tutorials anywhere (and we’ve seen a lot of different tutorials), so I thought I’d put it here. You can use any sort of beads you want. I made the beads just on the top of the wrist side of the bracelet because my kids and I can’t manage bulk on the bottom side of bracelets, but you can use the same technique to make the beads go all of the way around.
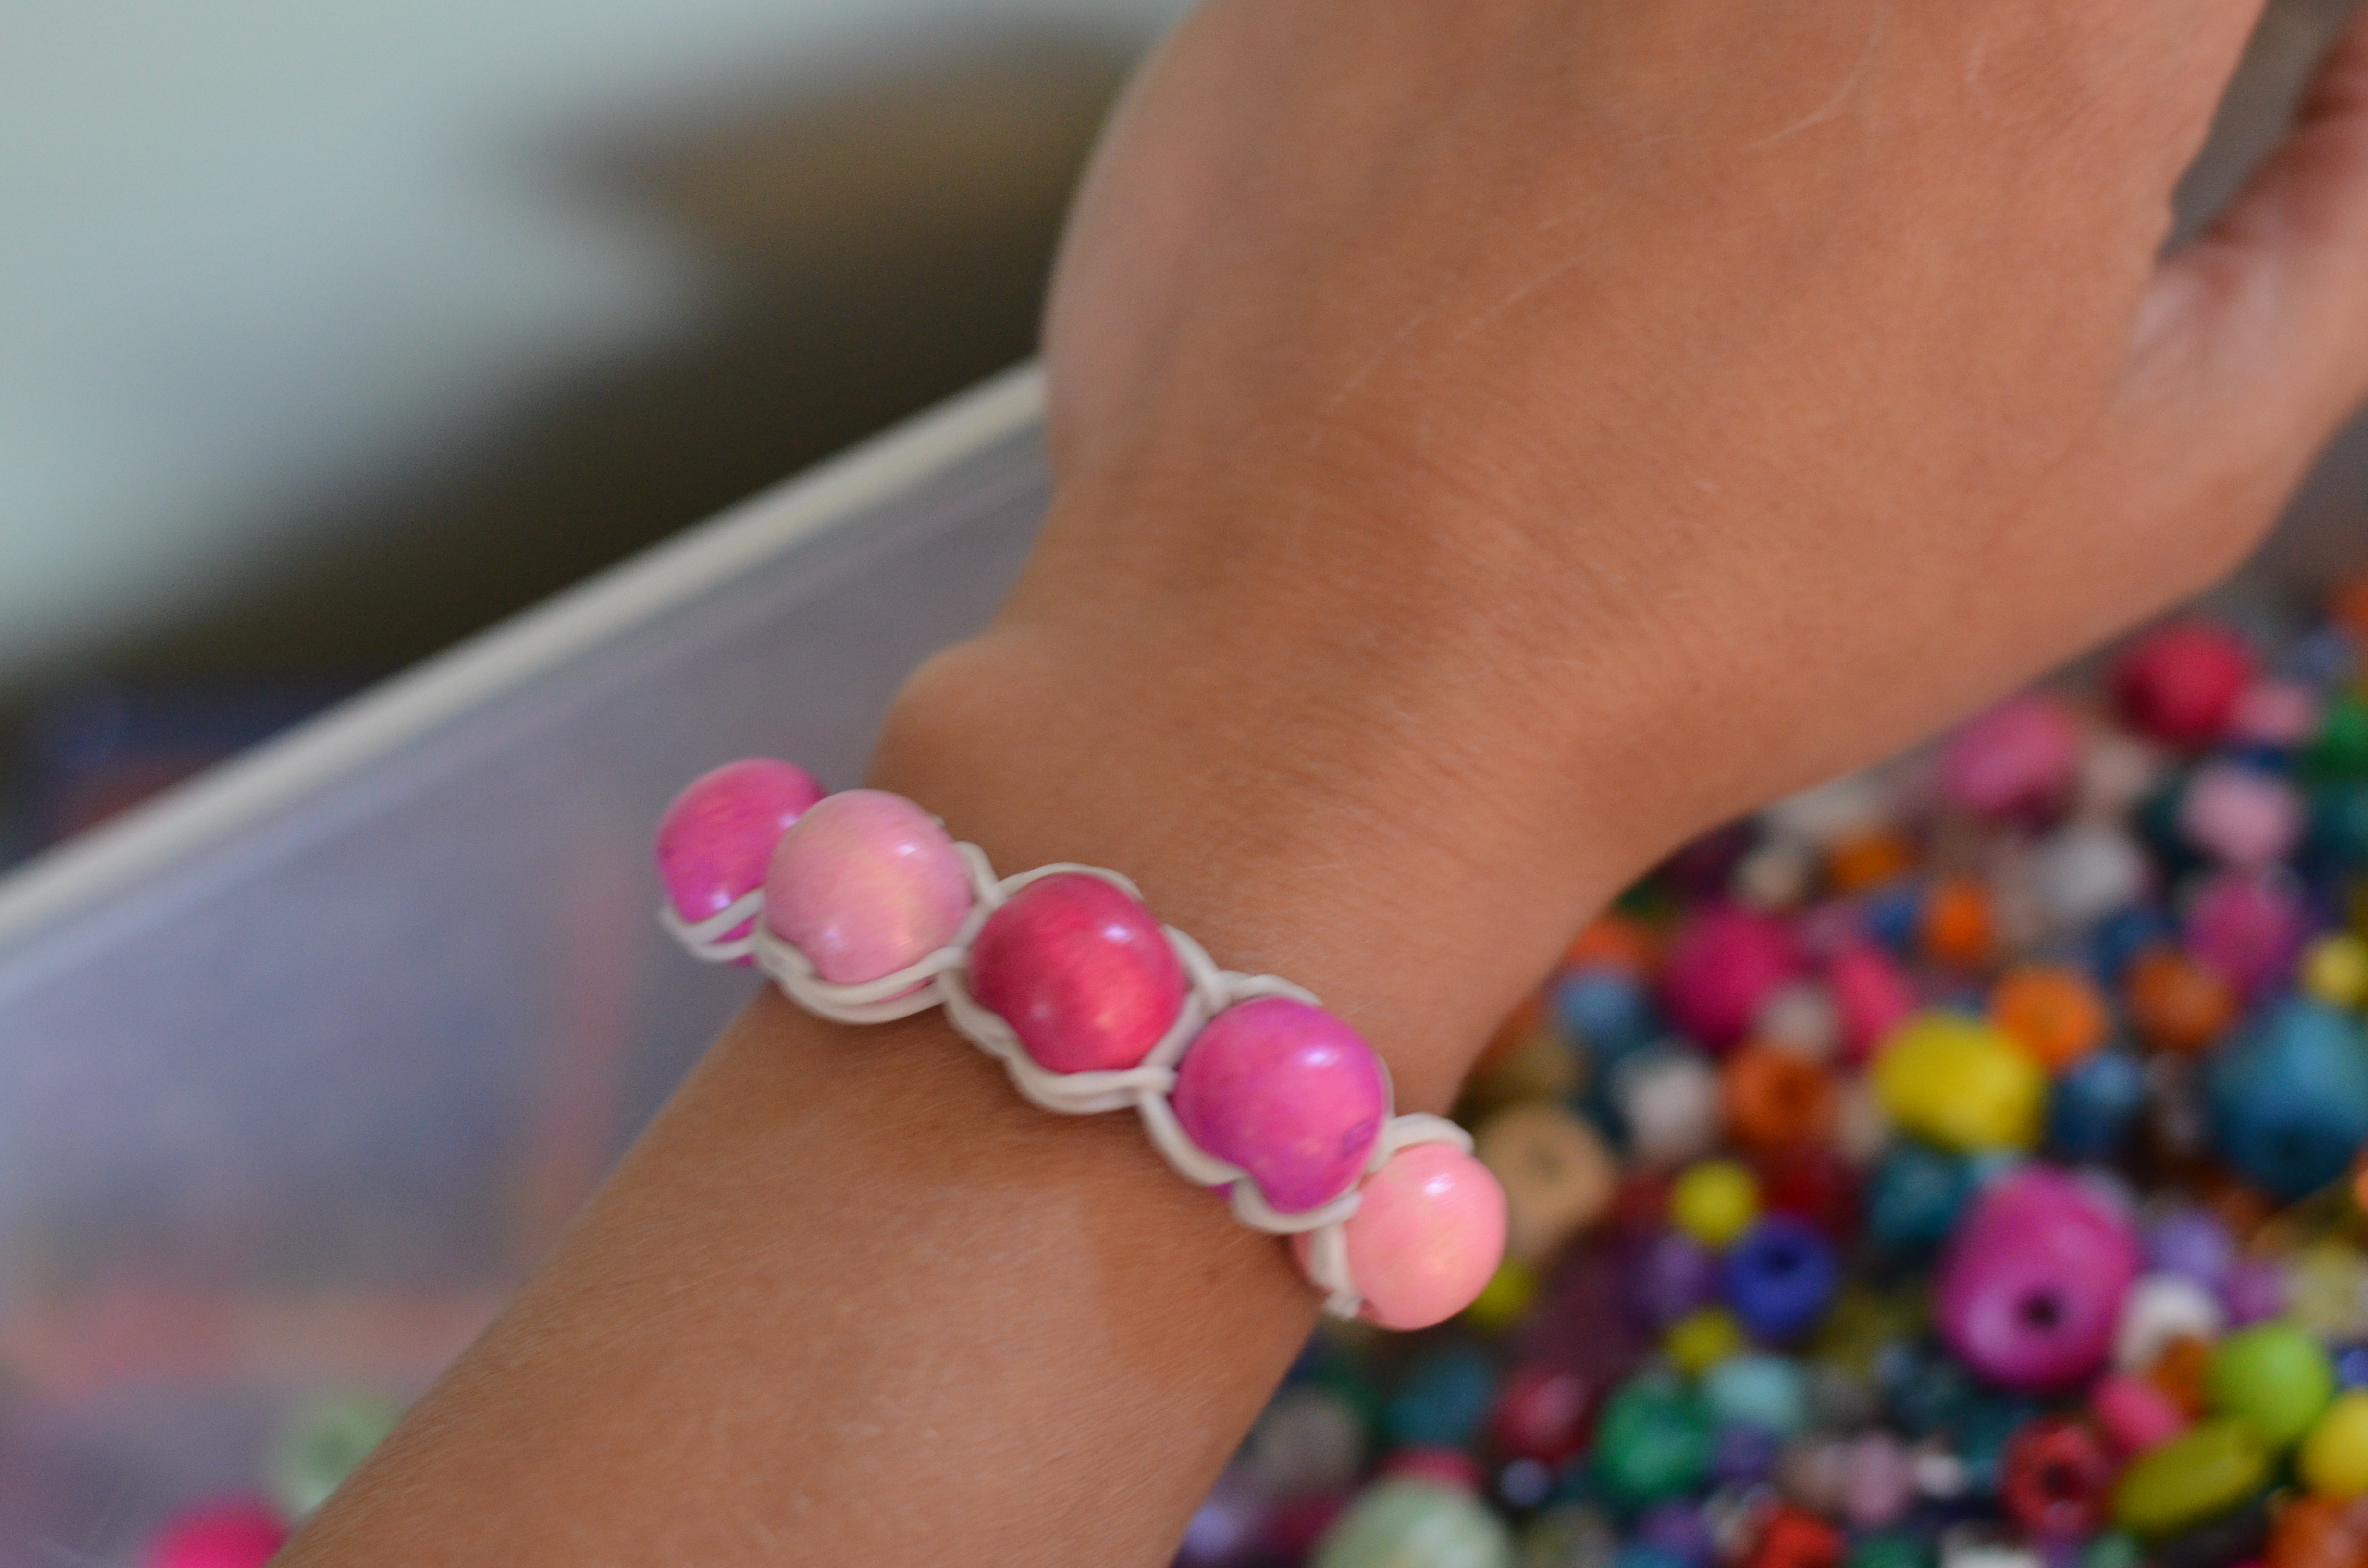
Chain Rubber Band Bracelets with Large Beads.
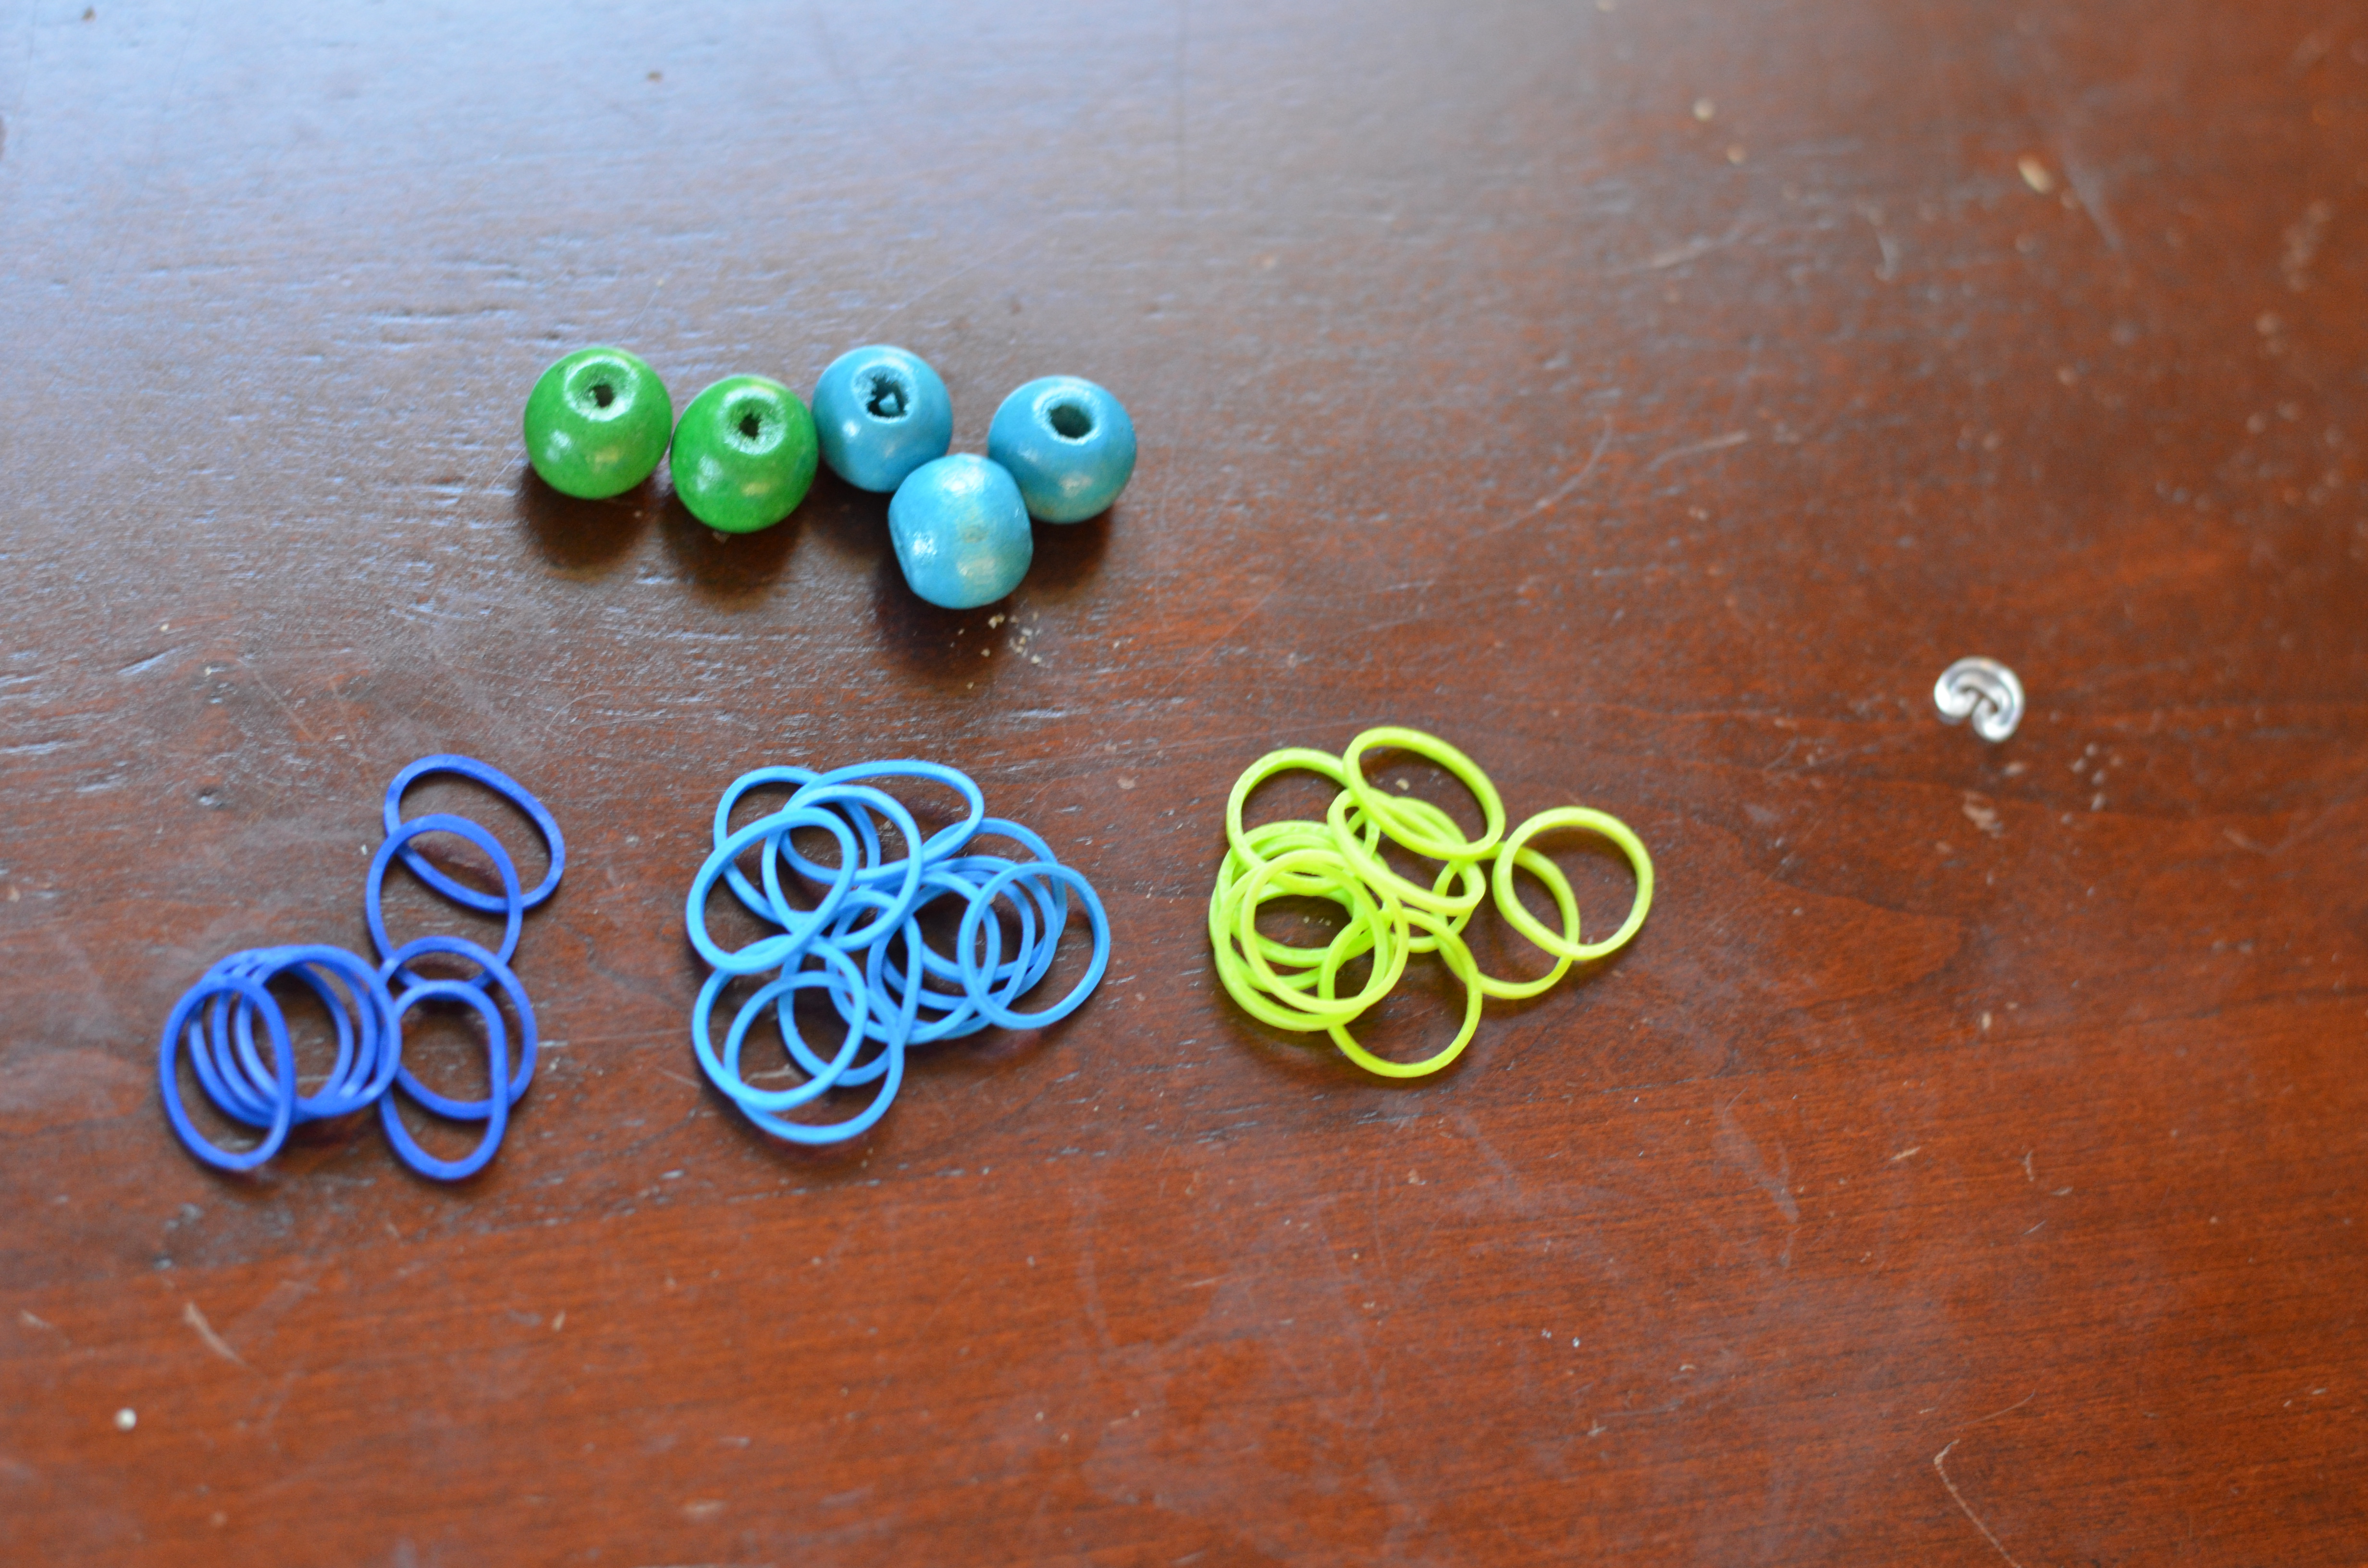
Supplies:
- Rubber band bracelet making rubber bands and clasp
- Large wooden beads
- Optional loom, nail, crochet hook, pencil or similar.
Directions:
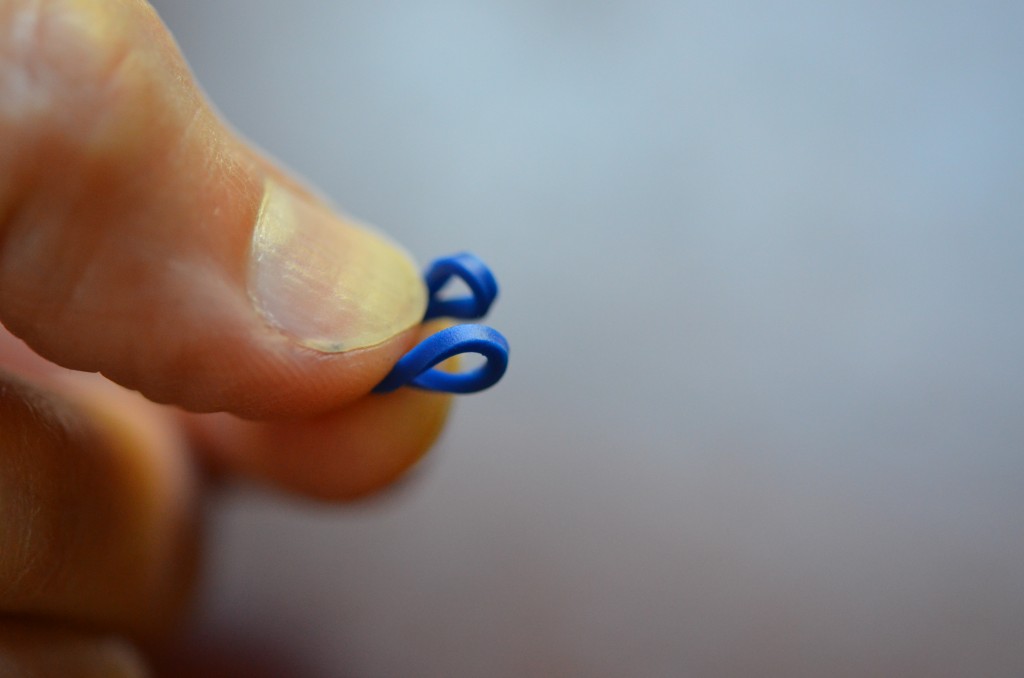
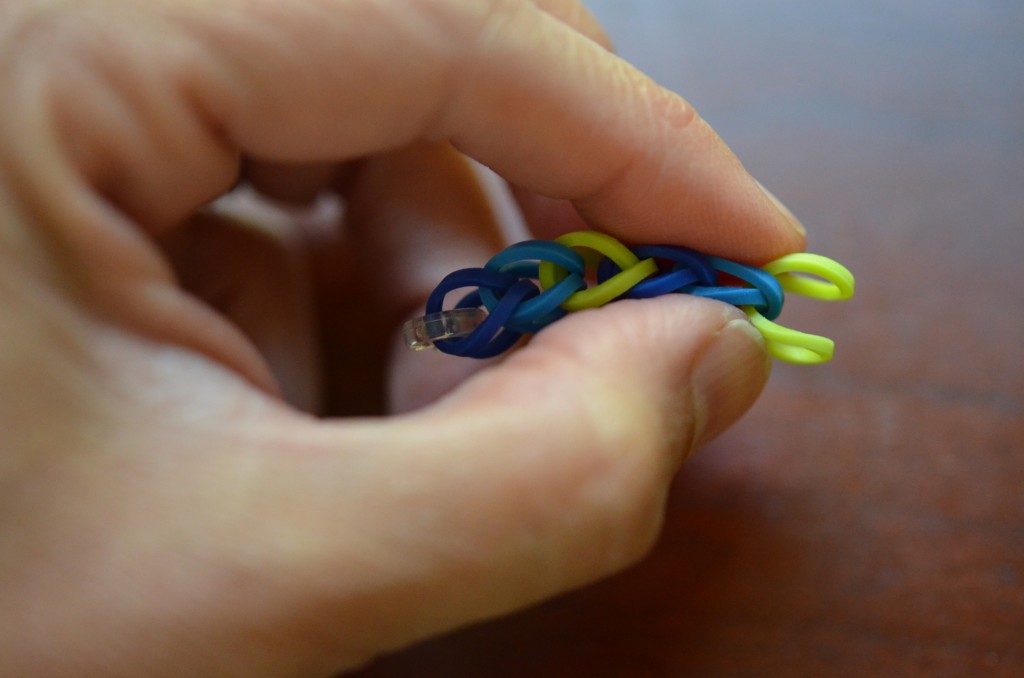
- Start to make a chain rubber band bracelet: Fold one rubber band in half. You may choose to add a clasp onto this band now, after a few steps, or at the end.
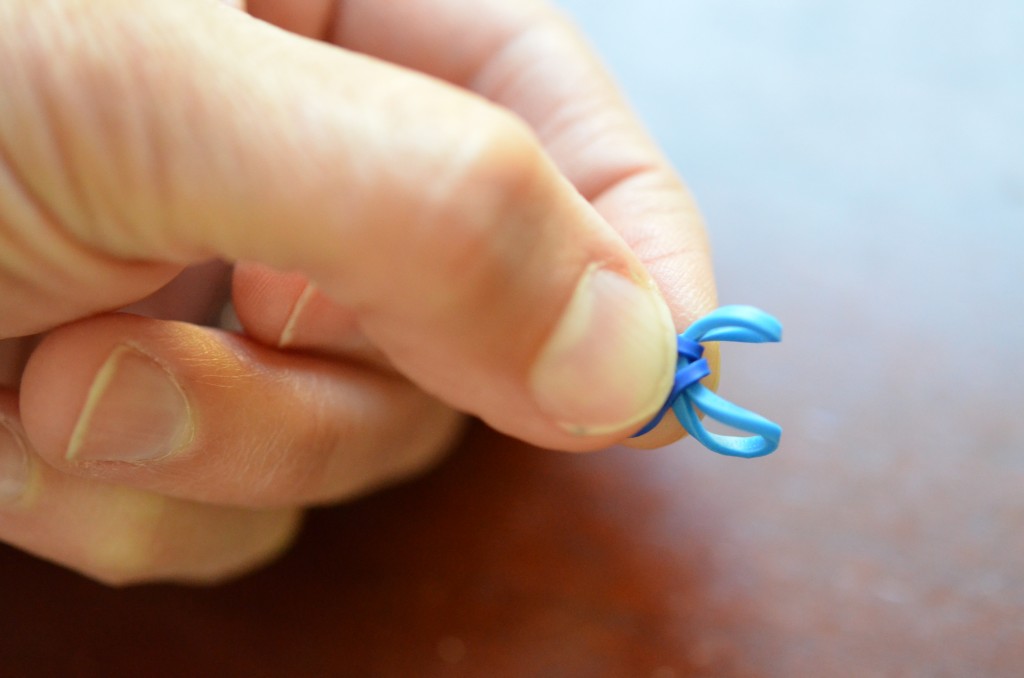
- Slip a second rubber band through both loops of the first.
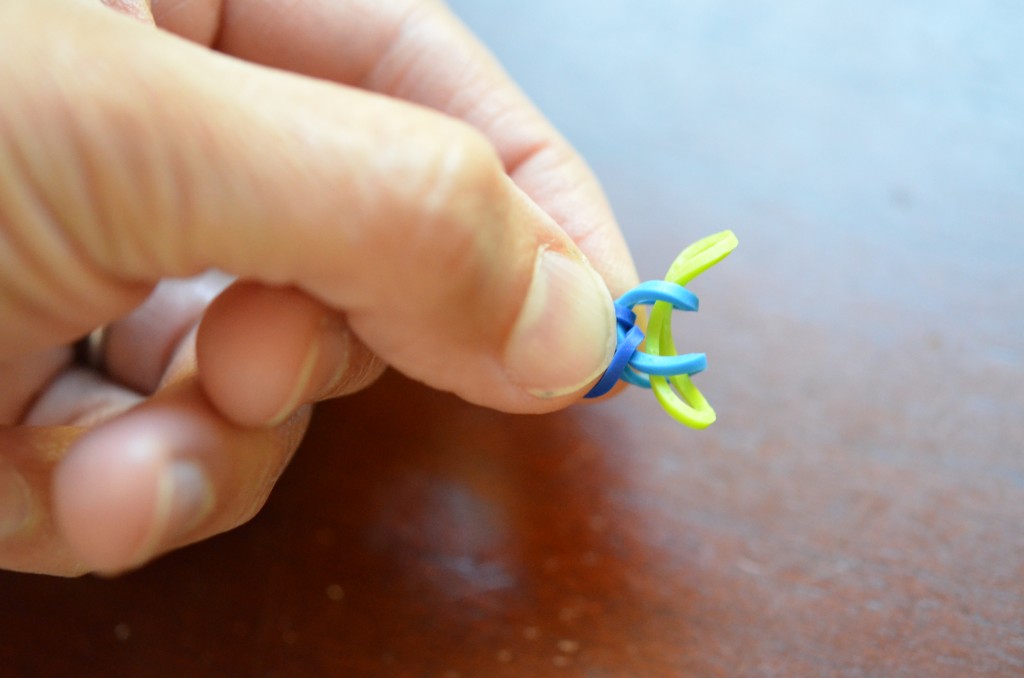
- Repeat this with additional bands until desired length (depending on your bead size and intended final circumference of the bracelet).
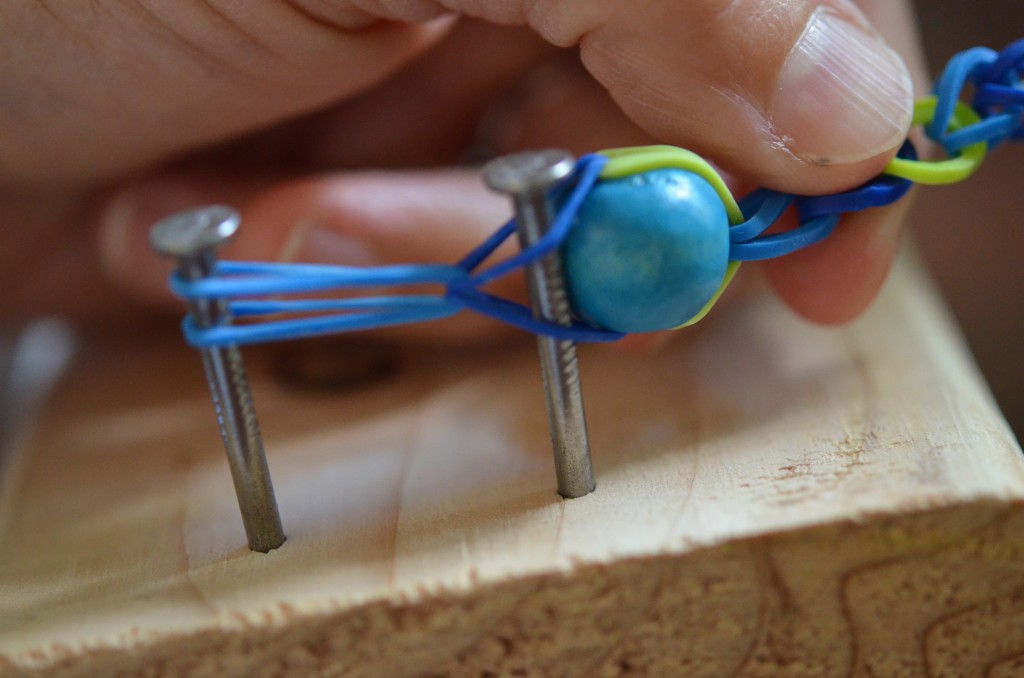
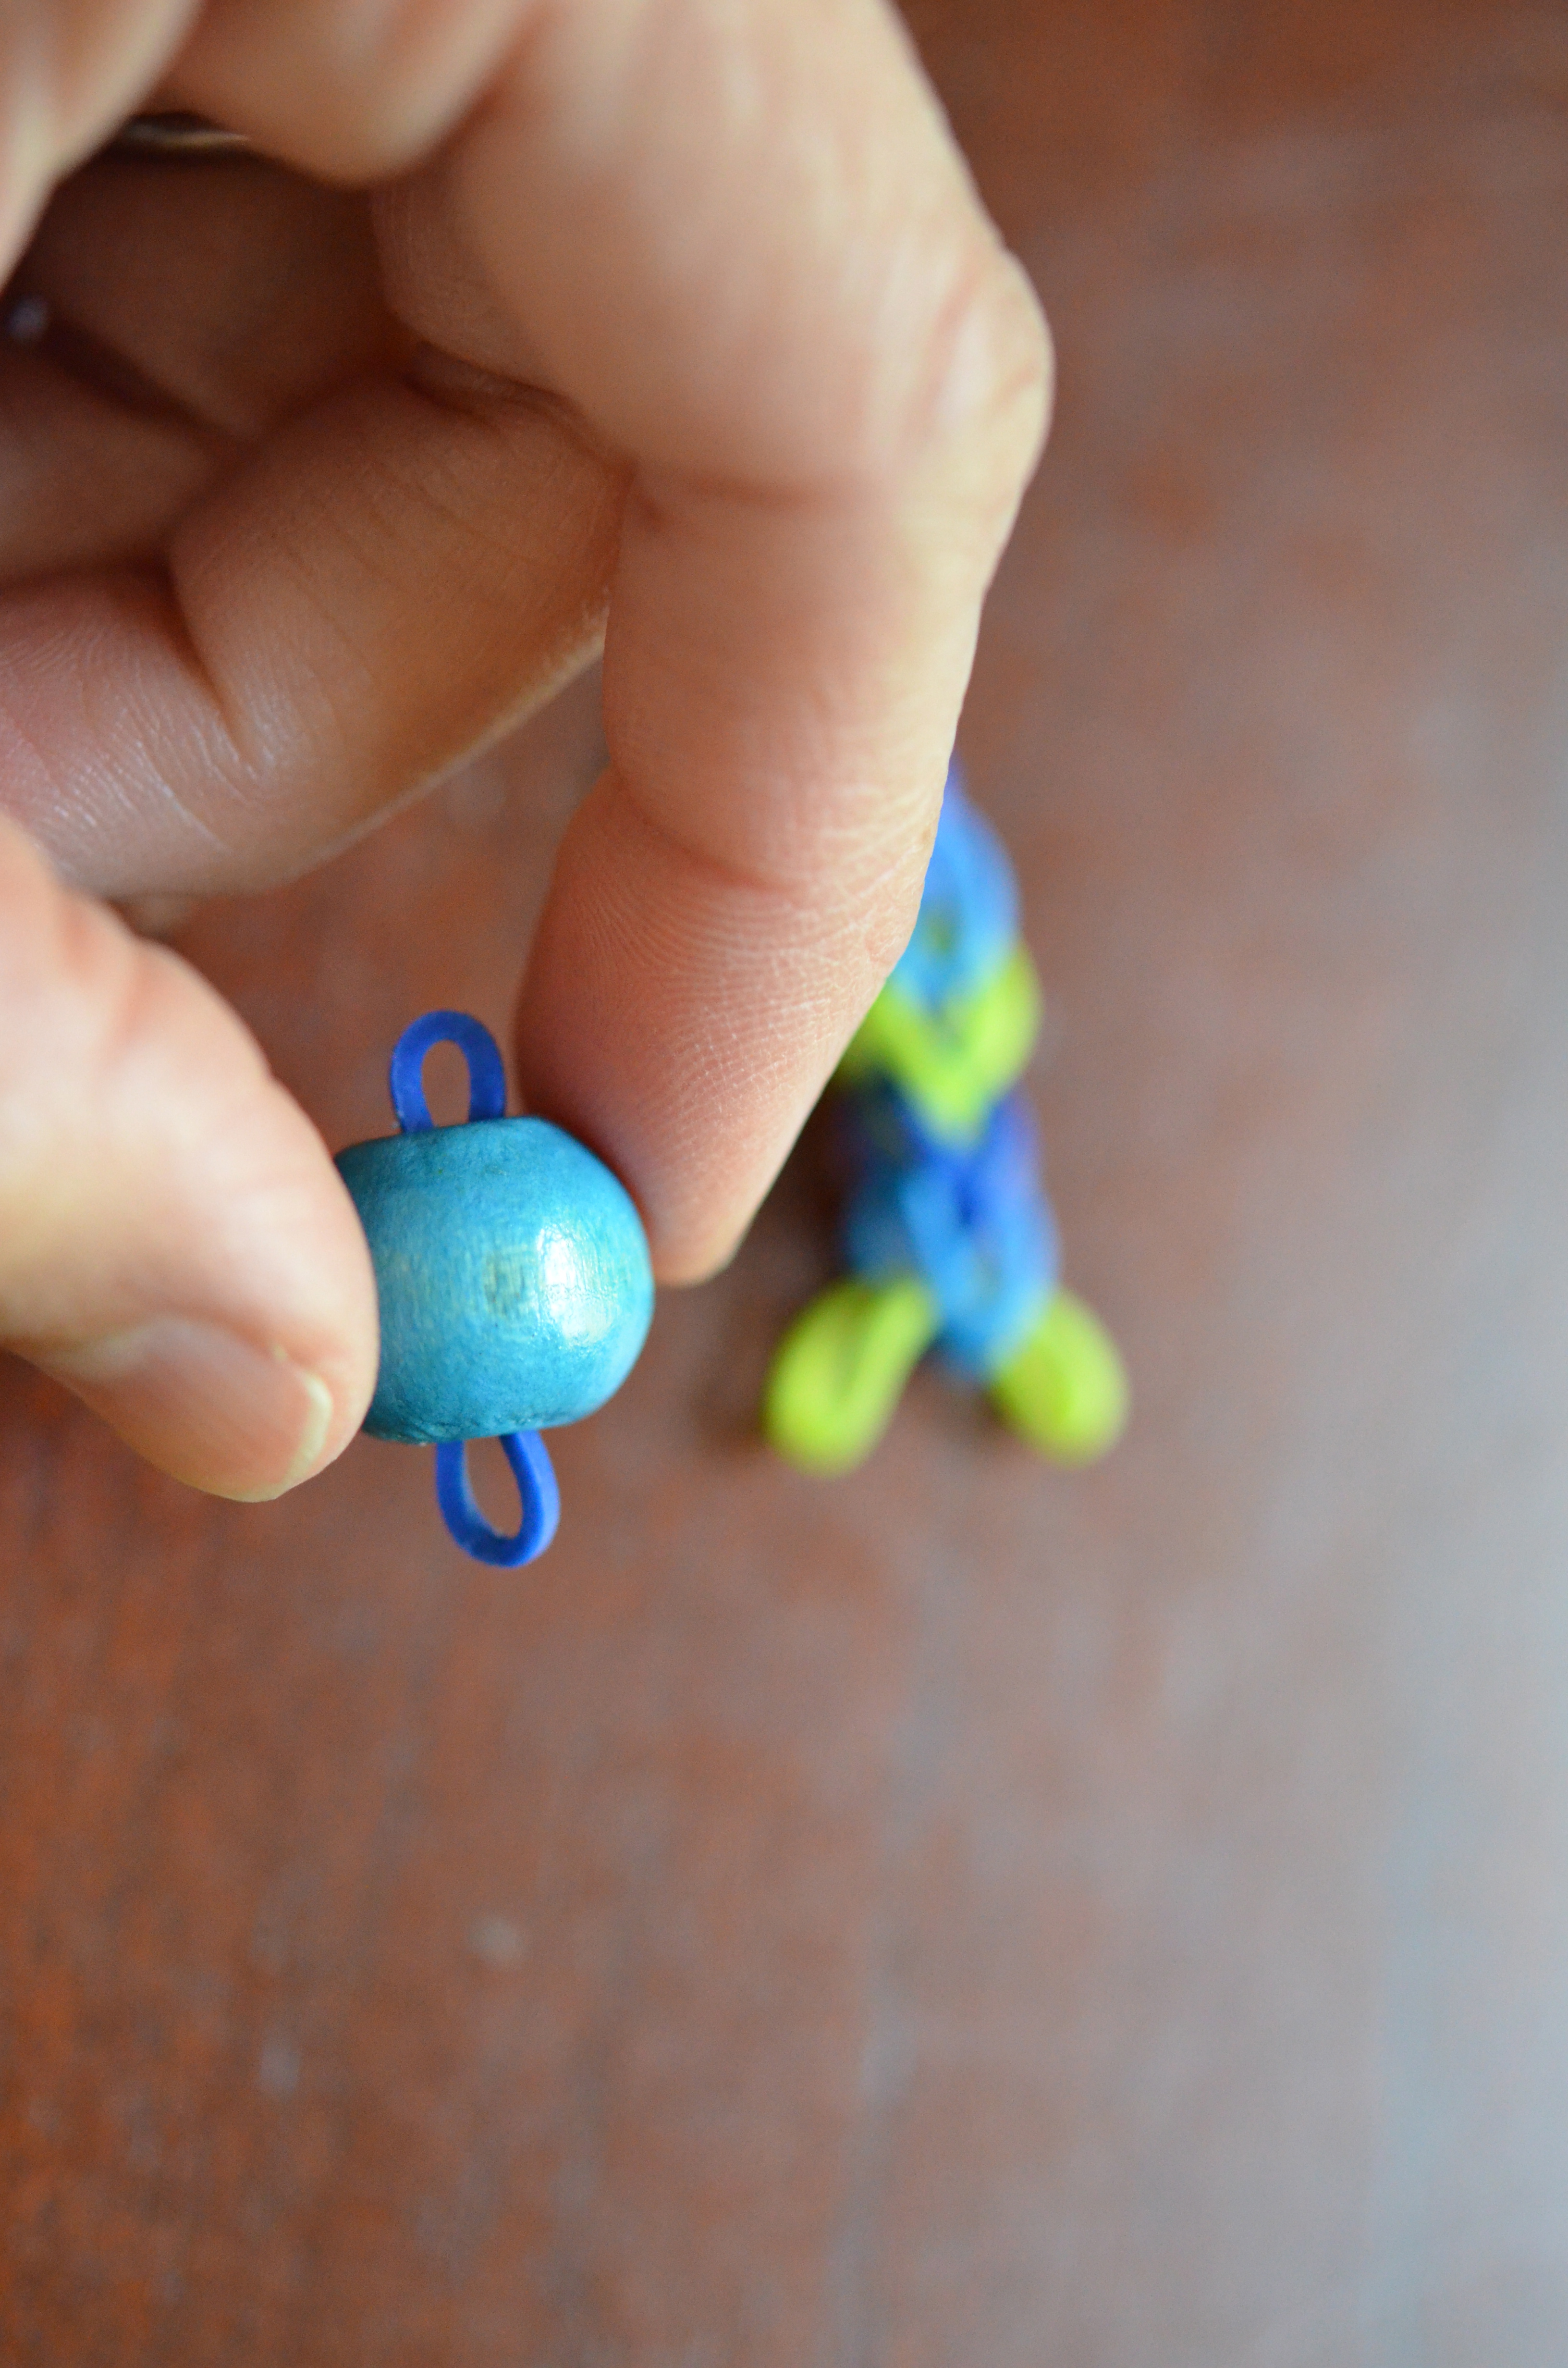
- Pull a rubber band through a bead so that the band sticks out both sides. I use a safety pin to pull it out one end on beads that aren’t too eager to let the band pass through.

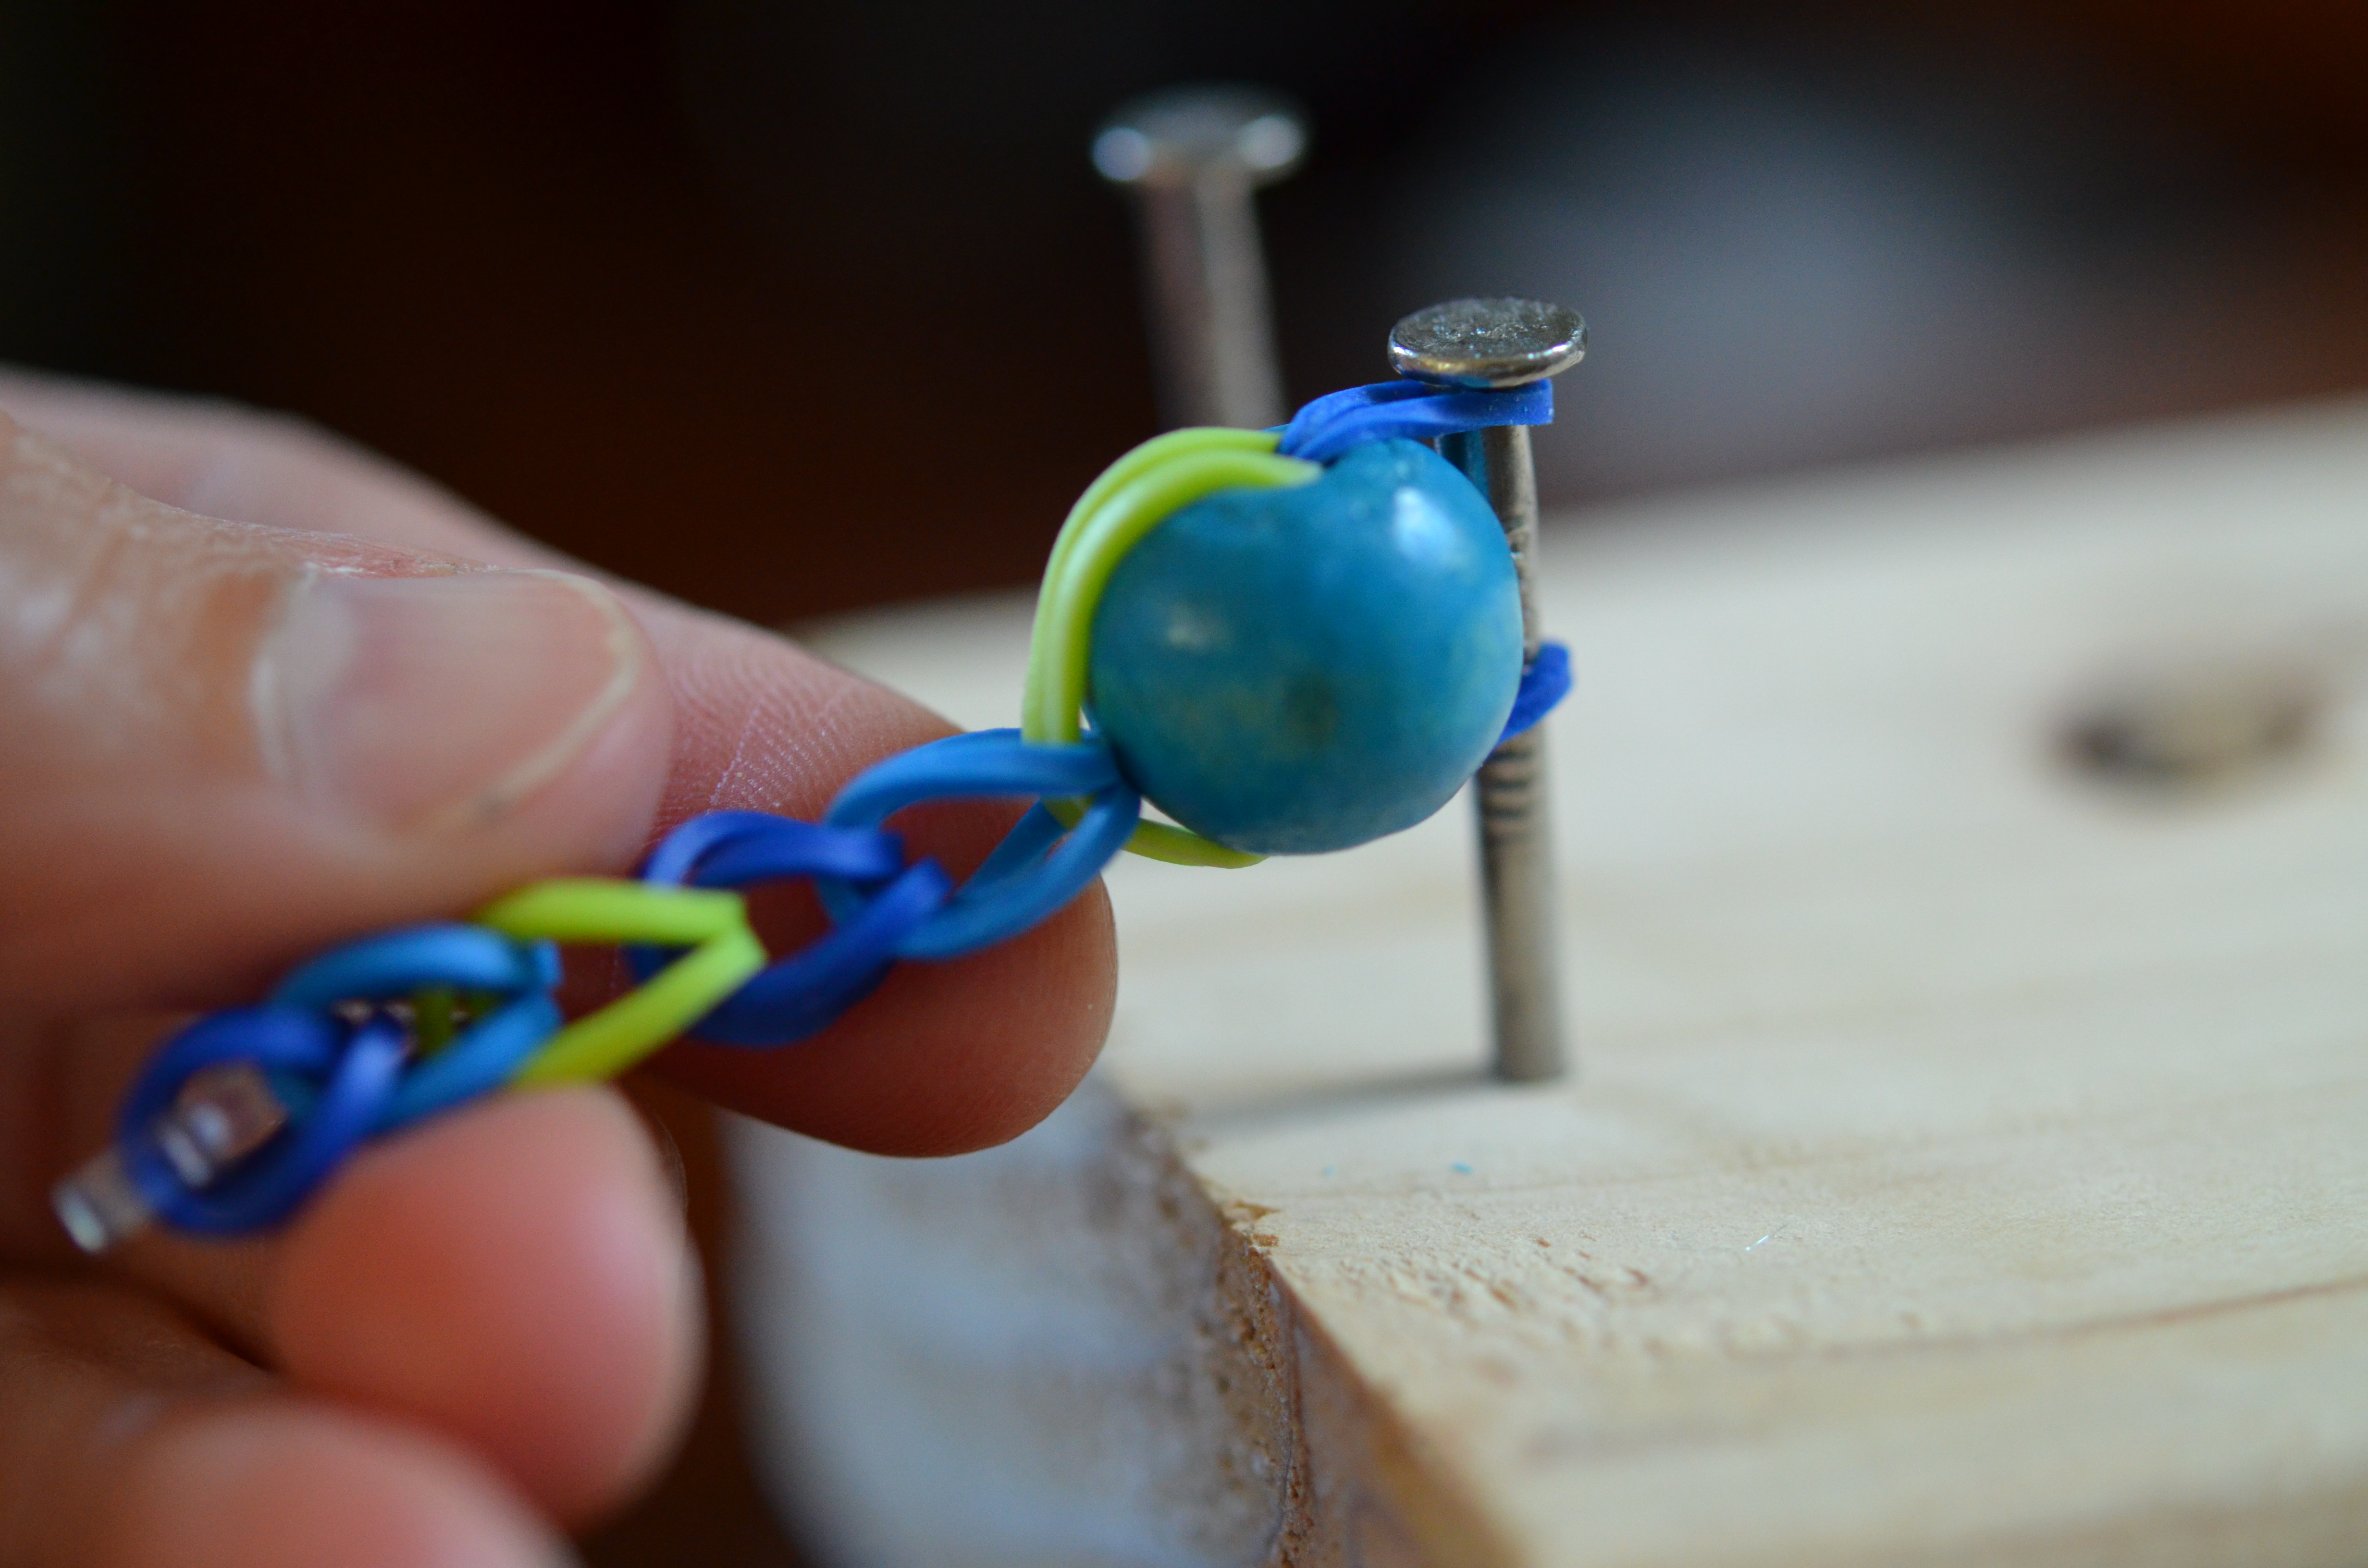
- Treat the beaded rubber band as you have the others in making your chain, just pass it through the last band on the chain. Depending on your finger dexterity and the size of your beads, you may want to use your loom, a nail, or something else long and thin (a crochet hook, pencil, a buddy’s pinky finger) to help you hold the chain. It may dare to to come apart on ya.

- Loop a band through the beaded band just as you have been for the rest of the chain. Here I stretched it out on the nails to fit it through, so I could take a pictures and have my hands free to put a band through the next bead. But the nails aren’t necessary.
- Feed a band through the next bead and add it onto the chain as you did the first. Alternate adding a beaded band and band without a bead to your chain until the desired length.
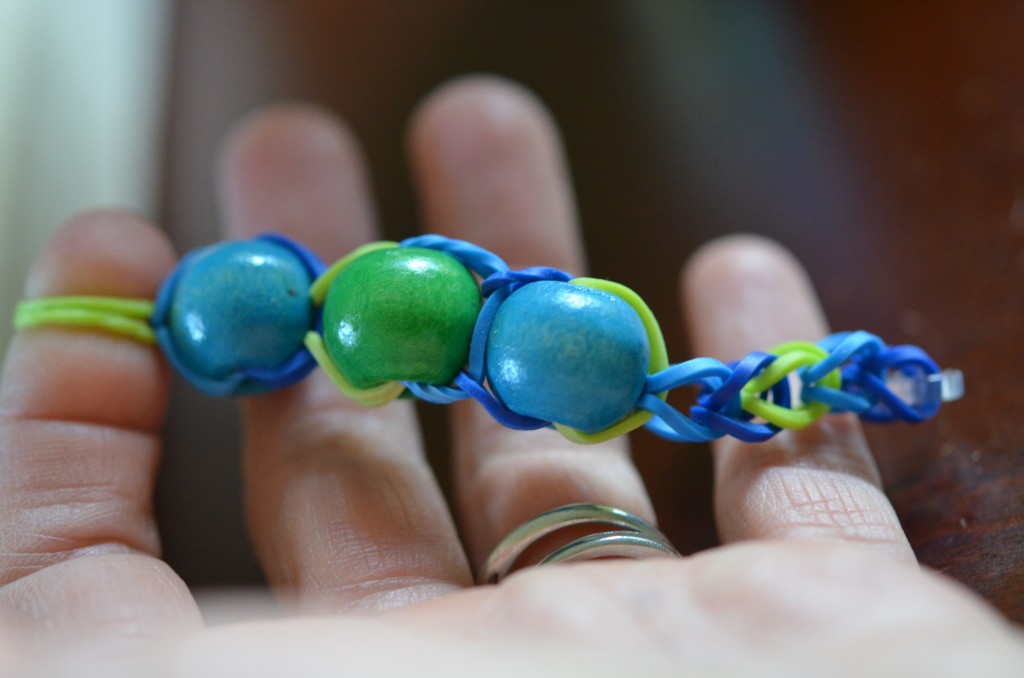
- After you add the last bead, just continue the chain with bands until the desired length.
- Clip the ends together. Tada!


November 20, 2013 at 9:28 pm
Could u show how to make them without the balls…
January 9, 2014 at 12:15 pm
Hi Alan, we’ve just put together this post at the The Bead Shop which shows how to make simpler versions of these bands. There’s a video there too which shows other ways of making the bracelets.
Here’s the link for you (not sure if this’ll make it a link, otherwise copy and paste) – http://www.mailorder-beads.co.uk/news/projects/stretch-band-bracelets-how-to-make-a-simple-stylish-accessory.
Hope this helps!
May 6, 2014 at 8:45 pm
yes i can thanks
November 30, 2013 at 9:35 pm
I love to do crafts with my grandchildren. How do you make the loom? I just cannot afford to get 6 of them. Thanks. Your tutorial looks so easy.
January 7, 2014 at 7:02 pm
Peg, I just used some scrap wood and nails we had in the garage. I used a 2×4 and nailed in some framing nails. If you plan to do the fishtail or chain pattern (the most popular), you just need two nails about an inch and a half apart. I put pairs on each side of the 2×4 so that people could work on each side at the same time. If you want to build the whole loom with nails, just bang the nails in about and inch apart in three straight lines. Start the middle line half an inch offset from the two outside lines of nails. Rainbow Loom looms have 13 pegs in each line.
We now own a few real Rainbow Looms and some of the more complex patterns are certainly easier complete using the Rainbow Loom because of the slotted pegs, but we’ve managed them on the homemade loom as well. I’d recommend maybe buying a couple of the real Rainbow Loom (or other company) if you can and then making a few of the boards with a pair of nails at each station. That should keep them all busy and they can take turns.
Have fun!
Pingback: Stretch Band Bracelets – How To Make A Simple & Stylish Accessory [Video] | The Bead Shop
January 9, 2014 at 12:17 pm
Hi there! Thanks for the really interesting post! We’ve linked to this article on our own blog post about Stretch Band Bracelets, as we loved your ideas. I’ve posted it as a reply to Alan above if you’d like to see how we do them. Keep up the good work 🙂
January 9, 2014 at 6:31 pm
Thank you, Mitch! Great video. Nice bead shop too – The coin pearl beads look beautiful! We are still enjoying the Stretch Band Bracelets in our house, following tutorials and coming up with new methods and designs, perhaps I’ll post some more ideas. Thanks again for the link!
September 25, 2014 at 10:45 am
Design your own wristband with home made loom. These are really heart-touching. Thanks for the post.
November 29, 2014 at 2:57 pm
Always interested in rubber band tutorials and want to thank you so much for a PRINTABLE tutorial instead of a video! Now I can keep it with my supplies and plan to try making bracelets with beads. Thank you so much! (From a grandma who likes making them herself!)
Pingback: 63+ DIY Patterns and Ideas to Make Beaded Bracelets | Guide Patterns
Pingback: How to Make Rubber Band Bracelets: 40 DIYs | Guide Patterns