My mother-in-law is gifted with generosity, but not subtlety.
When pawning off some of my CSA bumper crop carrots on her a few Sunday dinners ago, she casually mentioned that Aunt Diane had made some pickled carrots and they were delicious. A few minutes later she mentioned that we could use these carrots to make them. Later she slipped in how great the pickled carrots were again.
Same thing the next Sunday.
And then last week week the pickled carrot recipe appeared on my counter, just in case I wanted to make those delicious pickled carrots. And she commented that I had all of the jars (and carrots) already, so probably easier for me to make the pickled carrots than her, if I wanted to. And also that the pickled carrots were really good and would be good to make. If I wanted to.
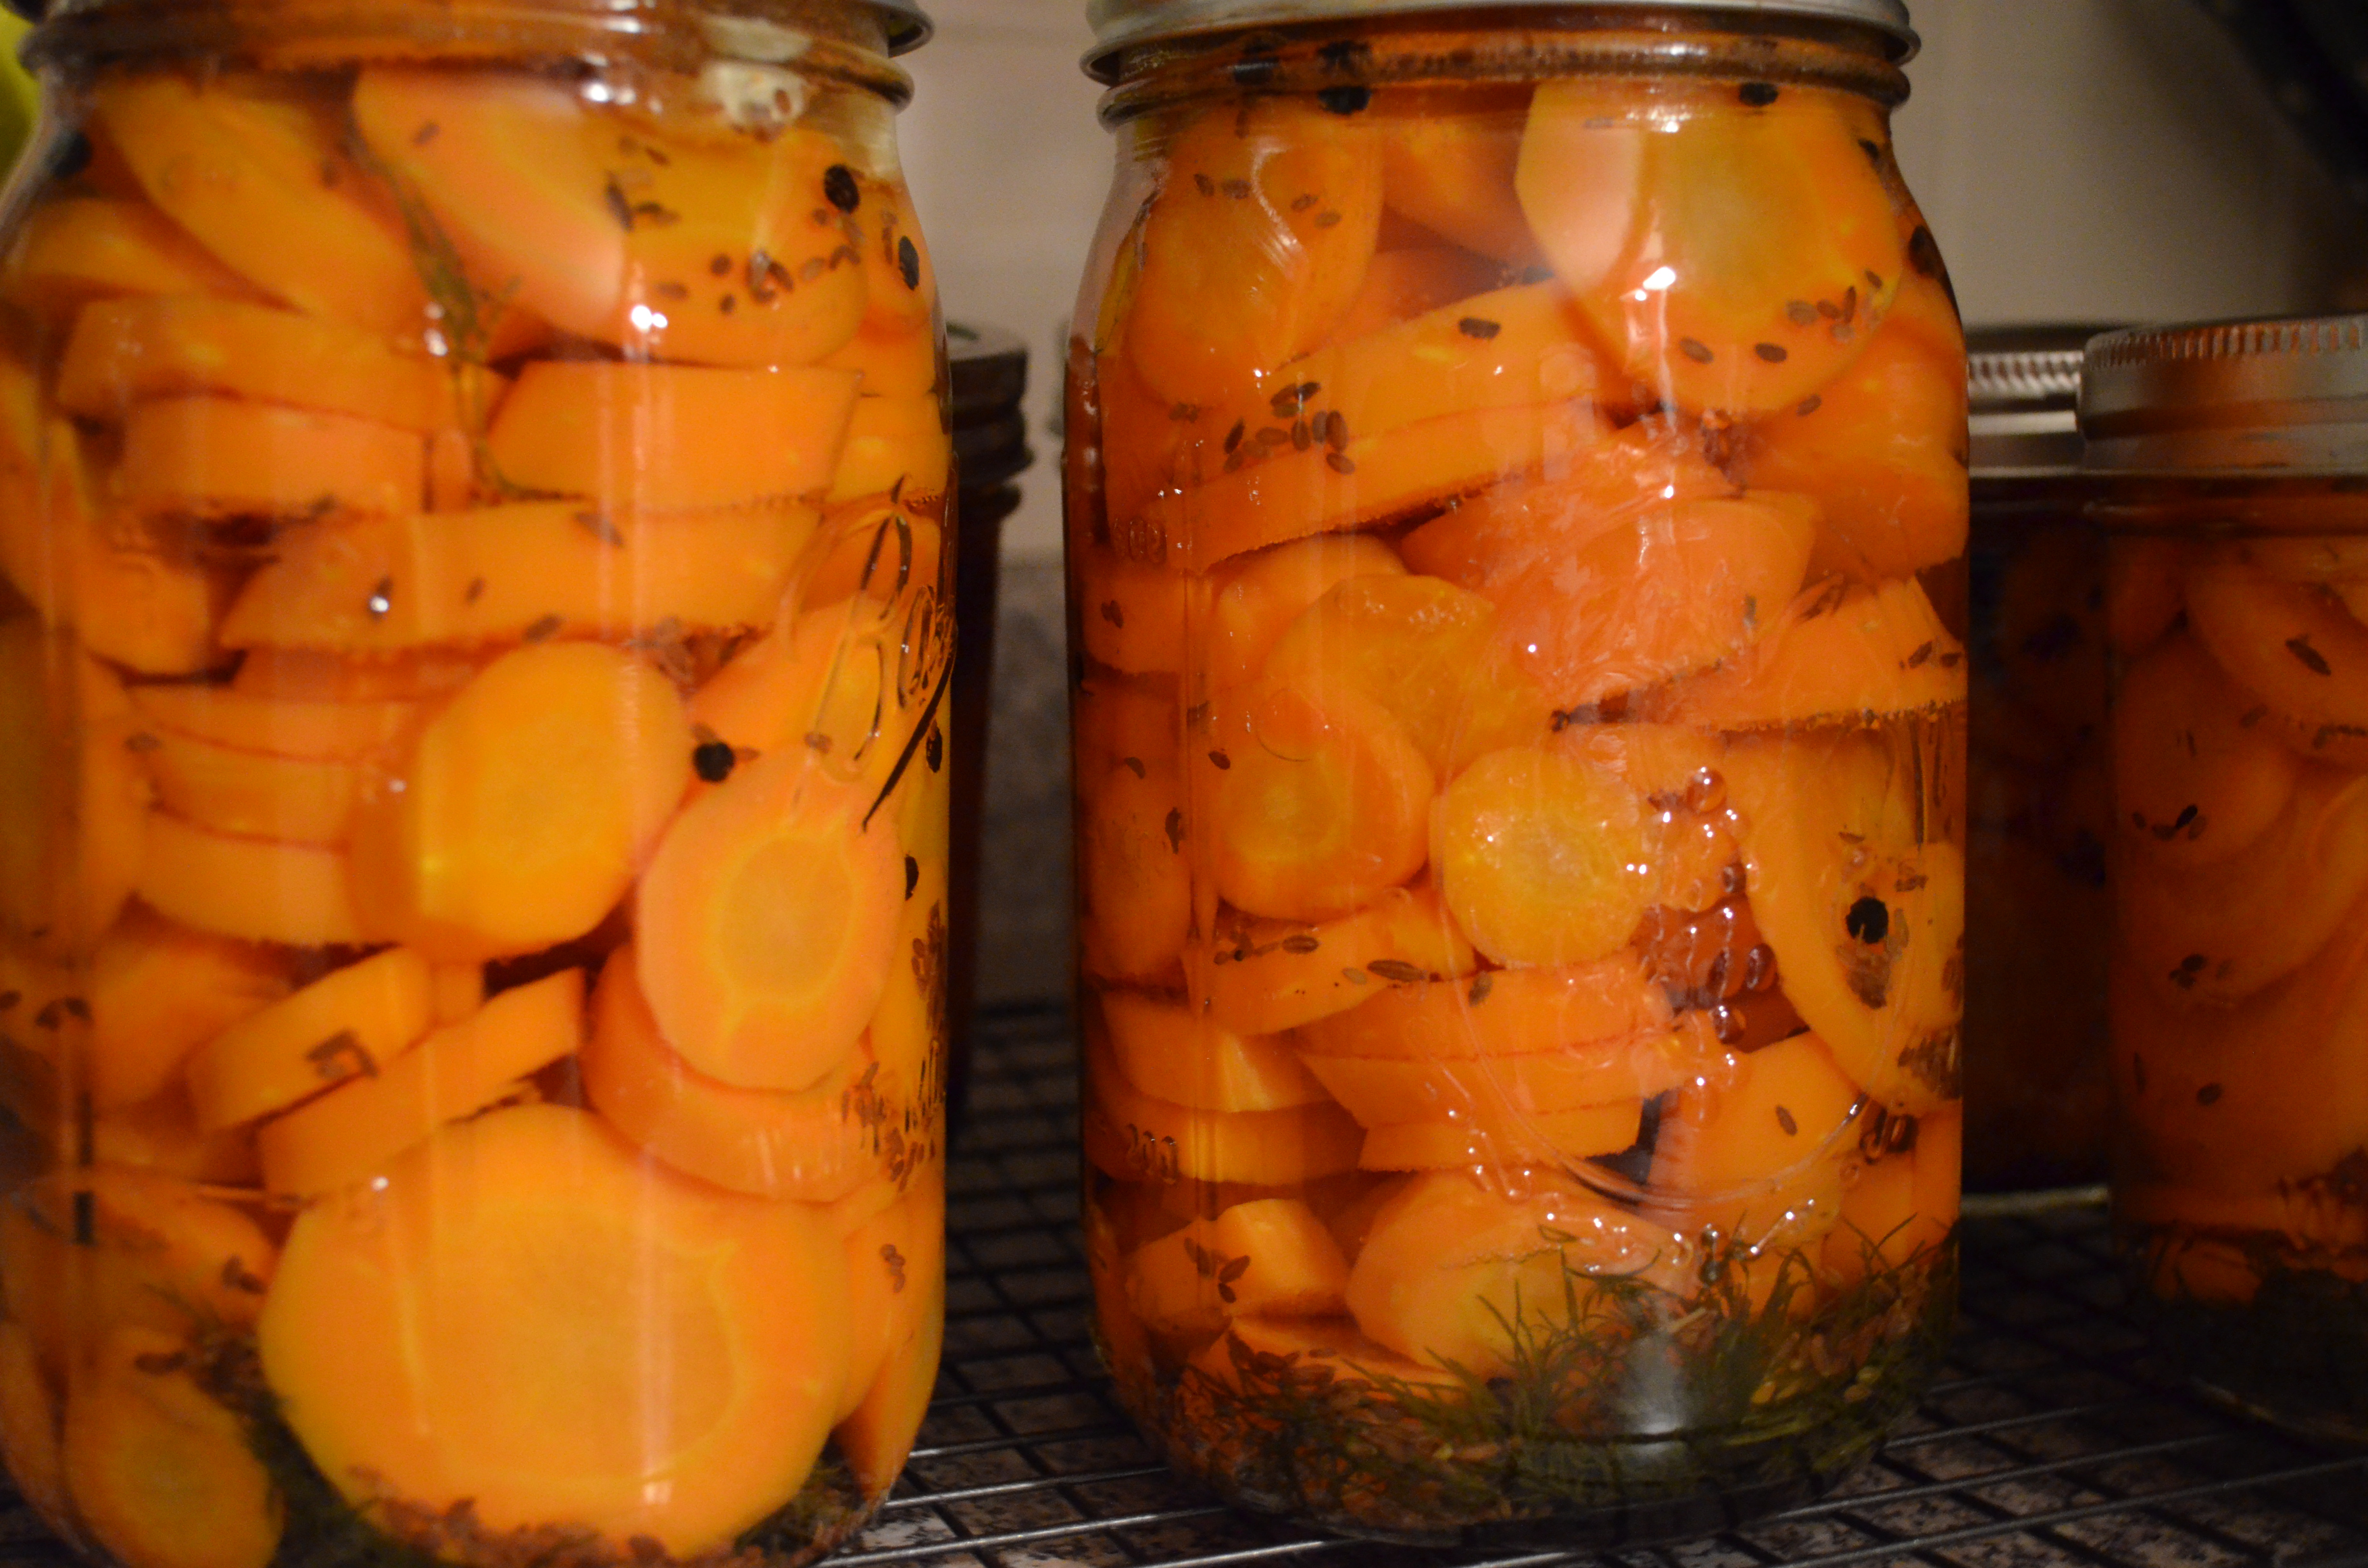
So I did it, Nonna. I made those pickled carrots. And they do come out quite pretty.
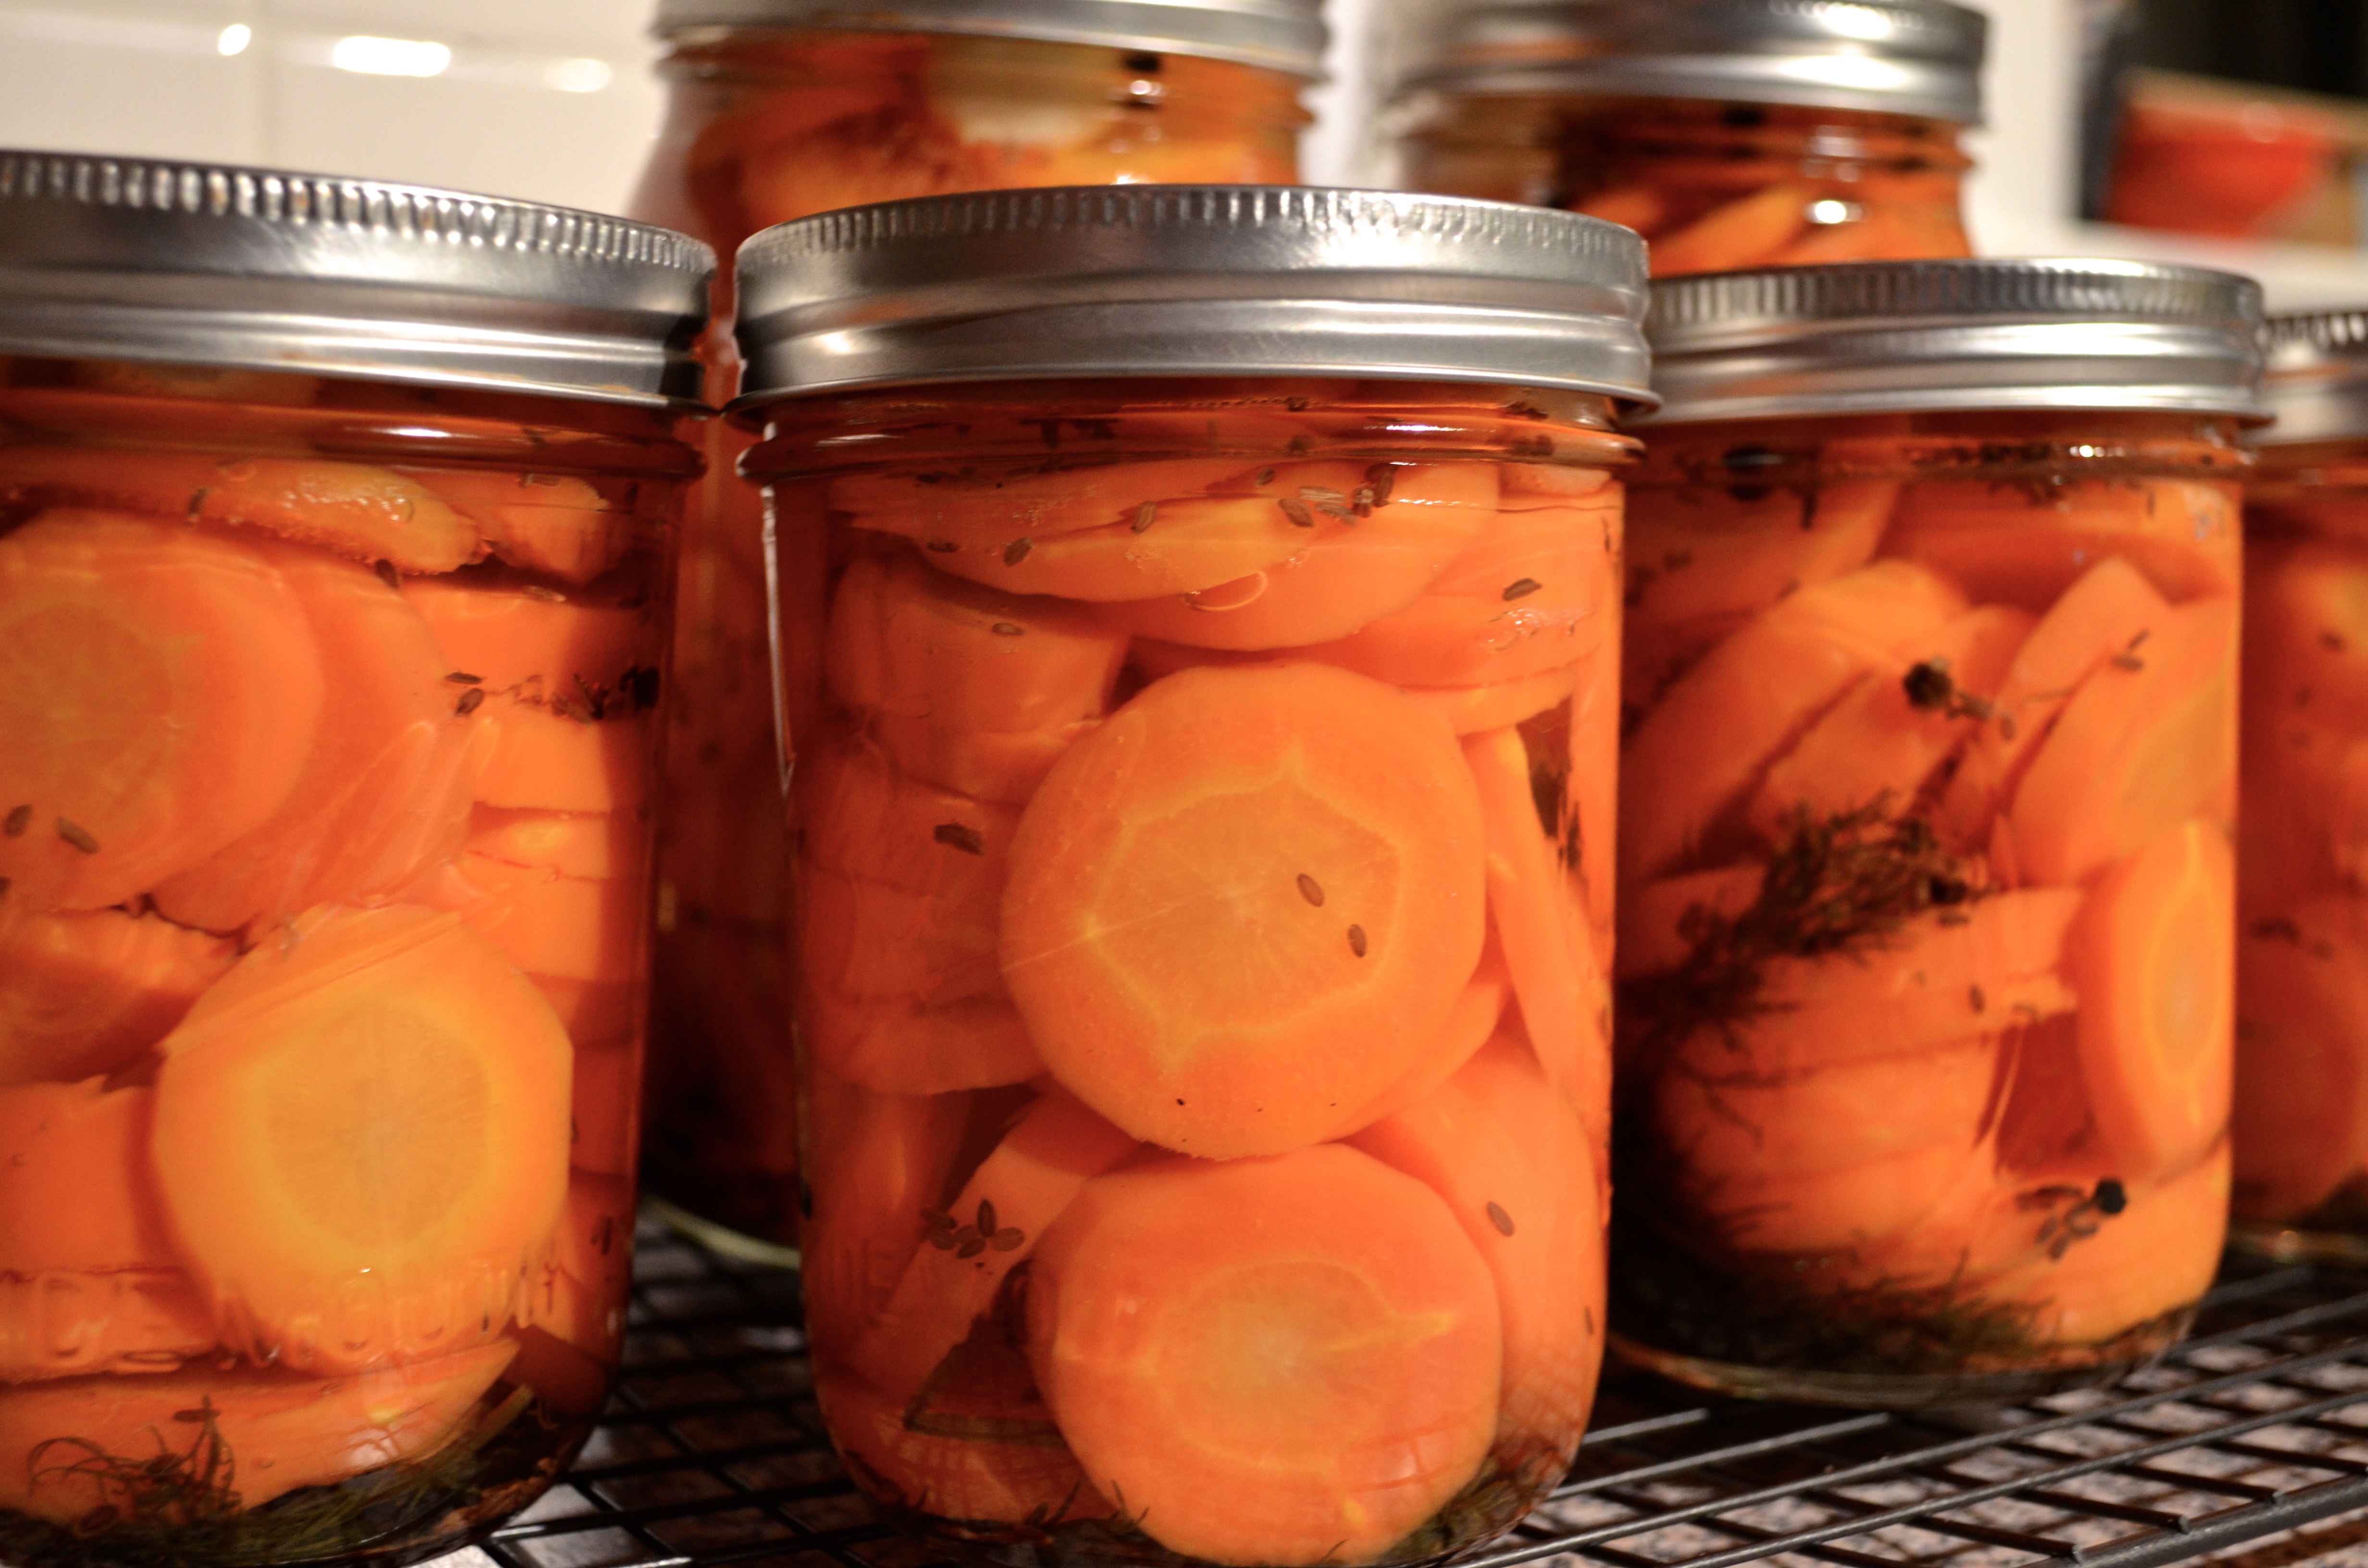
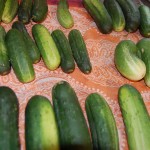
Thankfully making these put a dent in the carrot surplus. They did take longer than expected (peeling, slicing and blanching carrots, seems to take a lot longer than cleaning, slicing and stuffing jars of cucumbers). Aunt Diane’s recipe is for a 1 quart jar of refrigerator pickled carrots, but since I was doing it, the carrot pickles are allegedly so delicious, I wanted to stock up Nonna with pickled carrots for a while, and I had about 20 lbs of carrots on hand, I altered the recipe slightly. I quadrupled the recipe using about 7 pounds of carrots and then I canned/processed them for the shelf.
Aunt Diane’s recipe called for caraway seeds. I’d never put caraway into my pickles before and I’m not a huge rye bread fan, but added some and they aren’t overpowering. I’ve also never used dill seeds because I’ve had fresh dill on hand anytime I’ve made pickles in the past, the original recipe calls for both forms of dill. I had frozen dill sprigs from this summer and used that as well as seeds. I read somewhere that some people prefer dill seeds over fresh dill in pickles because the fresh dill tends to make the brine cloudy. You can count on me running a fresh vs. seed dill pickling taste and look experiment some time.
These carrots also pickle up pretty quick (24-48 hours). Much more satisfying than the 6 weeks we sometimes wait for my cucumbers. We opened them and tasted them after a couple of days and they taste pretty much exactly like cucumber pickles and have a good crunch. For the past few years, when making batches of pickled cucumbers or green beans I put half of a jalapeno or habanero pepper in half of the jars to have half of the batch be hot pickles. They have come to be our favorite and carrots are excellent candidates for a hot version too, if you are into that sort of thing.
These are good on their own, but would be great to add crunch, flavor and color to a salad (green salad, but especially something like a chicken, bean, pasta or tuna salad) or on a sandwich.
Dill Pickled Carrots
Makes ~one 1 quart jar, or two pint jars.
Easily multiplies for larger batches.
Ingredients:
- 7 medium carrots (~1 1/4 lb)
- a few sprigs of fresh dill
- 1 cup white wine vinegar
- 1 cup water
- 1 tbsp pickling salt (can substitute kosher salt with no additives)
- 1 tsp dill seeds
- 1 clove of garlic peeled
- 1/4 tsp caraway seeds
- 1/4 tsp black peppercorns
- 1/2 of a jalapeno pepper (optional, if you want it hot)
Directions:
- Sanitize your jar(s) (by boiling in water or running through a sanitize/high heat cycle on your dishwasher). Sanitize your lids and rings by boiling in water and letting simmer until you are ready to use.
- Clean, peel and slice your carrots. I sliced mine on the diagonal, but you can cut as you prefer – in sticks, crinkle cut, dice them up, whatever.
- Blanch your cut carrots: boil in water for about 90 seconds followed by an ice bath to stop cooking.
- While your carrots are cooling make your brine. Bring the vinegar, water, salt, dill seeds, caraway seeds and pepper to a boil.
- Pack the dill, garlic clove, hot pepper if you are using it, and carrots into the sanitized jar. Ladle the boiling brine into the jar leaving 1/2 inch headspace.
- Jiggle and poke around the jar to remove air bubbles and wipe the jar rim. Use tongs or a magnet to put the jar lid onto the jar. Screw on the ring until finger tight.
- If you are refrigerating your carrots, allow them to cool and then put into the refrigerator overnight up to 1 week.
- To can your carrots, process in a water bath for 10 minutes.