December 30, 2017
by jenny
0 comments

Those Giant Crinkled Chocolate Chip Cookies

This summer I was reading about the giant flat crinkled chocolate chip cookies that swept the blog world last fall. Recipe bloggers were trying to recreate and perfect the original recipe and it was on multiple blogs and multiple recipes.

These cookies were sort of the opposite of my go to chocolate chip cookie recipe – big and flat as opposed to small and thick. They both had a gooey aspect, but maybe gooey in different ways. The new recipe was allegedly crispy and gooey. The key to the new recipe was a combination of chilling the dough and banging the pan while baking. Interesting.

I tried one of the recipes this summer. I followed the recipe right off of my laptop. The recipe was deemed a success and the recipe “a keeper” by my family and a couple neighbors who fancy themselves chocolate chip connoisseurs (or at least big fans).

A couple months after that I decided to make the new big flat chocolate chip cookie again. But I couldn’t find the recipe. I searched and I searched and I couldn’t remember where I had originally found it and I couldn’t find it again.

And a month after that, I tried again. And had no luck.

And two weeks, I tried again to find it for a birthday.

AND THEN last week, a different neighbor having no idea I’ve been looking or even knew this recipe existed, but also a huge chocolate chip cookie fan who saw the recipe on instagram shows up at my door with the recipe. The same recipe! How crazy is that? It may not be your version of crazy, but it certainly seemed crazy for me. He had also brought with him a deep longing for giant flat crinkled chocolate chip cookies and bars of bittersweet chocolate to contribute.  I made him the cookies.

My kids and husband approved.

I doubled the recipe and changed a couple things (for example, I refrigerated the dough overnight and then skipped the freezing the dough – though I did freeze the cookie sheets before baking), but it is basically the original – Sarah Kieffer’s recipe from “The Vanilla Bean Baking Book.”  I can give you my recipe, but think you should go to/read about and give credit to the original!

Enjoy!

pan-banging chocolate chip cookies


Print Friendly, PDF & Email
Facebook Pinterest Plusone Twitter Email

December 18, 2017
by sarah
0 comments

Flowers in December


Every year I encourage the kids to make something as a gift for their grandparents and other family. We discovered these flowers made of glue and wire and thought we would try them.

Wire flowers

Supplies

  • 20 gauge wire
  • wood glue
  • nail polish
  • pencil or large marker
  • paint brush
  • plastic cup
  • optional – cup with dried rice
  • Newspaper (or something to protect table from dripping glue)

Instructions

  1. Cut a piece of wire about 2 feet long. Wrap the wire around the marker or the pencil to make the flower petals. The larger the cylinder you use the bigger the flower. We found the smaller petals were easier to manage with the glue.
  2. Pour wood glue into the plastic cup.
  3. Dip the wire flower into the glue. Take lots of deep breaths and be Zen with it! The glue creates bubbles between the wires. Like most bubbles they are very fragile.
  4. Let dry. We found that a mug full of dried rice helped the wire stand up and avoid bumping into the other drying flowers.
  5. When dry add another coat of wood glue. Once again be Zen with it. At this stage the dried glue is still very fragile. Once the second coat of glue dries they become pretty sturdy.
  6. When dry decorate with nail polish.

Print Friendly, PDF & Email
Facebook Pinterest Plusone Twitter Email

December 11, 2017
by jenny
0 comments

Fall 2017 Sabbatical

Yes! We’re back!

I actually haven’t been spectacularly busy this fall.

Some new things we’ve been doing around here this fall candle making, actually enjoying the Instant Pot (my kids used to groan anytime the crock pot was pulled out, but now I can make meals everyone eats), playing new games, dealing with two middle school aged girls in the house, starting to plan long talked about house projects, and photography.

I’ve been enjoying photography for a long time, but I’m starting to study it more as a science. I’ve been watching some online workshops on camera science and nature photography, practicing some different things and have been playing with a new lens I got my birthday. I’m also starting to play around with actually processing pictures in Photoshop and Lightroom (but don’t know what I’m doing yet).

I think I’ll give our website an overhaul soon, is there anything you’d like to see?

Print Friendly, PDF & Email
Facebook Pinterest Plusone Twitter Email

December 1, 2017
by sarah
0 comments

The Best Clay Yet


We have been away from the blog for a while – busy with family, jobs, making art, community organizing, driving to hockey practice, to name a few. I thought a good way to come back was to remind you about some projects that we posted in the past, as well as introduce a new idea.


We love getting messy with our kids and experimenting with different sorts of clays. We have posted about lots of substances that can be molded over the years. Play dough, polymer clay, cornstarch clay, kinetic sand, Paper Mache, and make your own erasers. I have a new one! If you have gotten into the slime craze you might have the materials in your house currently. The biggest benefit is that it dries very nicely – smooth and hard, with no cracks.

Air Dry Clay

Supplies

  • 1 tbs vinegar
  • 1 tbs coconut oil
  • 4 oz white glue
  • 1 cup corn starch
  • food color (optional)

Directions

  1. Mix vinegar, coconut oil, and white glue in a microwavable bowl.
  2. Mix in corn starch.
  3. Microwave for 30 seconds and stir.
  4. Microwave for 15 seconds and stir.
  5. Microwave for 15 seconds and stir.
  6. Repeat until the clay starts clumping up.
  7. Scoop clay out on to a surface you have sprinkled with corn starch. Knead until smooth.
  8. Keep in air tight container.

EXTRA NOTE: Always have extra corn starch handy. I made a batch that came out very very sticky. Not sure why –  maybe didn’t cook long enough? humid weather? When I kneaded more corn starch in it made it better to work with.  Here is a NIFTY video with recipe too:

Print Friendly, PDF & Email
Facebook Pinterest Plusone Twitter Email

June 5, 2017
by jenny
0 comments

Make your own erasers

My son saw this Klutz Make Your Own Mini Erasers kit at his school book fair last fall. I wouldn’t buy it for him then thinking it wouldn’t work well, but we put it on his Amazon wish list.


After reading reviews for it (in which the clay in the kit is pretty unworkable), I also added OOLY eraser clay to his list.  A lot of times in my house added something to the wishlist helps temper the immediate passionate want of the item by giving an optimism that we might get it someday. Other times, after sitting on the wishlist for a while, we might realize we didn’t really want it.

I continued my skepticism Eraser clay was something that stuck with my son, and he ended up getting the set for Christmas, but we didn’t end up using it until recently. I was wrong. The OOLY eraser clay (in the  supplemental set – the reviews were right, the clay in the Klutz kit was dry) worked well. With some working of the clay it was soft, smooth, moldable and mixable for making new colors. 

We followed some of the cute pattern from the Klutz kit, and baked as directed. We have tools from working with Sculpey that helped. I liked making pencil toppers! In the end, the erasers actually erase!

We think making your own eraser clay would be a good kid birthday gift, summer activity, party craft, or something to sell at lemonade stands. The Klutz kit was fun to look at, but you could easily find and follow regular/Sculpey clay directions online as well. 

[Amazon Affiliate Links – proceeds cover our web hosting!]

Print Friendly, PDF & Email
Facebook Pinterest Plusone Twitter Email

May 22, 2017
by jenny
1 Comment

Dandelions

I took this picture yesterday. When I downloaded the picture, I started staring wondering what the heck happens from the yellow lush petaled flower to puffy thin white “petals.”

So I started watching youtube videos and reading google. Like investigating caterpillar to butterfly, my research really didn’t help unveil much in the understanding of what’s going on inside the transformation, just more of an appreciation of how many amazing things happen in the world around us.

Print Friendly, PDF & Email
Facebook Pinterest Plusone Twitter Email

April 26, 2017
by jenny
0 comments

Baking Hard-Boiled Eggs

If you are interested in the content of this blog, then you likely look at similar-ish blogs and have seen people baking hard-boiled eggs. Yes, that makes no sense since you aren’t boiling the eggs, which is why it is no longer politically correct to call them hard-boiled eggs, and now they go by hard-cooked eggs. Maybe they always were called hard-cooked, either way, it seemed strange to me. It also didn’t make sense that it seemed strange to me since you are just heating up the egg dry or submerged, but I put off the experiment.

Until after seeing the recipes so many times (all touting that the oven baked eggs peel easily) and I got fed up suffering through peeling masacres and was going to have the oven on anyway.

And last weekend, I set the oven to convection mode at 325 degrees Fahrenheit, and cooked 10 hard cooked eggs, a batch of bacon, and a tube of cinnamon rolls all at once. It was rather awesome.


I cooked the eggs for about 35 minutes, which was possibly a little too long. I put the eggs in an ice bath for about 10 minutes after cooking.  I thought I cooked it took long because where the eggs touched the muffin tin on the bottom and/or where air pockets were there were little brown spots on the inside, sort of like a char. Some of the egg shells also had some small brown spots on the outsides sort of tiny bubbles, I wasn’t sure if that was splattering bacon (not all that likely since the eggs were protected underneath the bacon), moisture on the outside or permeating from inside the shell or something else. I left some brown spots on the egg white after peeling and cut some brown spots off depending on who in the house it was going to eat that egg. One egg looked like it was full of bubbles but tasted completely fine, I’m not sure what happened there! These things definitely weren’t reported in the blogs I’d seen!

Otherwise, the eggs were great.The eggs were not hard or rubbery, but cooked exactly as expected for a hard cooked egg. I ate the bumpy bubble egg pictures above and it tasted totally “normal” and I didn’t get sick!

They also did peel perfectly! (I wonder if it was the ice bath and not the baking versus boiling that helped with the peeling?) I hadn’t had that happen to me in a long time, so was very happy with a 100% nice peel success rate.

Some eggs were eaten straight up and some turned into deviled eggs. The yolks were the same texture baked and boiled – both eating plain and mixing for deviled eggs.


If I already plan to have the oven on and were hard cooking eggs, I’d definitely use this method again (adjusting the time and or temperature a little). It would be also easy to throw the eggs in the oven in the morning, run upstairs for a shower and come down to them almost done instead of worrying about watching a pot on the stove (I tend to bring to a boil and turn off the heat and let sit anyway so the pot doesn’t need to be watched, but the baking is a longer time).

Either way it did add a tiny touch of excitement to the morning to try it, I recommend it!    


Print Friendly, PDF & Email
Facebook Pinterest Plusone Twitter Email

April 21, 2017
by sarah
0 comments

Kid Brownies


Here is the best tasting brownie recipe by Jenny!! However we have found a pretty good one that my 7 year old daughter is very proud she can make all by her self so I thought I would share.

Kid Brownies (adapted from “The Best Brownies” recipe on food.com)

Ingredients

  • 1/2 cup butter melted in the microwave
  • 1 cup sugar
  • 1 teaspoon vanilla
  • 2 large eggs
  • 1/4 teaspoon baking powder
  • 1/3 cup cocoa powder
  • 1/4 teaspoon salt
  • 1/2 cup flour
  • 1/2 cup chocolate chips

Directions

  1. Preheat oven to 350
  2. Mix butter and sugar until well blended
  3. Add eggs and vanilla, stir until blended
  4. Mix all dry ingredients
  5. Stir wet into dry ingredients
  6. Fold in chocolate chips. (We recently learned the trick of shaking a bit of flour into the chocolate chips. Evidently it prevents them from sinking to the bottom of the batter.)
  7. Pour into a greased 9×9 square pan. (This is the only help my daughter needs)
  8. Bake for 25 minutes.

Print Friendly, PDF & Email
Facebook Pinterest Plusone Twitter Email

March 25, 2017
by jenny
0 comments

More Freezer Egg Sandwiches

It’s been a couple years since I wrote about Freezer Egg Sandwiches, but they are still going strong in my house. Egg sandwiches are still a big staple dietary element in our house and one of the only foods everyone in the house likes (the only other unanimous yes foods I can think of at the moment are popcorn and big soft pretzels). Egg sandwiches are quick and easy, packed with protein, can add different flavors (with bread or wraps, bacon, sausage, condiments, vegetables, toppings), portable, and we like them for any meal of the day. We like them homemade, at restaurants and store bought.

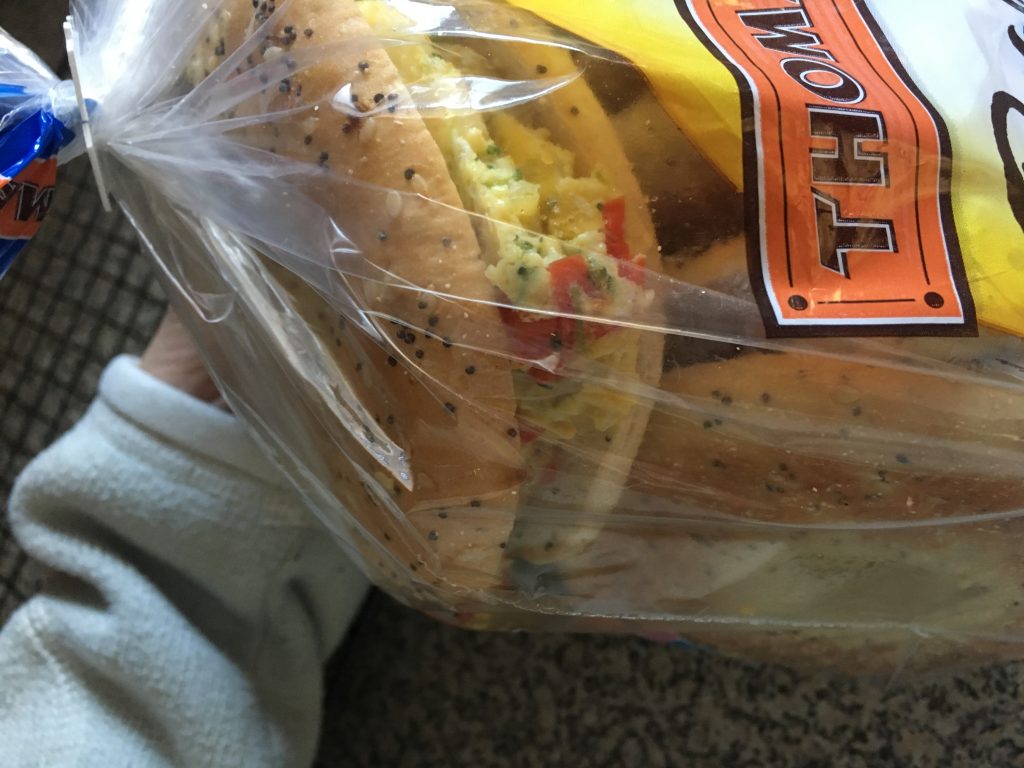
The top voted egg sandwiches from my kids are homemade egg and cheese on store bought Breugger’s bagels, Starbucks Bacon Gouda, and (typically only reserved for 6am hockey games) McDonald’s Bacon Egg biscuits. I truly think it’s been 7 years since we’ve been to McDonald’s for a meal other than breakfast because the oil doesn’t agree with two of my kids or I. But the coffee is good and McDonald’s reliably listens and responds to custom orders. One of my kids doesn’t like cheese which makes most store bought egg sandwiches difficult or impossible – Breuggers ALWAYS puts cheese on no matter how many times we ask and warn them to double check in advance, Dunkin, Starbucks and others tell us sandwiches are pre-made/pre-packaged. One place (I think it’s Dunkin on bagel sandwiches) says they need the cheese “or else the whole sandwich fall apart” and even if we say we don’t mind, they refuse. We tried multiple stores and they all had the same story.

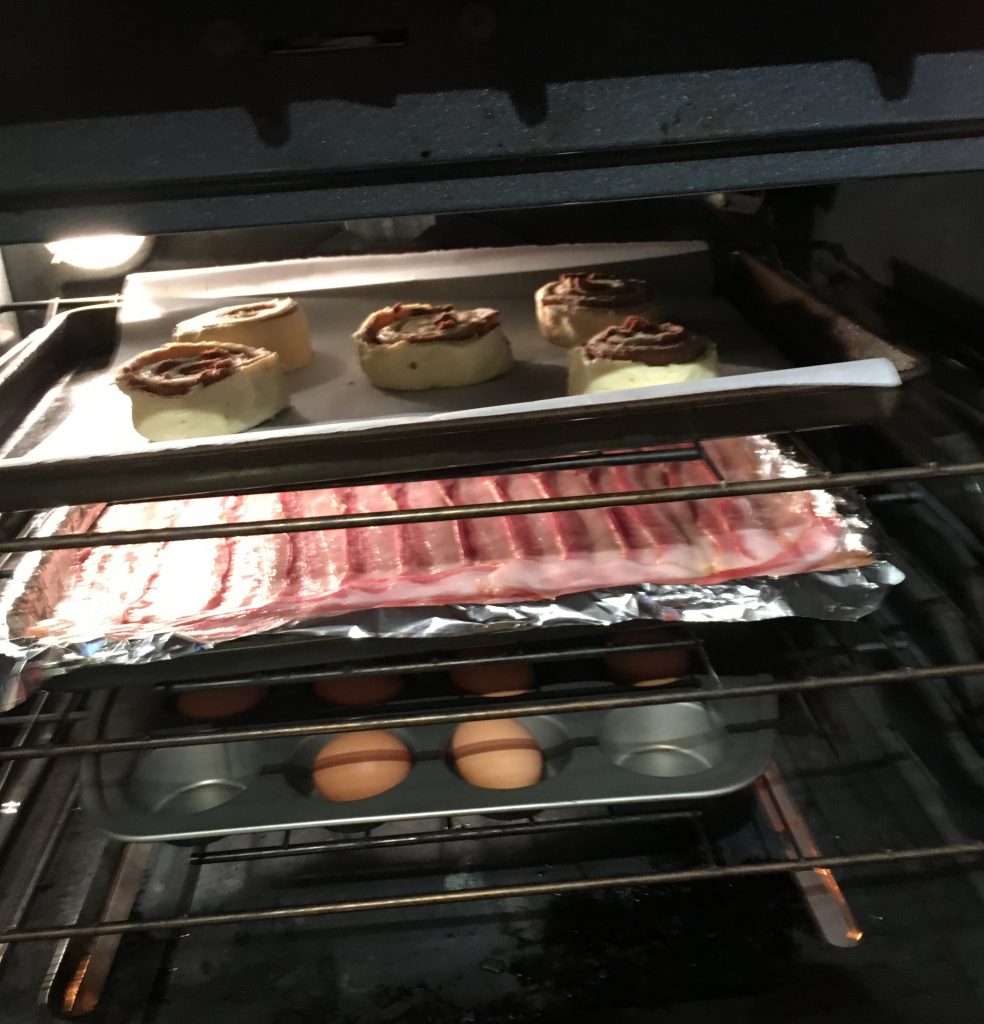
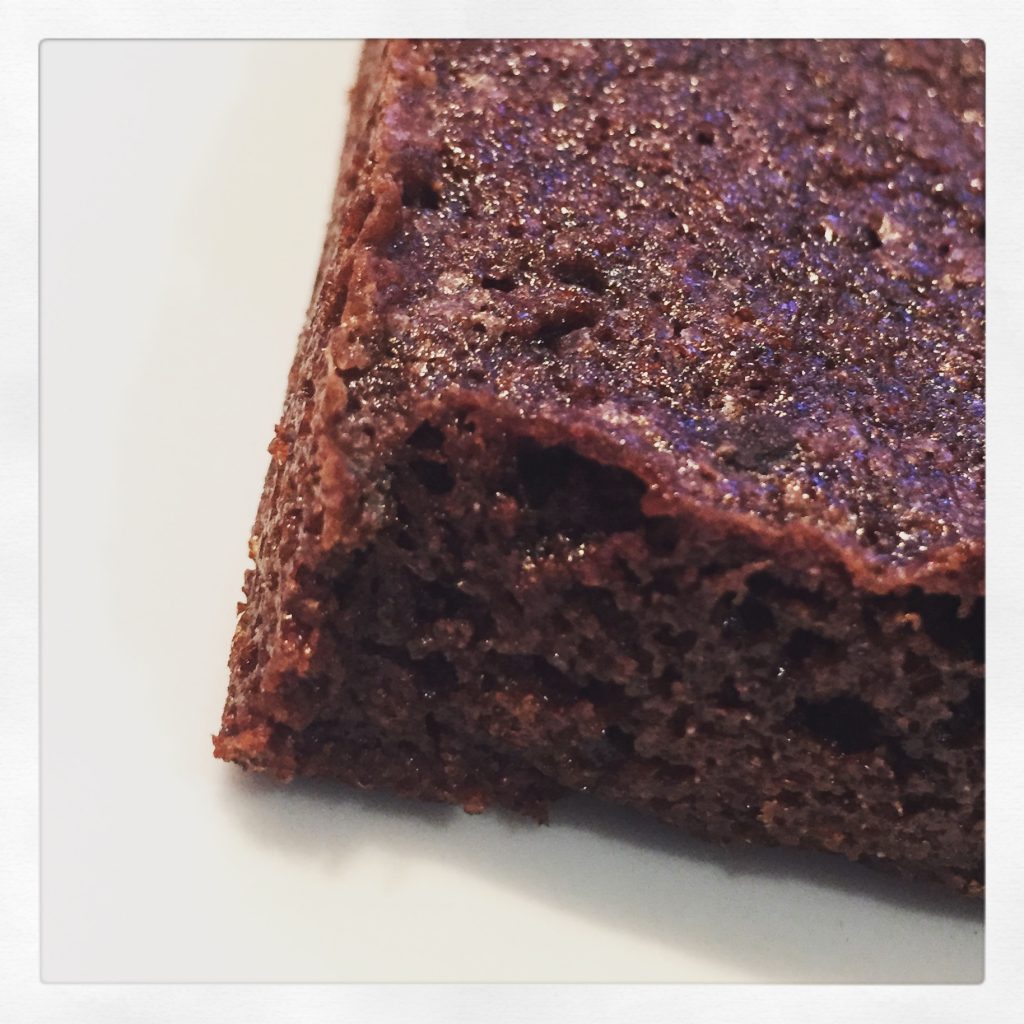
One of MY top favorite egg sandwiches is the western at Wegmans. As you know, reverse engineering, experimenting, challenges and saving money are some of my favorite things, so I often try to recreate the sandwiches at home. I can’t get my home versions to have the same flavor, or the egg to be quite so puffy or have the same texture (which I can only describe as moist, but I know that word creeps people out). But what the experimenting has inspired me to do is revamp my freezer egg sandwiches, and I’m really enjoying having them on hand for a quick warm no mess breakfast or lunch for myself. I’ve been making batches twice a month for the past 3-4 months. No one else likes veggies in their sandwiches so I never run out unknowingly.

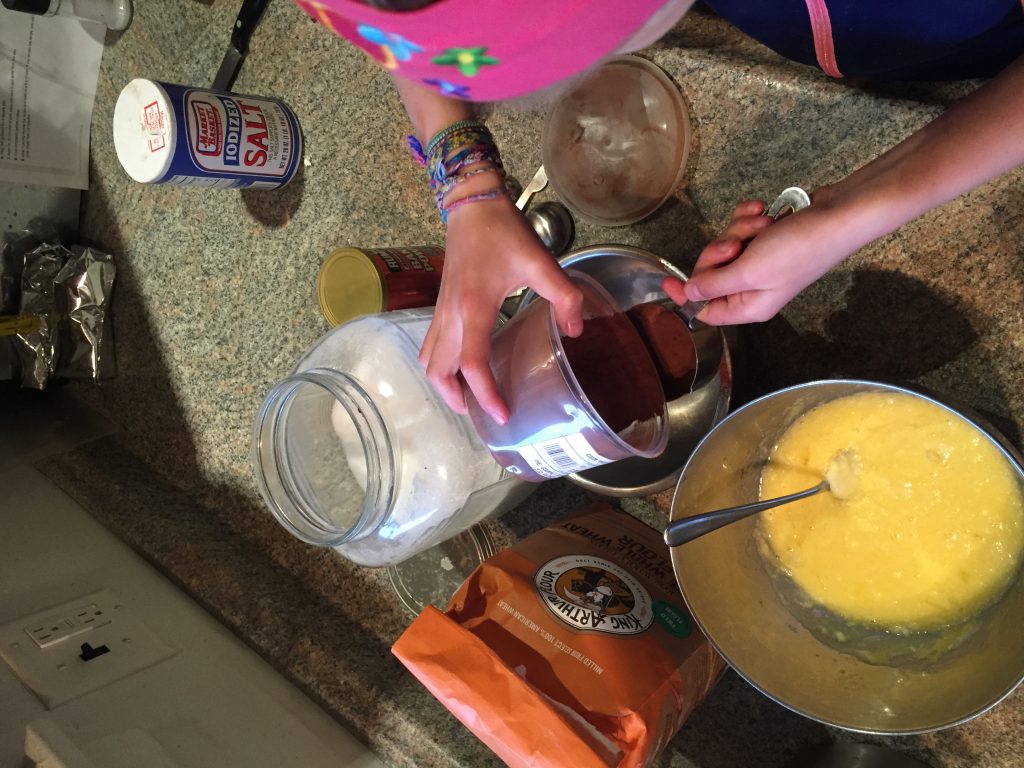
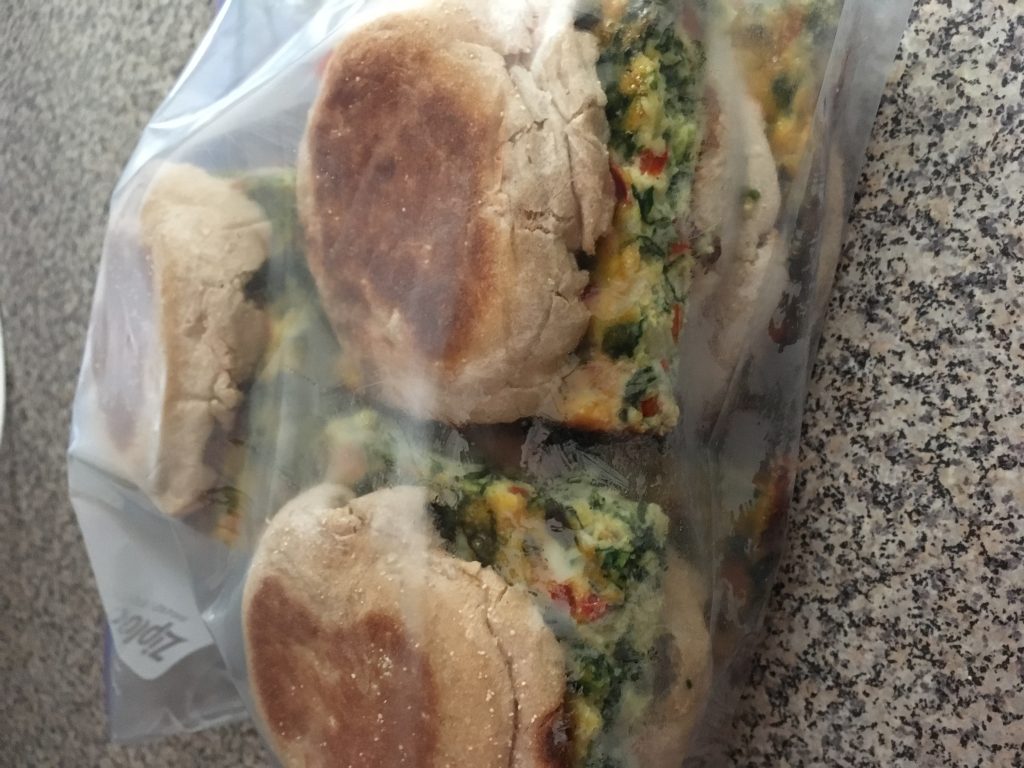
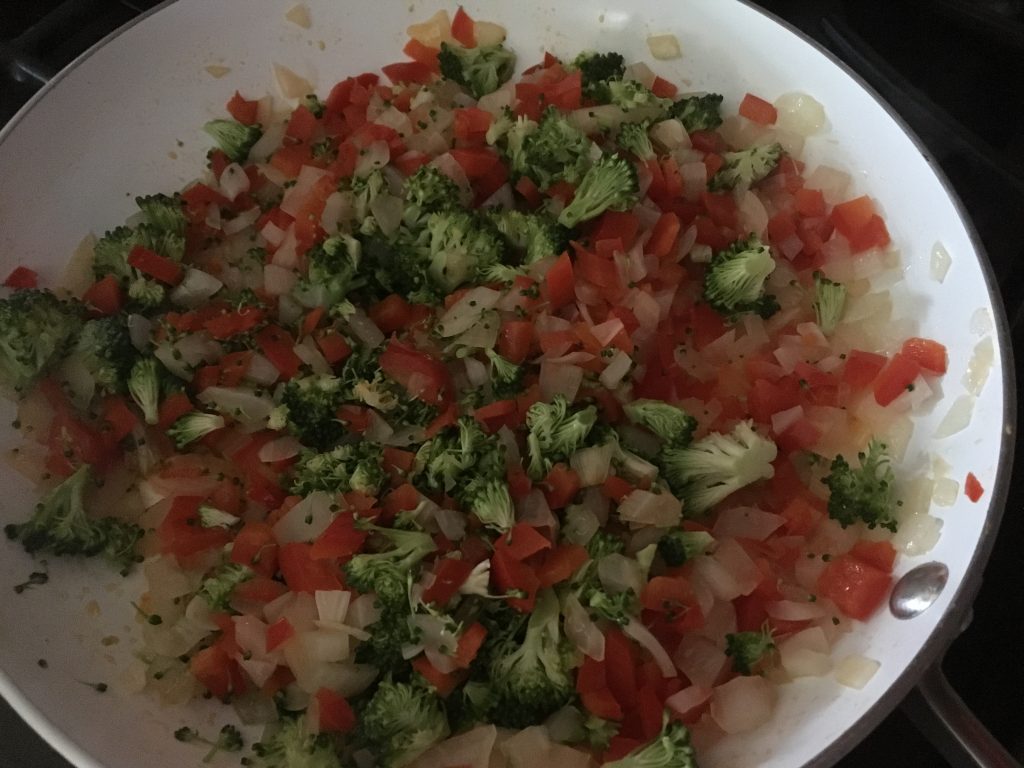
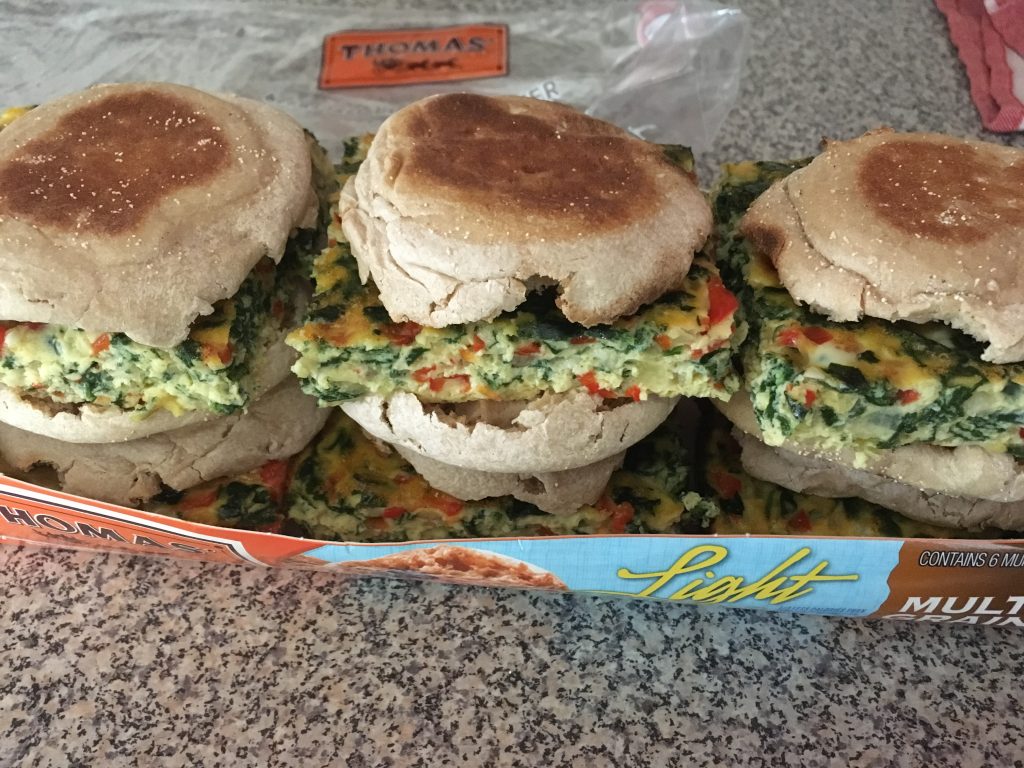
I buy a pack of whatever bread I’m going to use. In effort to stay healtht, it’s typically bagel thin, whole grain burrito size wraps or light wheat english muffins. These generally come in packs of 6-8, so that’s how many sandwiches I make at a time. I chop up and sauté whatever vegetables we have around that sound good or that need to be used up. That has been onion, red pepper, garlic, broccoli, and sometimes starting to get soggy baby spinach. I’ve also thrown in zucchini, leeks, and other peppers when they were on hand.

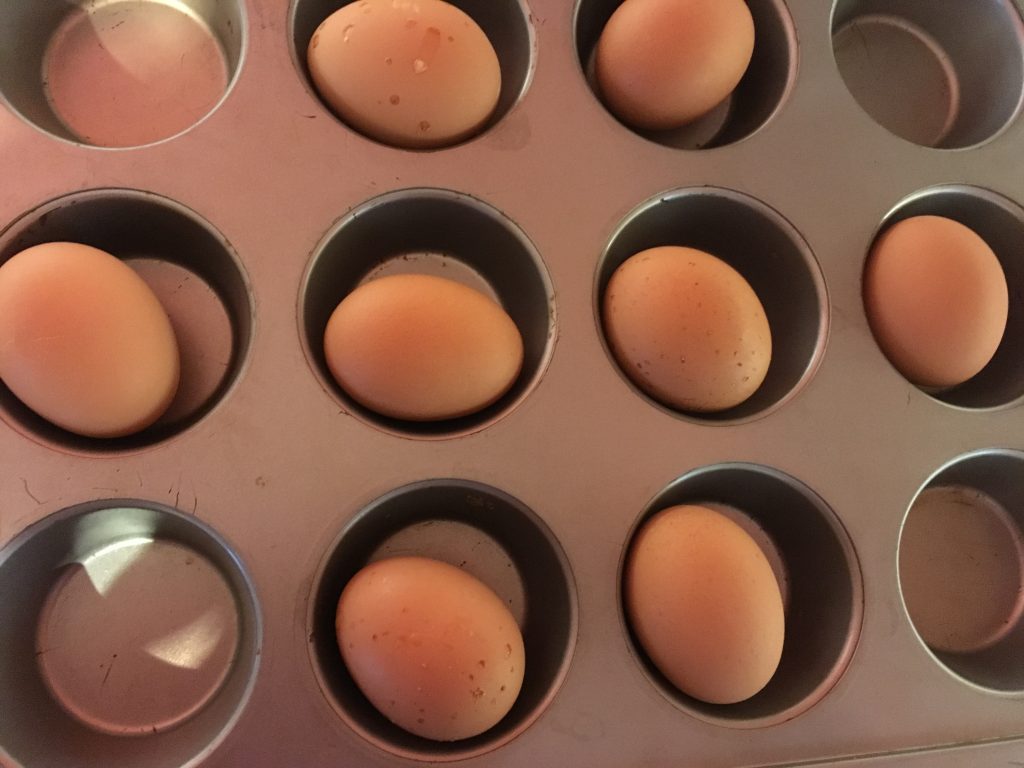
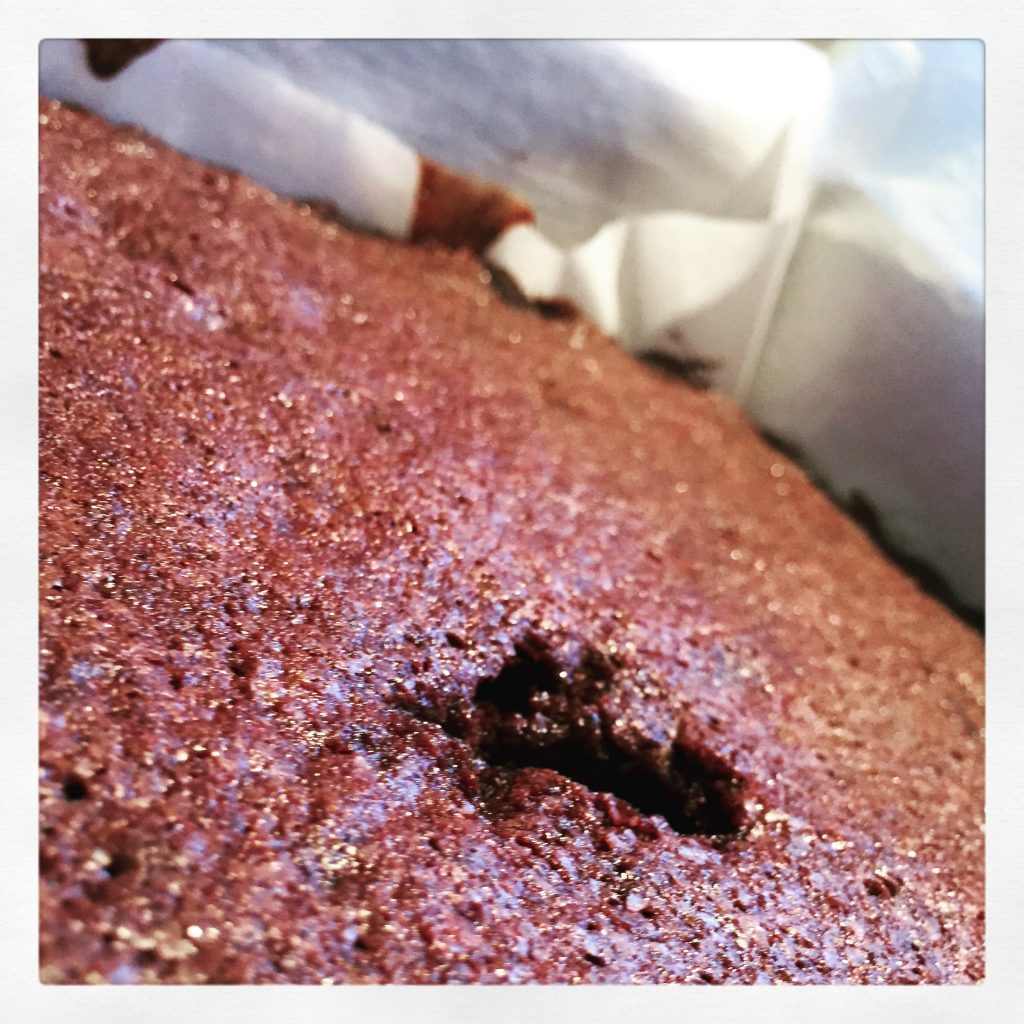
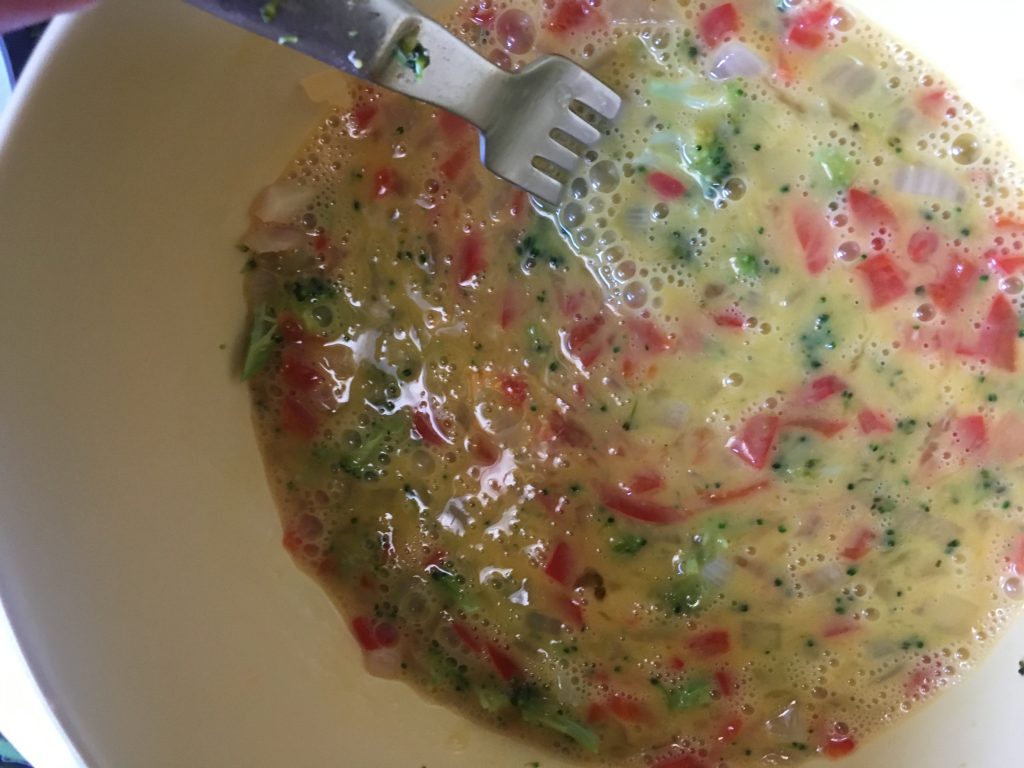
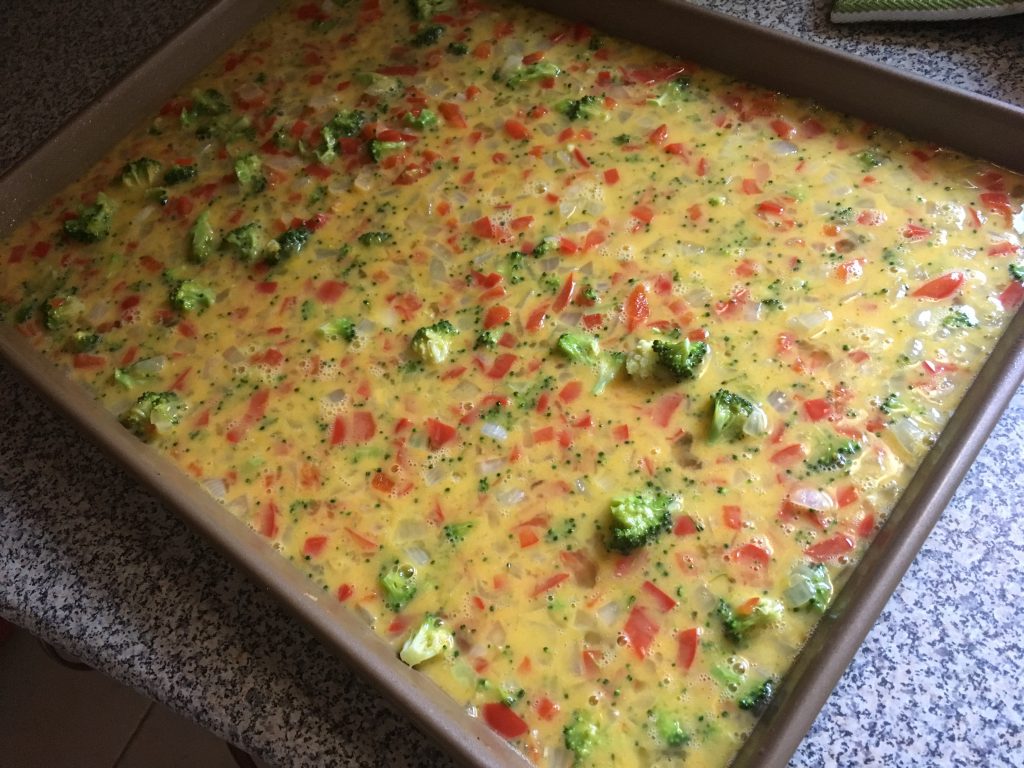
I mix 8-10 eggs and a few tablespoons of water. I give that a good whip with a fork and then I dump in the sautéed vegetables and stir it up. Next I poor the whole mess in a baking dish sprayed with cooking spray. I’ve used a lined cookie sheet/jelly roll pan, a nonstick metal baking dish (like used for brownies), and a glass baking dish. I liked the glass baking dish the best because everything stayed more moist (sorry), popped out easily, cleaned up easily, and I could use a knife to cut without worrying about scratching non-stick pans.

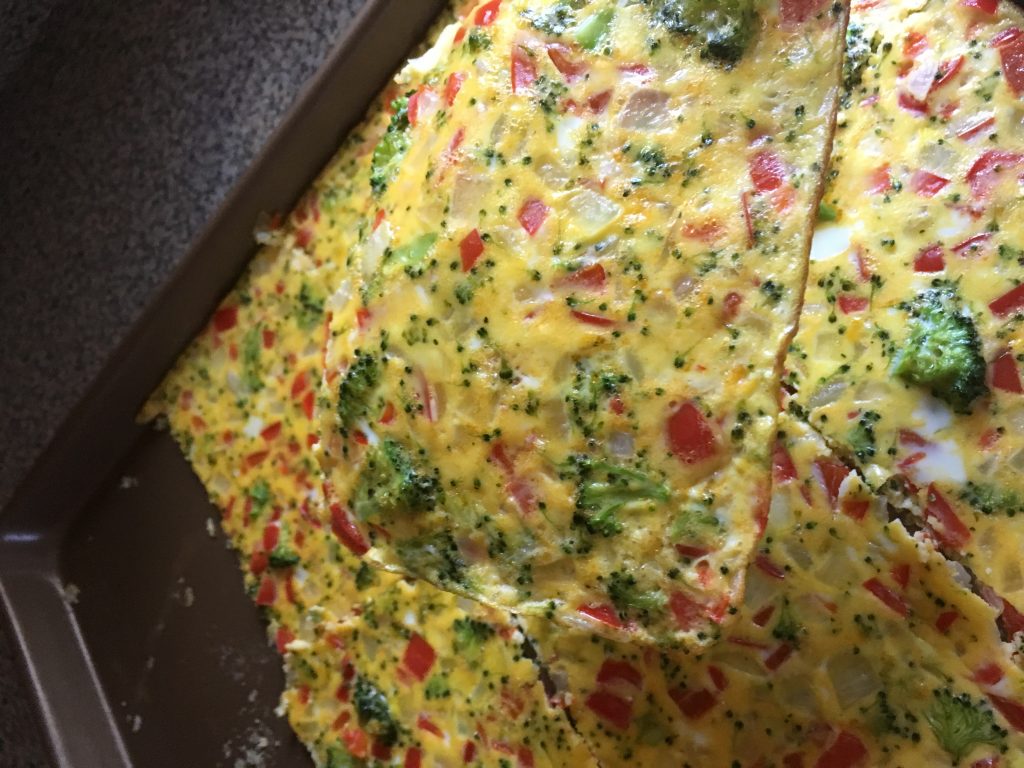
I bake the egg and vegetable mixture in a preheated oven at 350 degrees until it was completely set, which varied based on how much and was in the dish and the size/material pan I used, but somewhere between ~25-40 minutes.

When it the eggs were baking I toasted all of the breads (if I wasn’t making wraps), which isn’t necessary, but one of the reason some store/restaurant sandwiches are my favorite is the texture contrast between nicely crispy toasted bread edges with fresh bread insides, the softer egg and maybe a creamy cheese. When I reheat the frozen sandwiches, they typically end up slightly (though not horribly) soggy on one side, so pre-toasting doesn’t really matter, but I still hold onto the thought that it helps. I have also buttered the bread after toasted, but pretending I’m healthy, I haven’t been lately.

If I don’t let the the bread and egg are completely cooled before freezing, I’ll get a lot of frost and more chance of freezer burn if I don’t eat them quickly and/or soggy outcome when reheating. I never leave them in the freezer long!

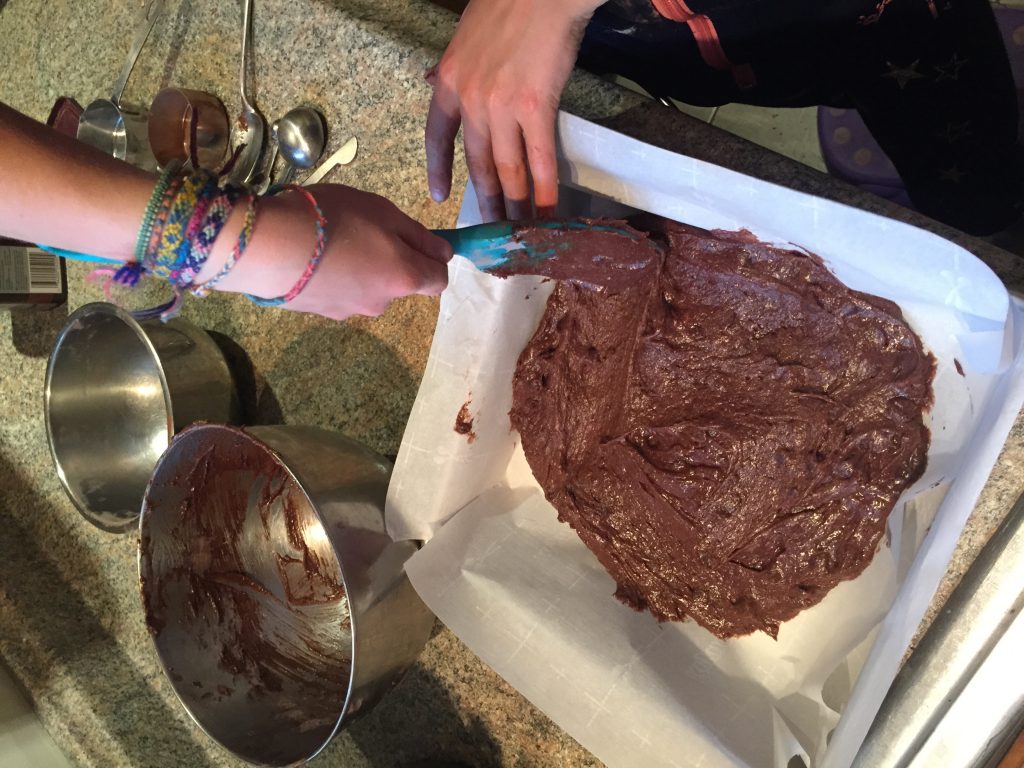
Once everything is cooled, I cut the egg into squares, put them on the bread and freeze, usually in the bags the bread comes in if everything fits. I eat the sandwiches within a couple weeks, but if it were longer, I may want to put them in a more air tight container. I’ve also used ziploc bags and rubbermaid containers in the past for egg sandwiches.

When it’s time to reheat, I might put a piece of cheese on or meat from the fridge if there is something there (I’ve used ham or turkey, bacon, sausage, pepperoni and a couple times leftover taco meat), but with the vegetables added, there is usually enough texture for me. After I heat the sandwich up I’ll sprinkle some Frank’s Red Hot on the egg (I’ve also used Gulden’s Sriracha mustard which I don’t like as much, but a change!) I’ve also added avocado, lettuce, tomato and pesto (not all at once) after heating it up.

When it’s time to reheat, I take a sandwich out of the freezer and wrap it in a paper towel. I put it in the microwave for 1 minute 30 seconds at 30% power level which thaws the sandwich. If I’m adding anything else from the refrigerator (cheese or meat), I’ll do it after that step. Then I flip the sandwich over, and heat it up for 1 minute 30 seconds at full power.

I still like the sort of crepe method for making my kids plain freezer egg sandwiches mentioned in my post a few years ago, but if you or your kids like (or will tolerate) more in your sandwich, this is a very quick and easy to make method!

Enjoy!    

Print Friendly, PDF & Email
Facebook Pinterest Plusone Twitter Email

March 15, 2017
by sarah
0 comments

Easter Crafts


During the snow storm yesterday we were channeling Spring with some Easter crafts. We made two types of eggs. One with string / yarn and the other on paper.

The instructions are pretty good. Here are some hints I found helpful:

  1. For the eggs on paper – instead of compromising  an entire bottle of glue and turning it black. I used a frosting technique, I placed a plastic bag in a glass and poured in equal parts white glue and black paint. Then I cut off the corner of the plastic bag and we used that to draw the outline in black.  
  2. For the eggs made with sting and yarn – The yarn was better because it was thicker as a result covering more of the balloon. We should have used more embroidery floss on a couple, they turned out very fragile.
Print Friendly, PDF & Email
Facebook Pinterest Plusone Twitter Email