
As Sarah mentioned, we added a pup to our household.
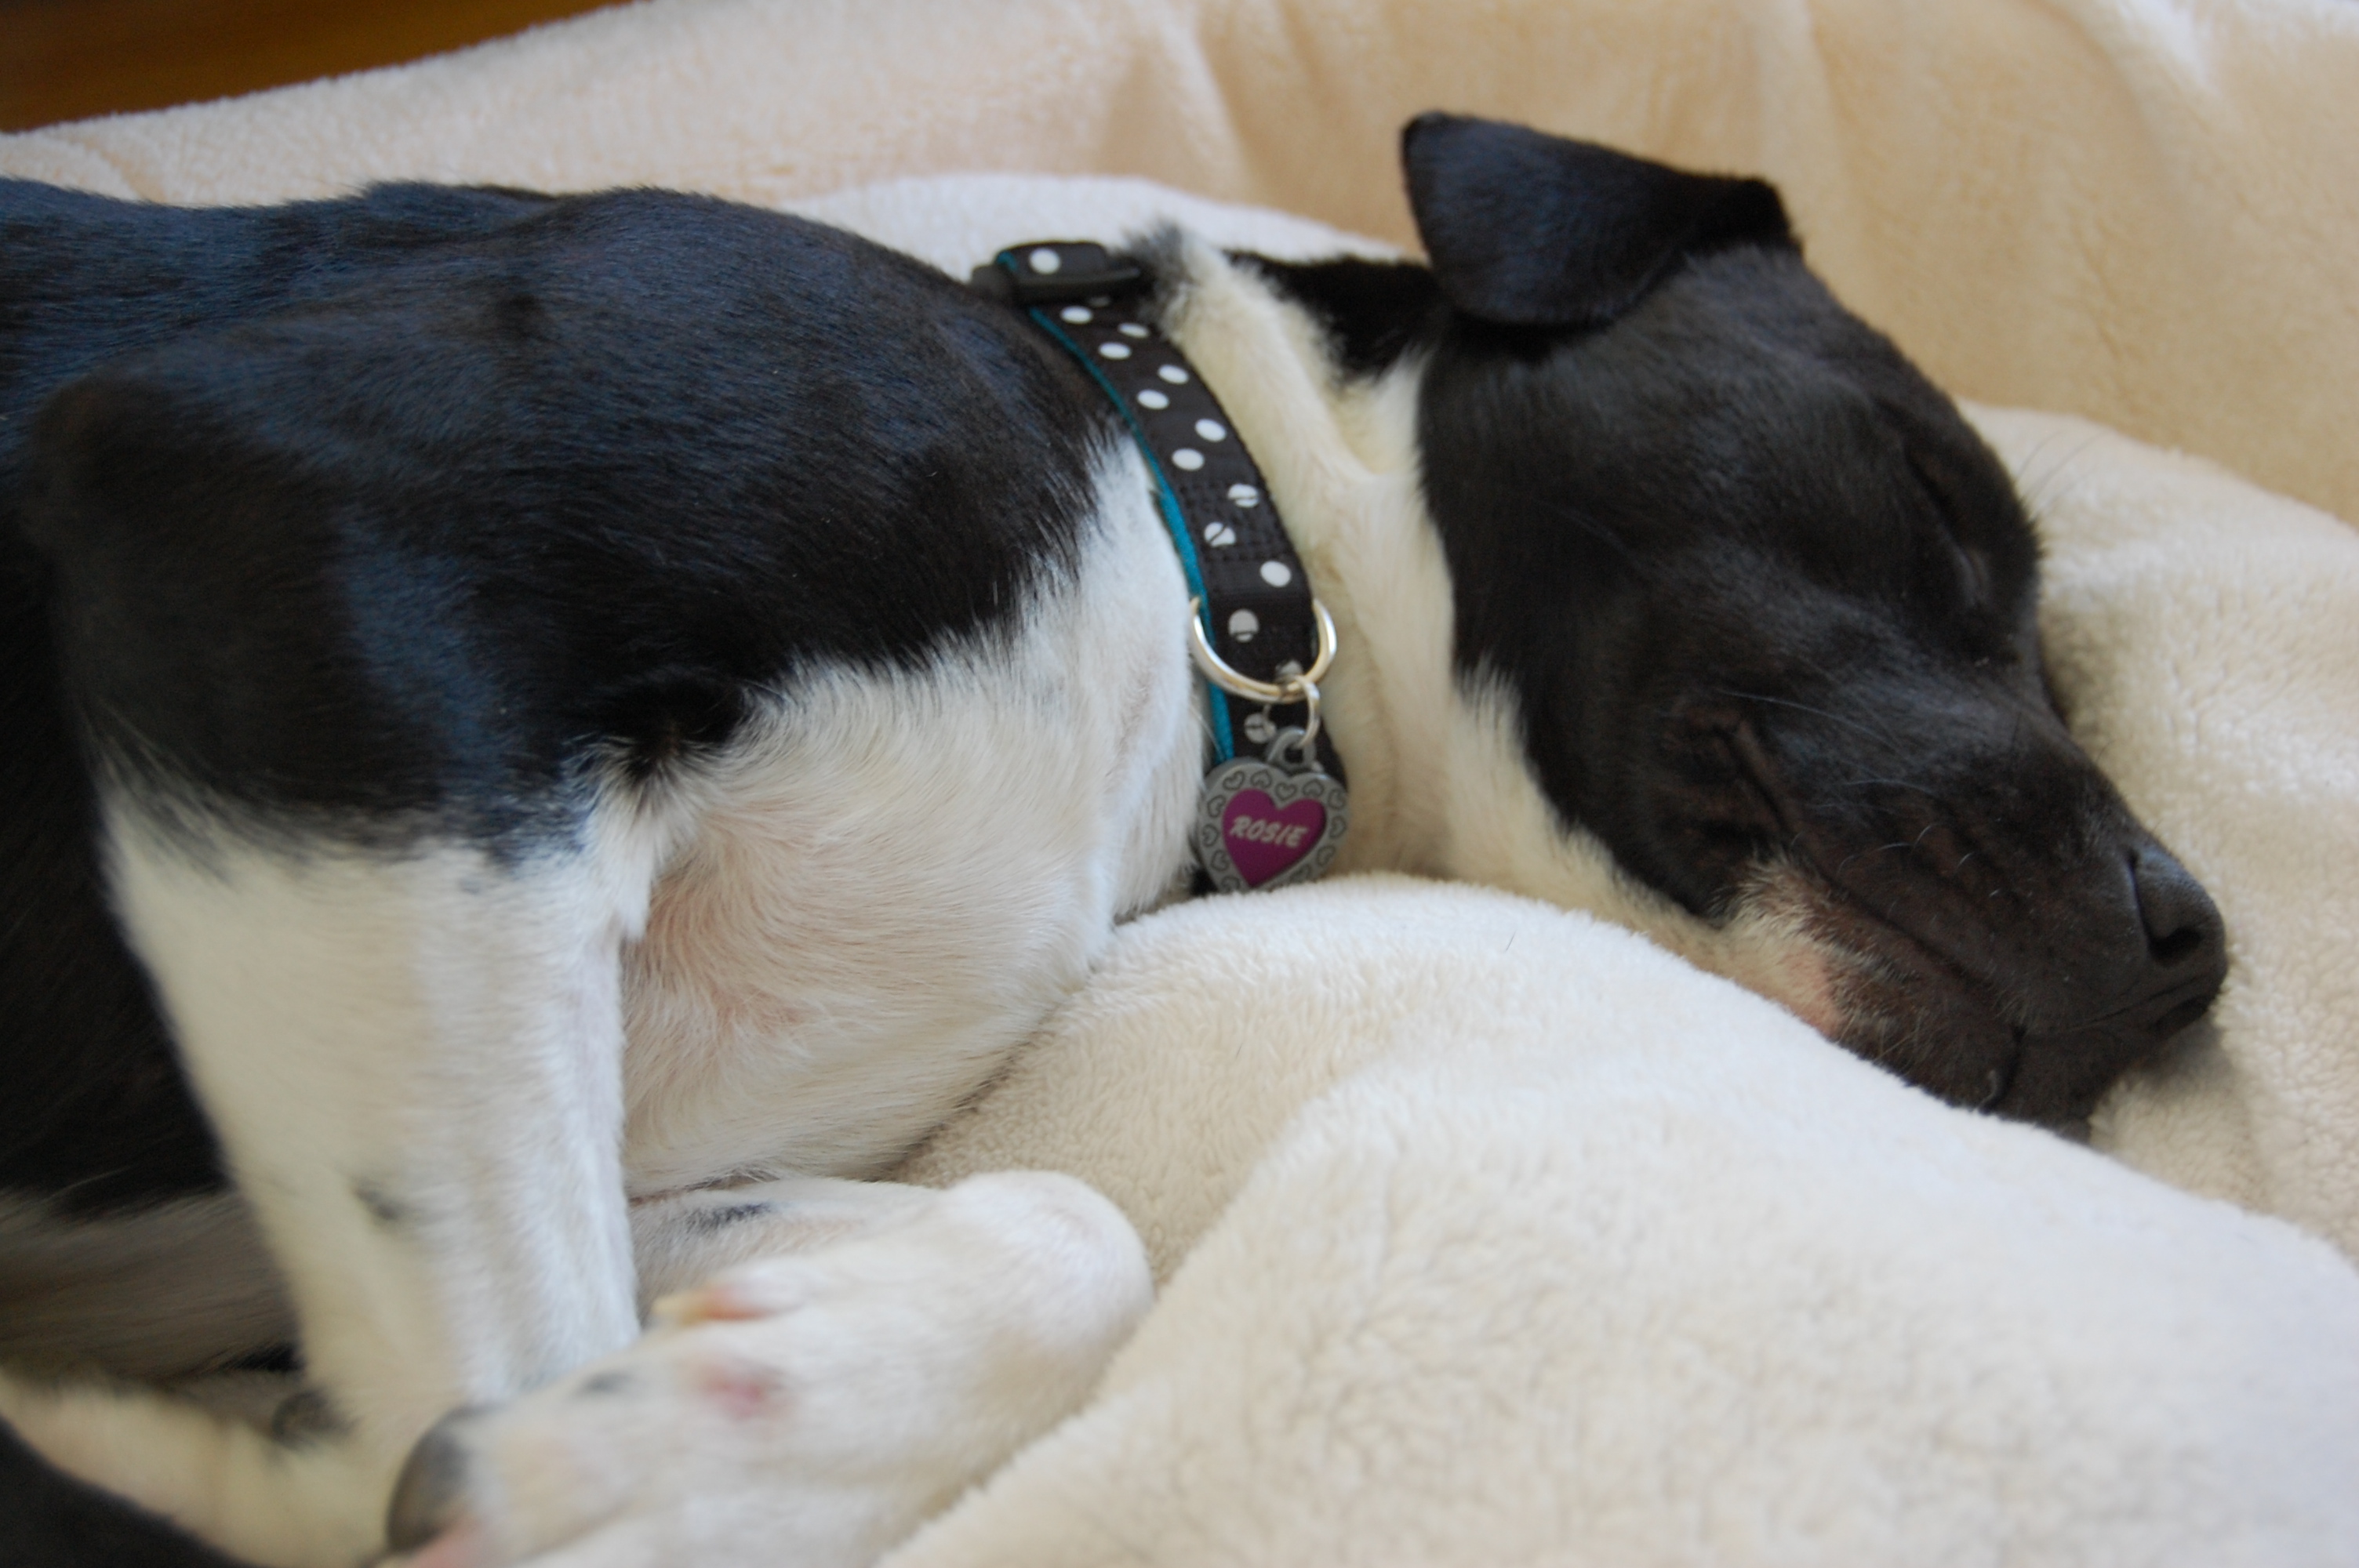
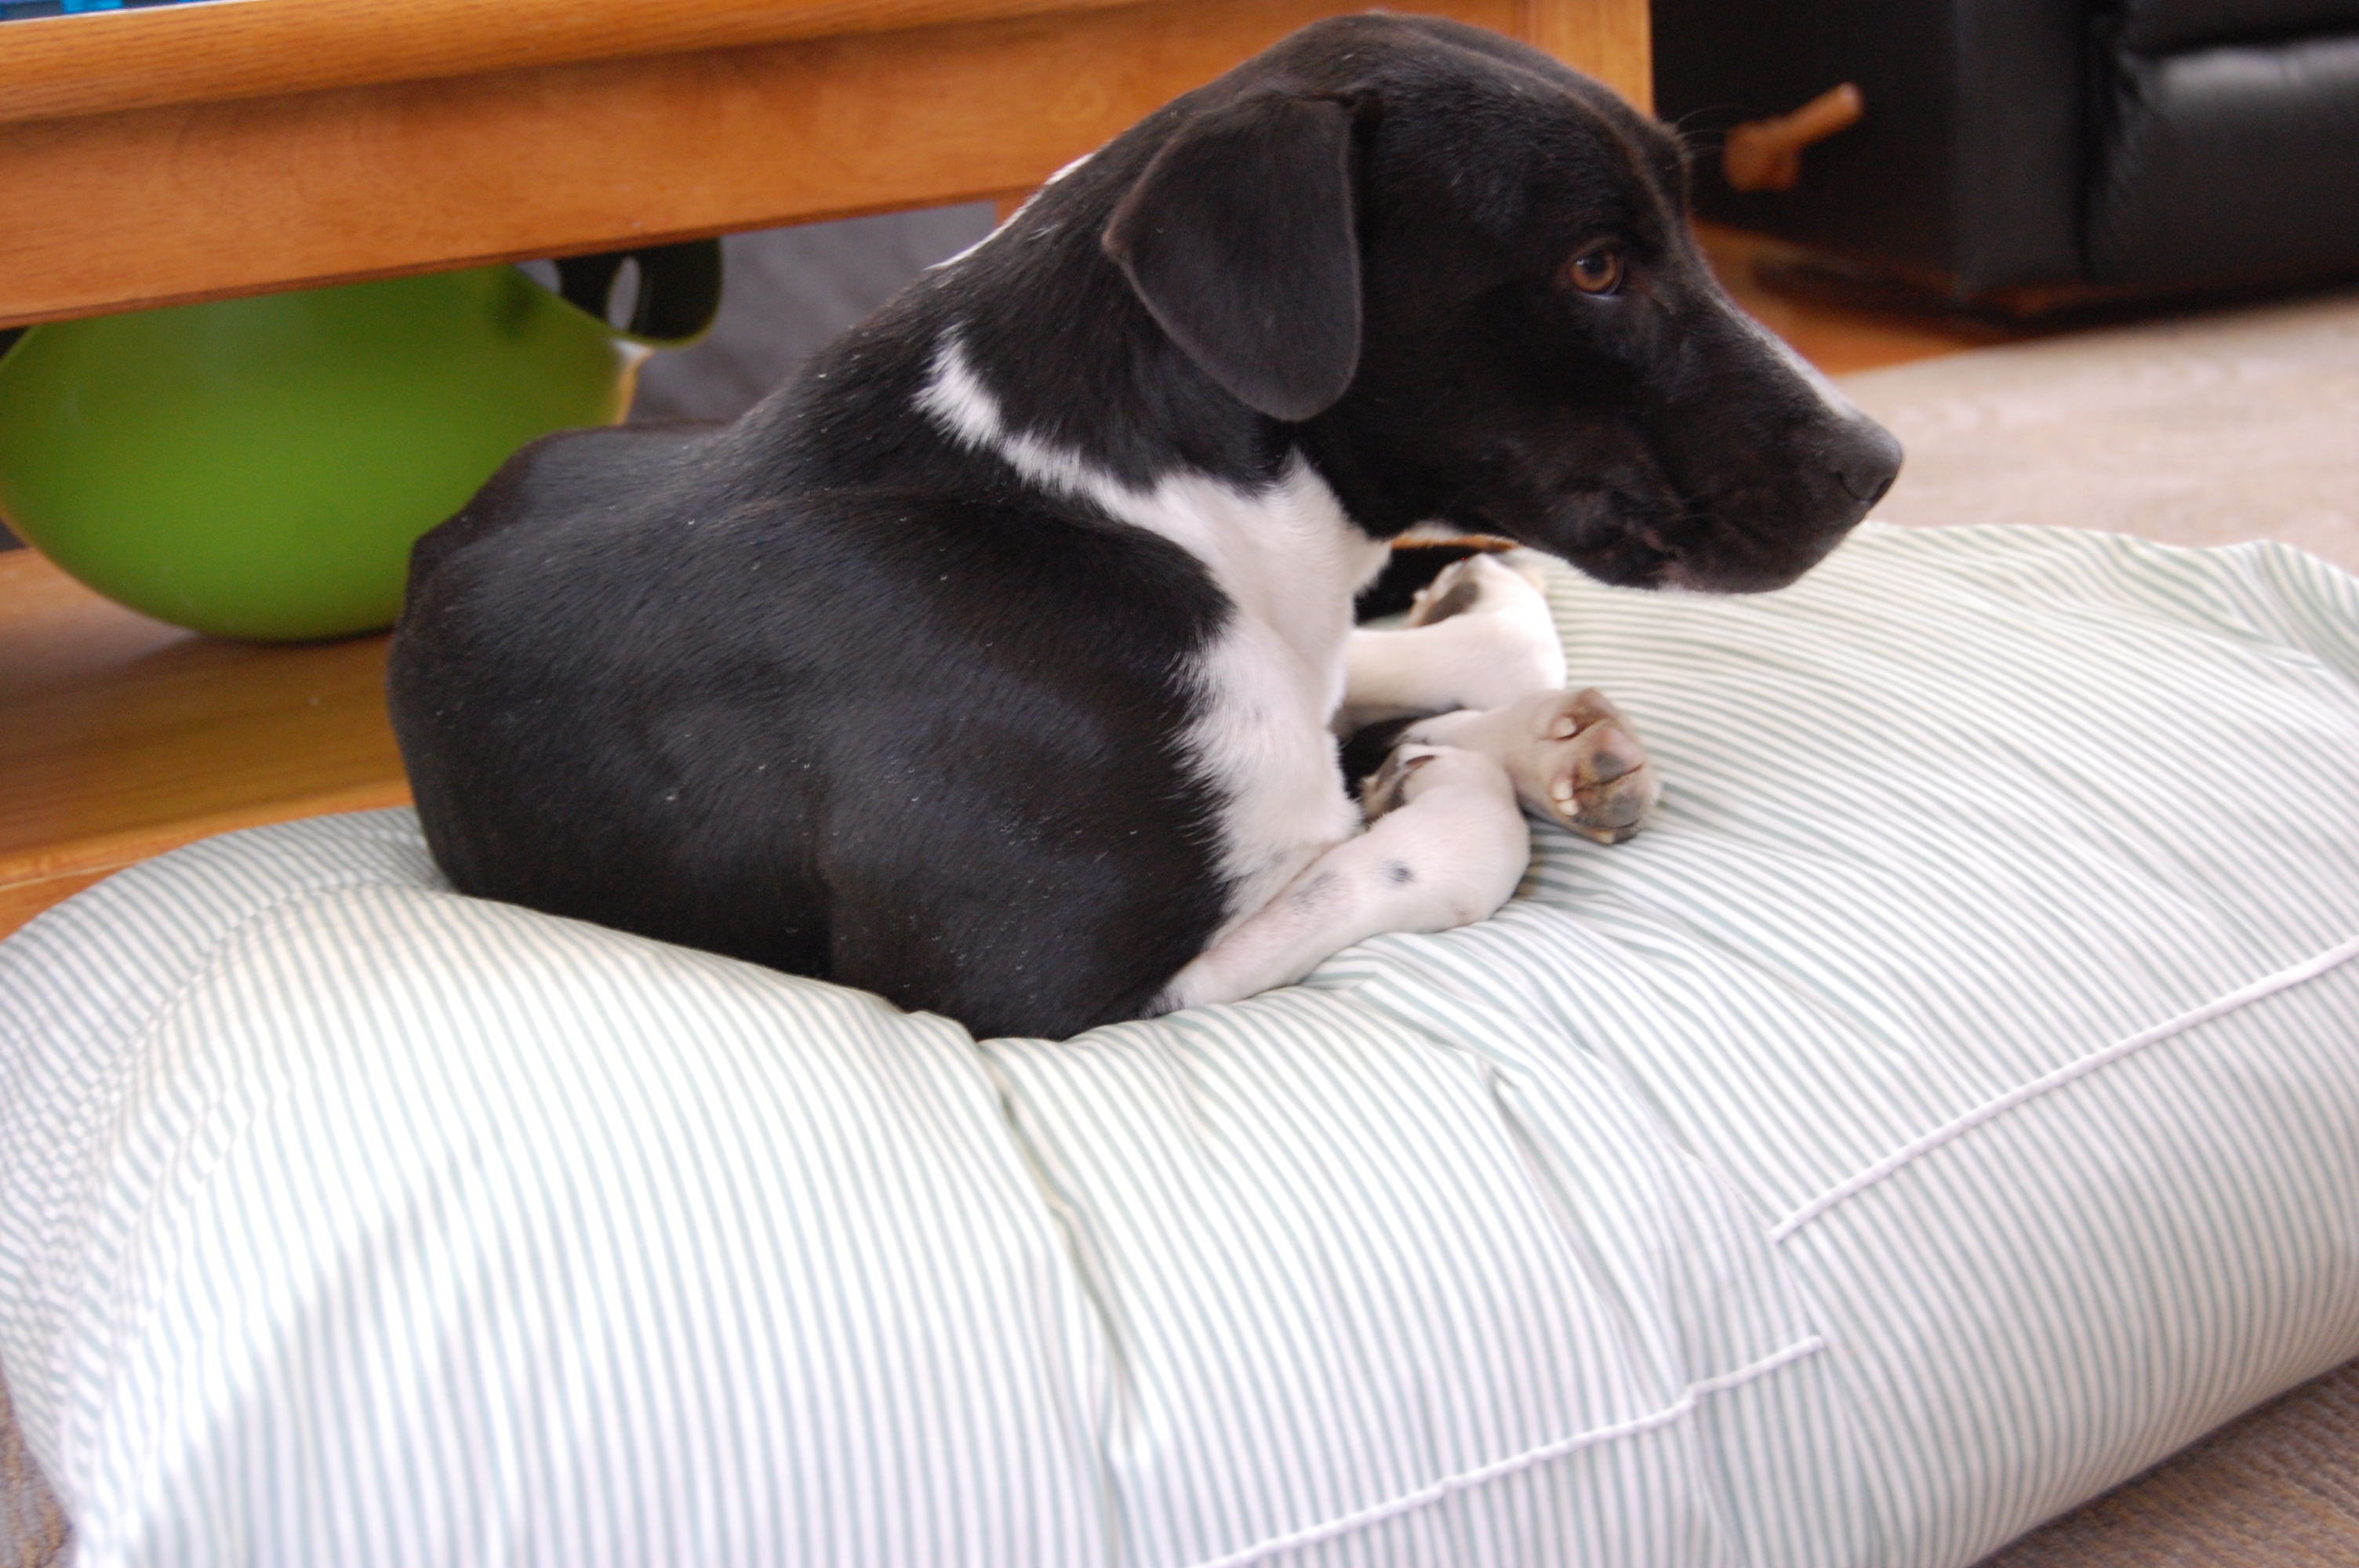
We adopted Rosie from a shelter a few weeks ago. She is estimated to be around one year old, and did not come with a known background, so we are getting to know who she is day by day. And what Rosie has shown us is that she is friendly, well mannered, house trained, hungry, slightly clingy, and she really loves soft places. When she understands a house rule, she readily obeys, so (for now) we’ve easily kept her off the furniture. She has a dog bed downstairs for hanging out in, but she wants to lay around close to the household action (hanging out upstairs when I’m folding laundry or putting the kids to bed) or far from the action (hanging out upstairs when the kids are playing drums downstairs). I put a blanket down on the floor upstairs for her, but anytime there is something softer on the ground, she has found it.
Here is what happened when I stripped a bed:
Sticking to my New Year goals to get rid of some things we don’t need/use/want in the house and to use up the fabric stash (I don’t consider those things the same), I decided to make Rosie a bed for upstairs. I found two extra pillows on a closet shelf. We don’t use them and stopped putting them out for guests because they were too firm. I also found an old comforter in the attic that was either my husband’s or mine from college or shortly thereafter.

I cut off one end of each of the pillows and removed the batting.

With one of the pillow casings, I also cut the end opposite the opening so that it formed a tube. I stitched one of the open ends (wrong sides together) to the opening of the other pillow casing to make the two into one long pillow casing with one open end and closed on the other.
I arranged the batting on the comforter. I only needed about 1 1/2 pillows worth of batting, both pillows worth proved to be too firm and tippy.
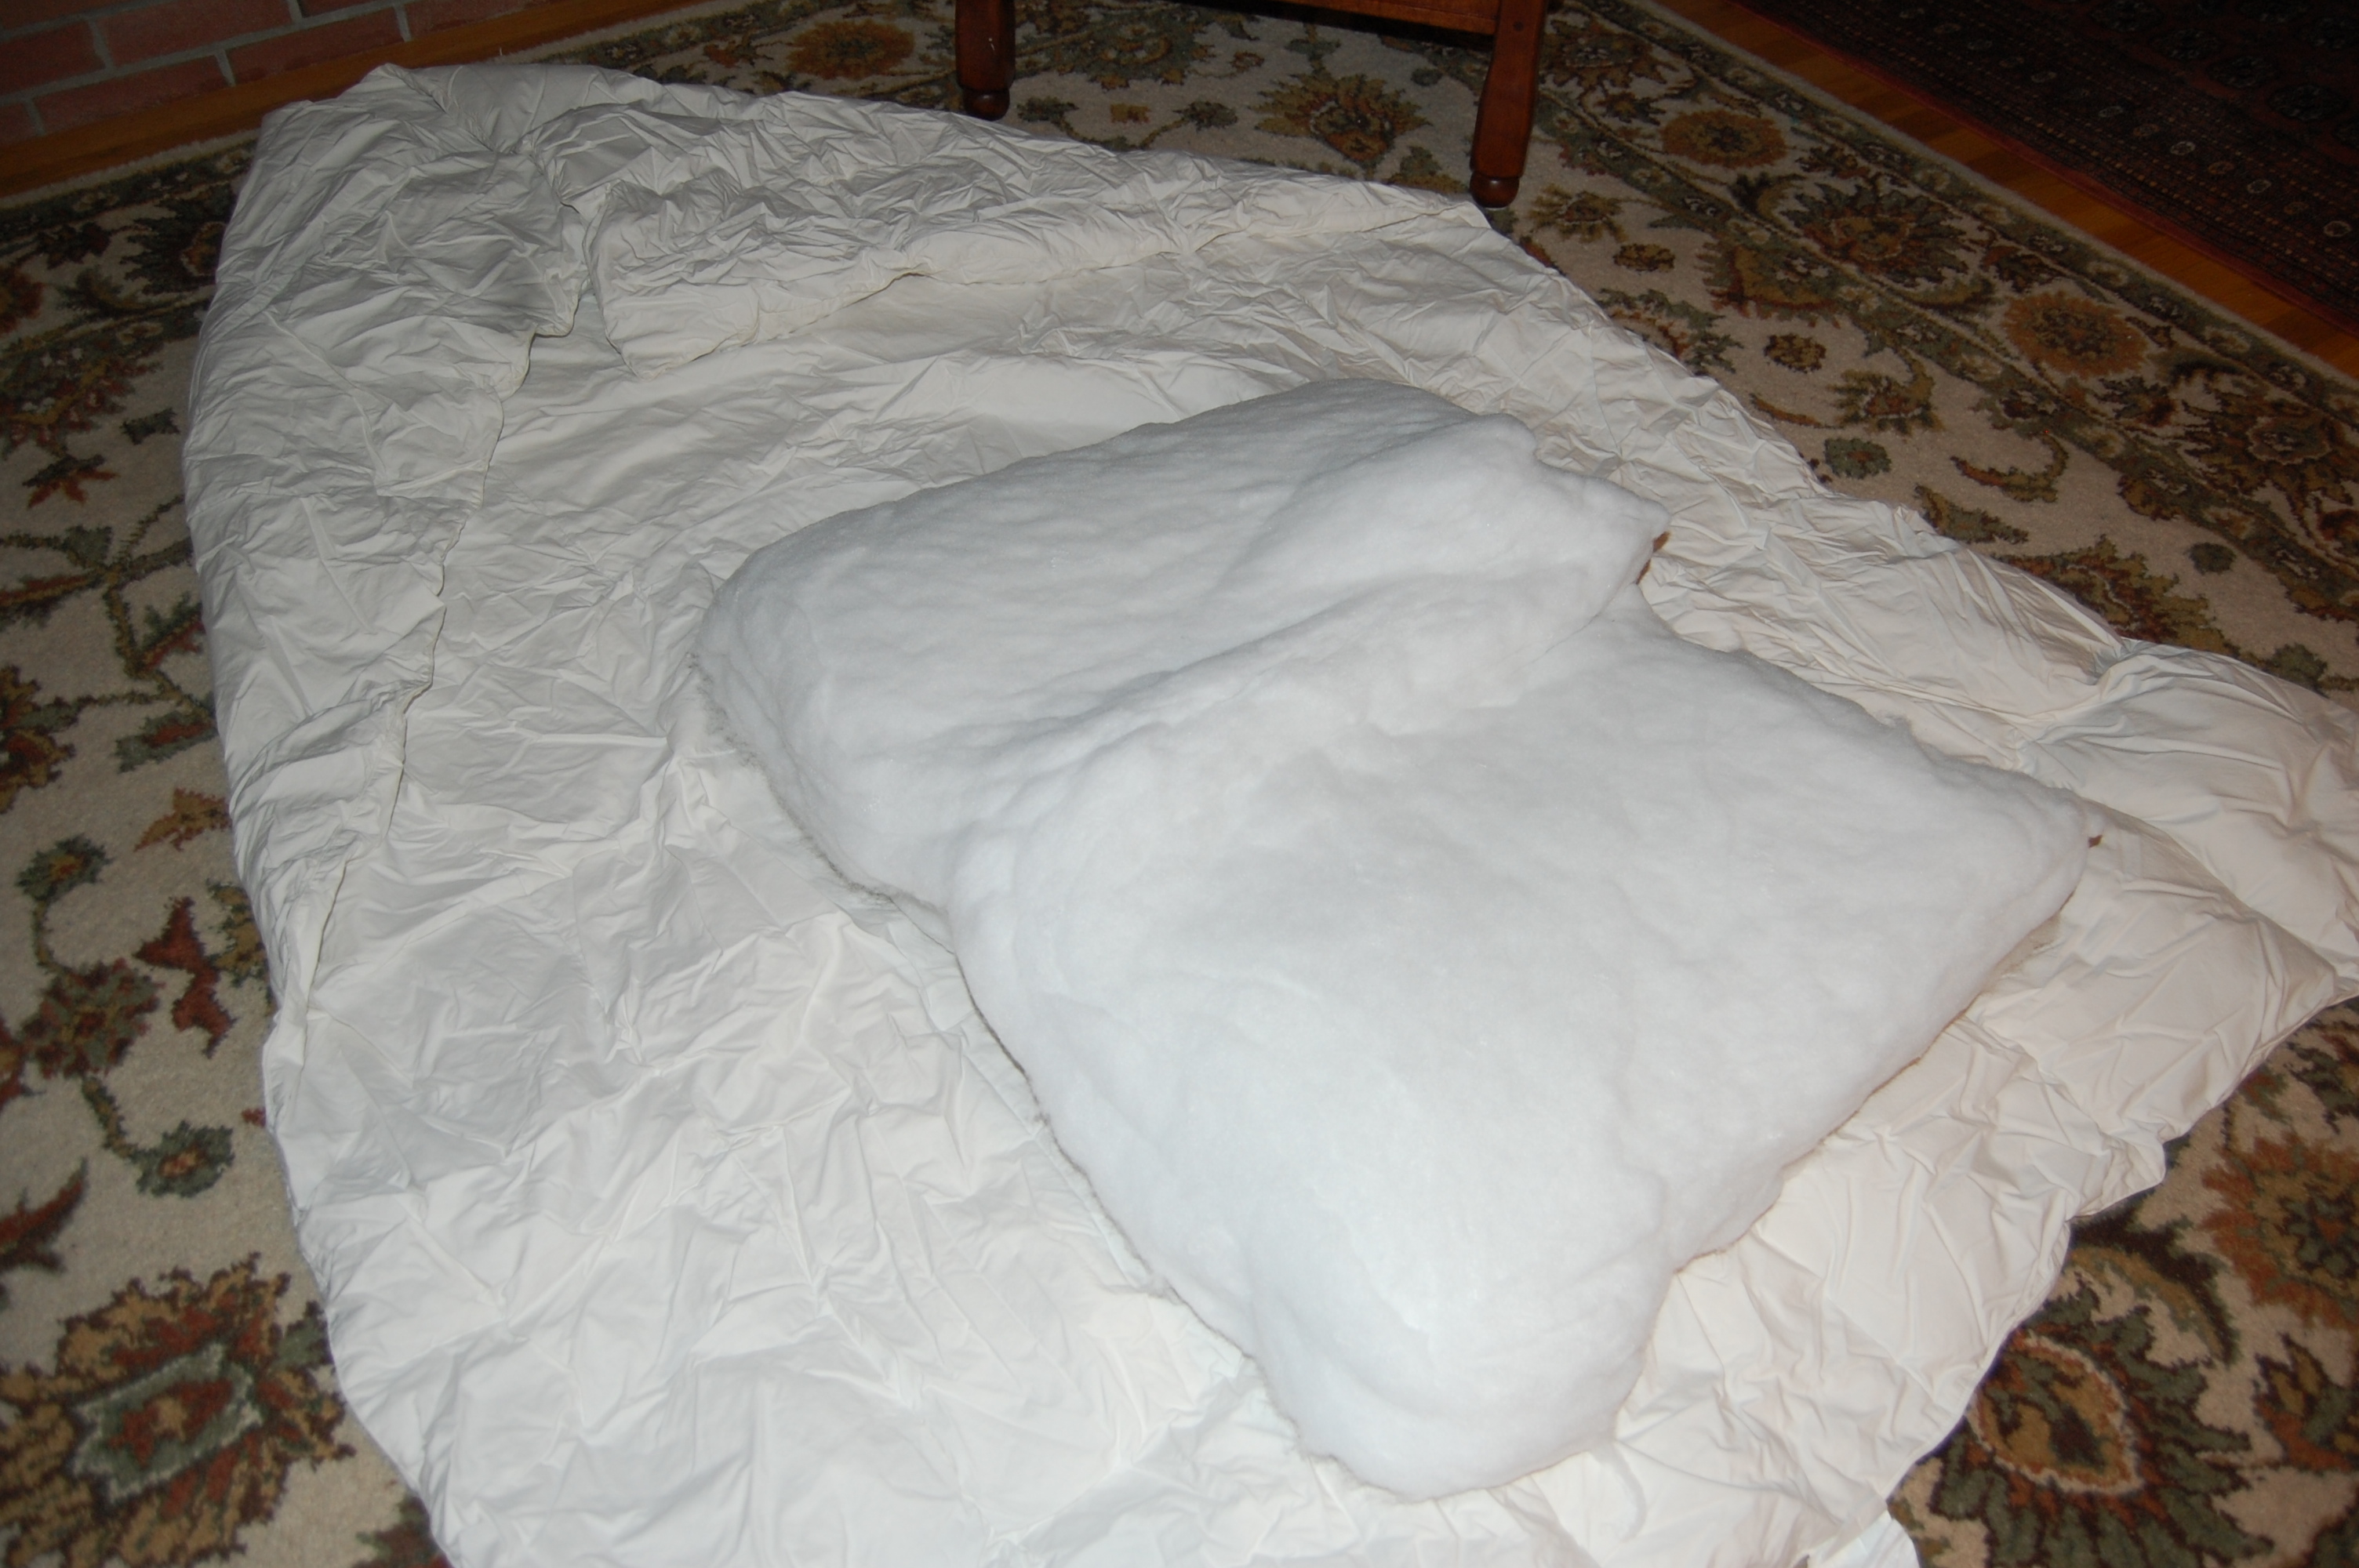
I folded the comforter as evenly as possible around the batting and fit it back into the pillow casing.
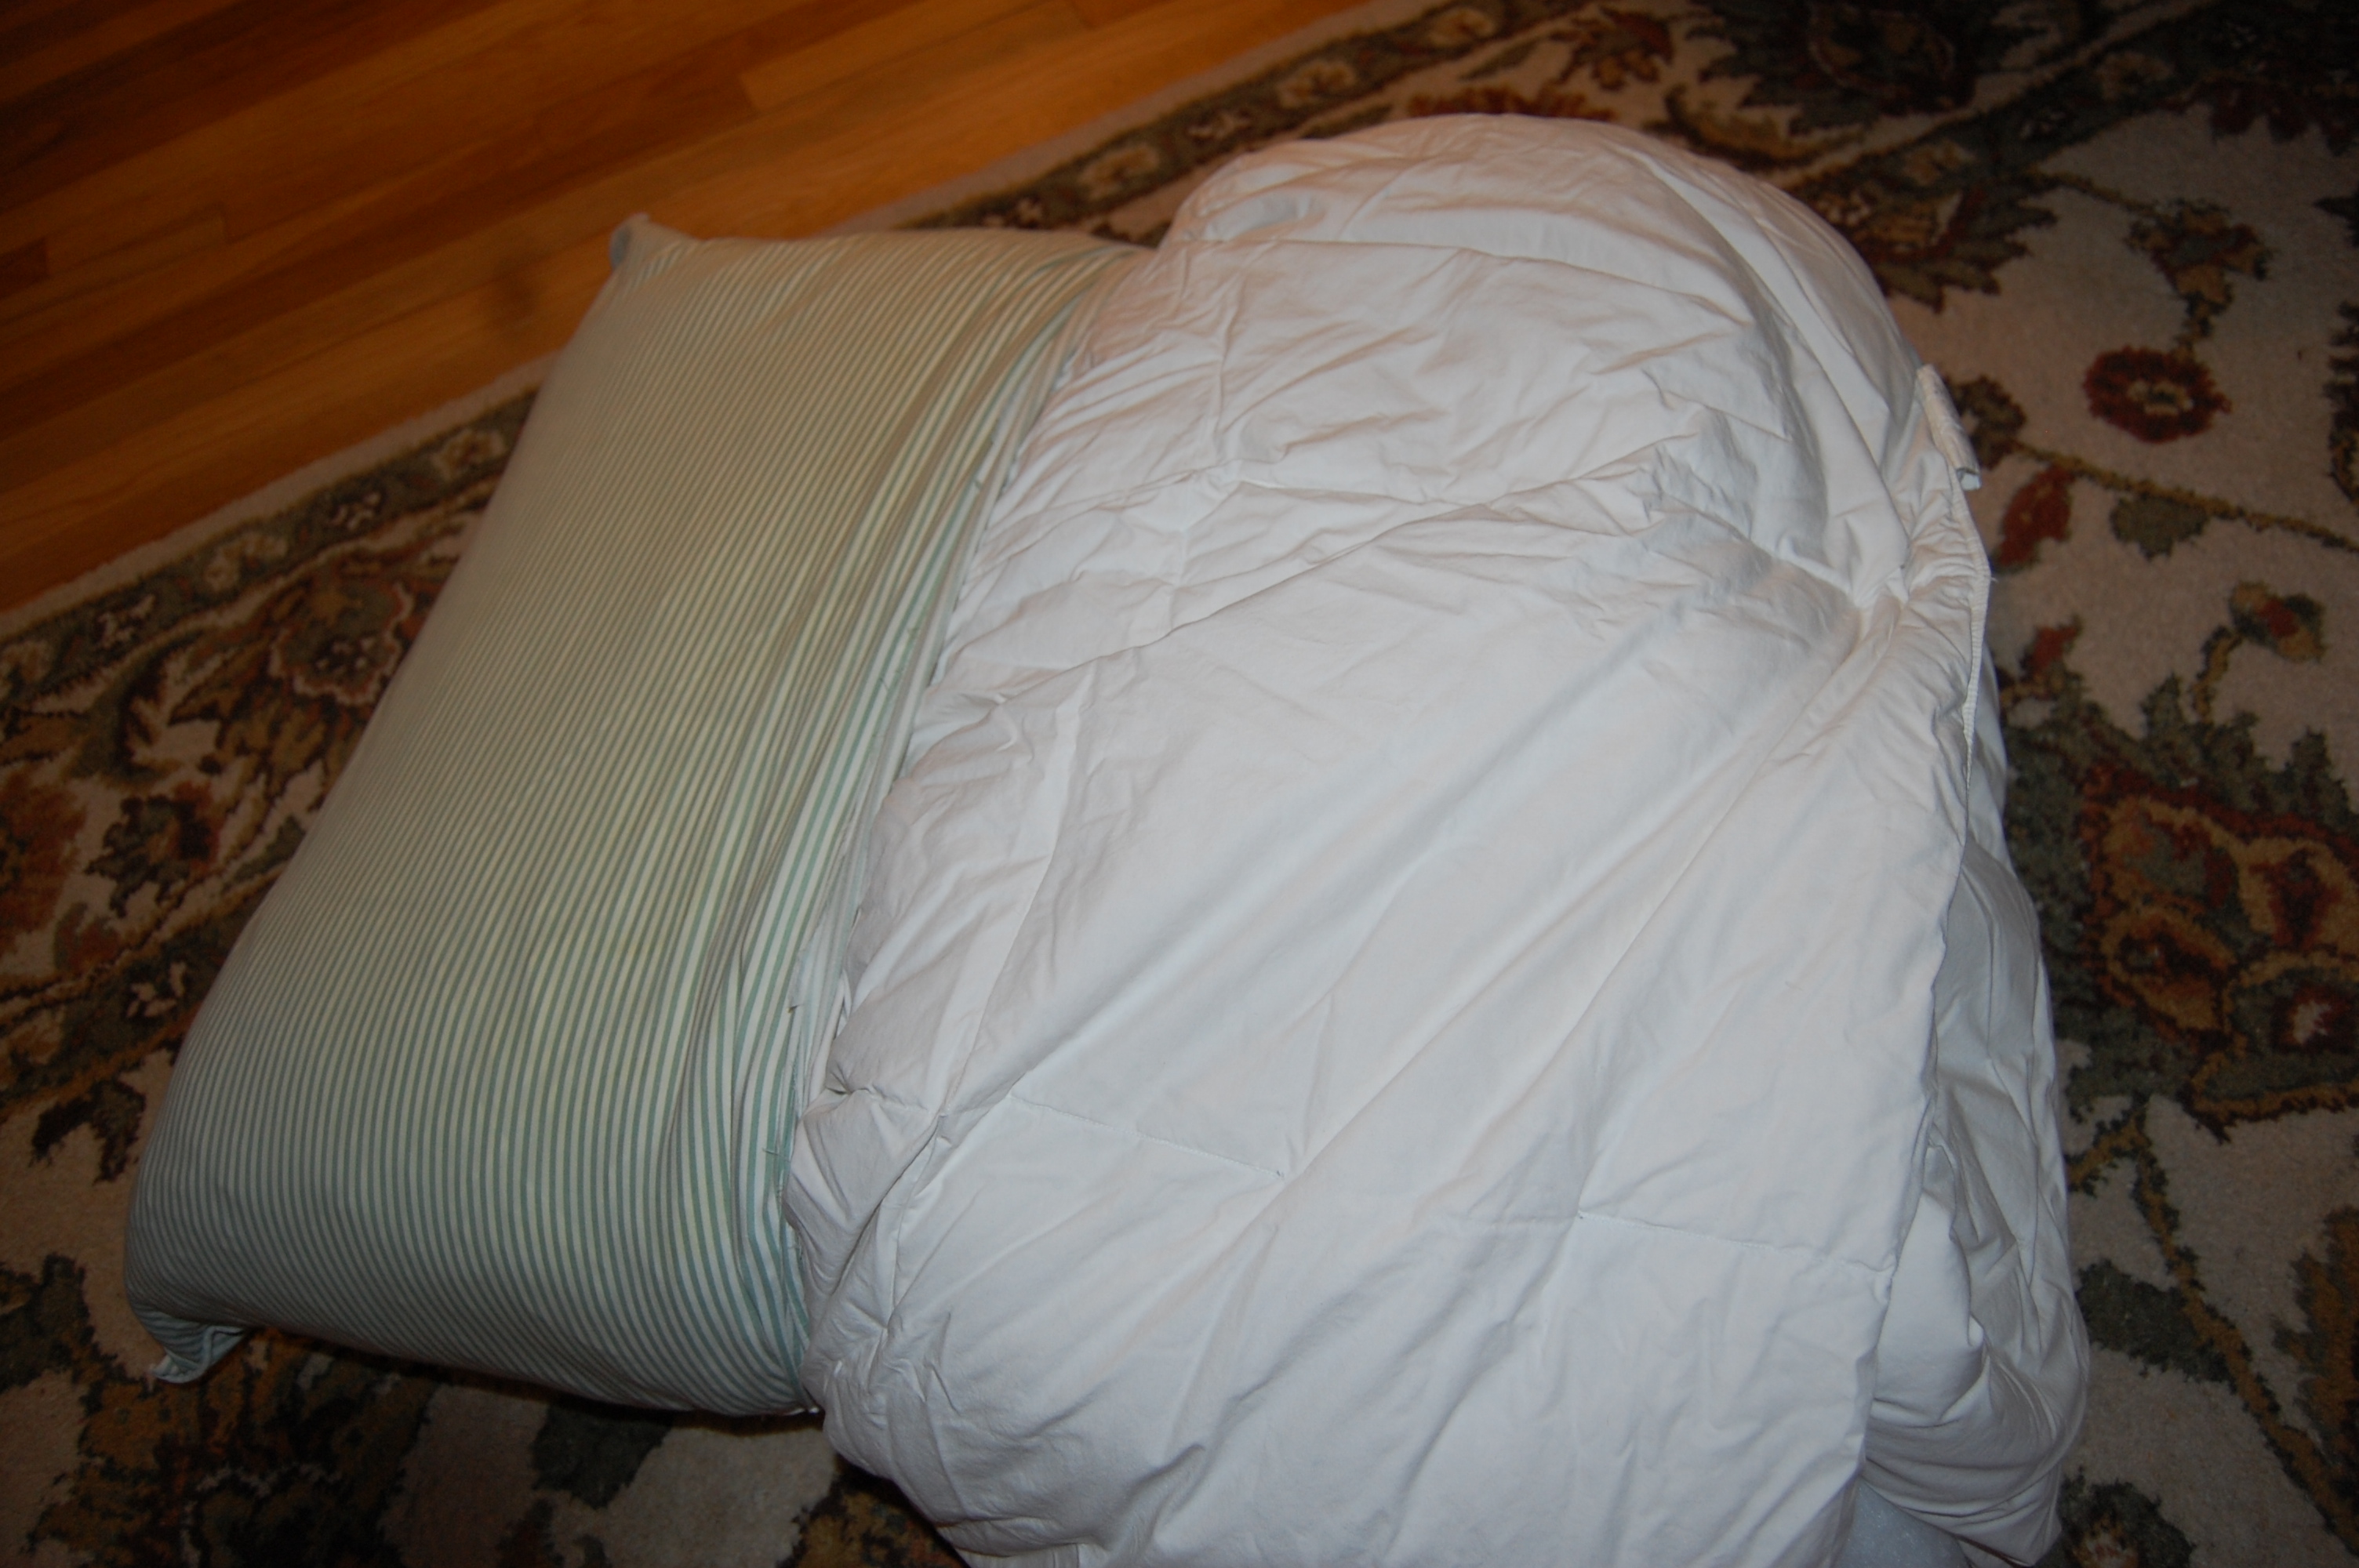

I stitched up the open end, and threw it on the ground for a test run.
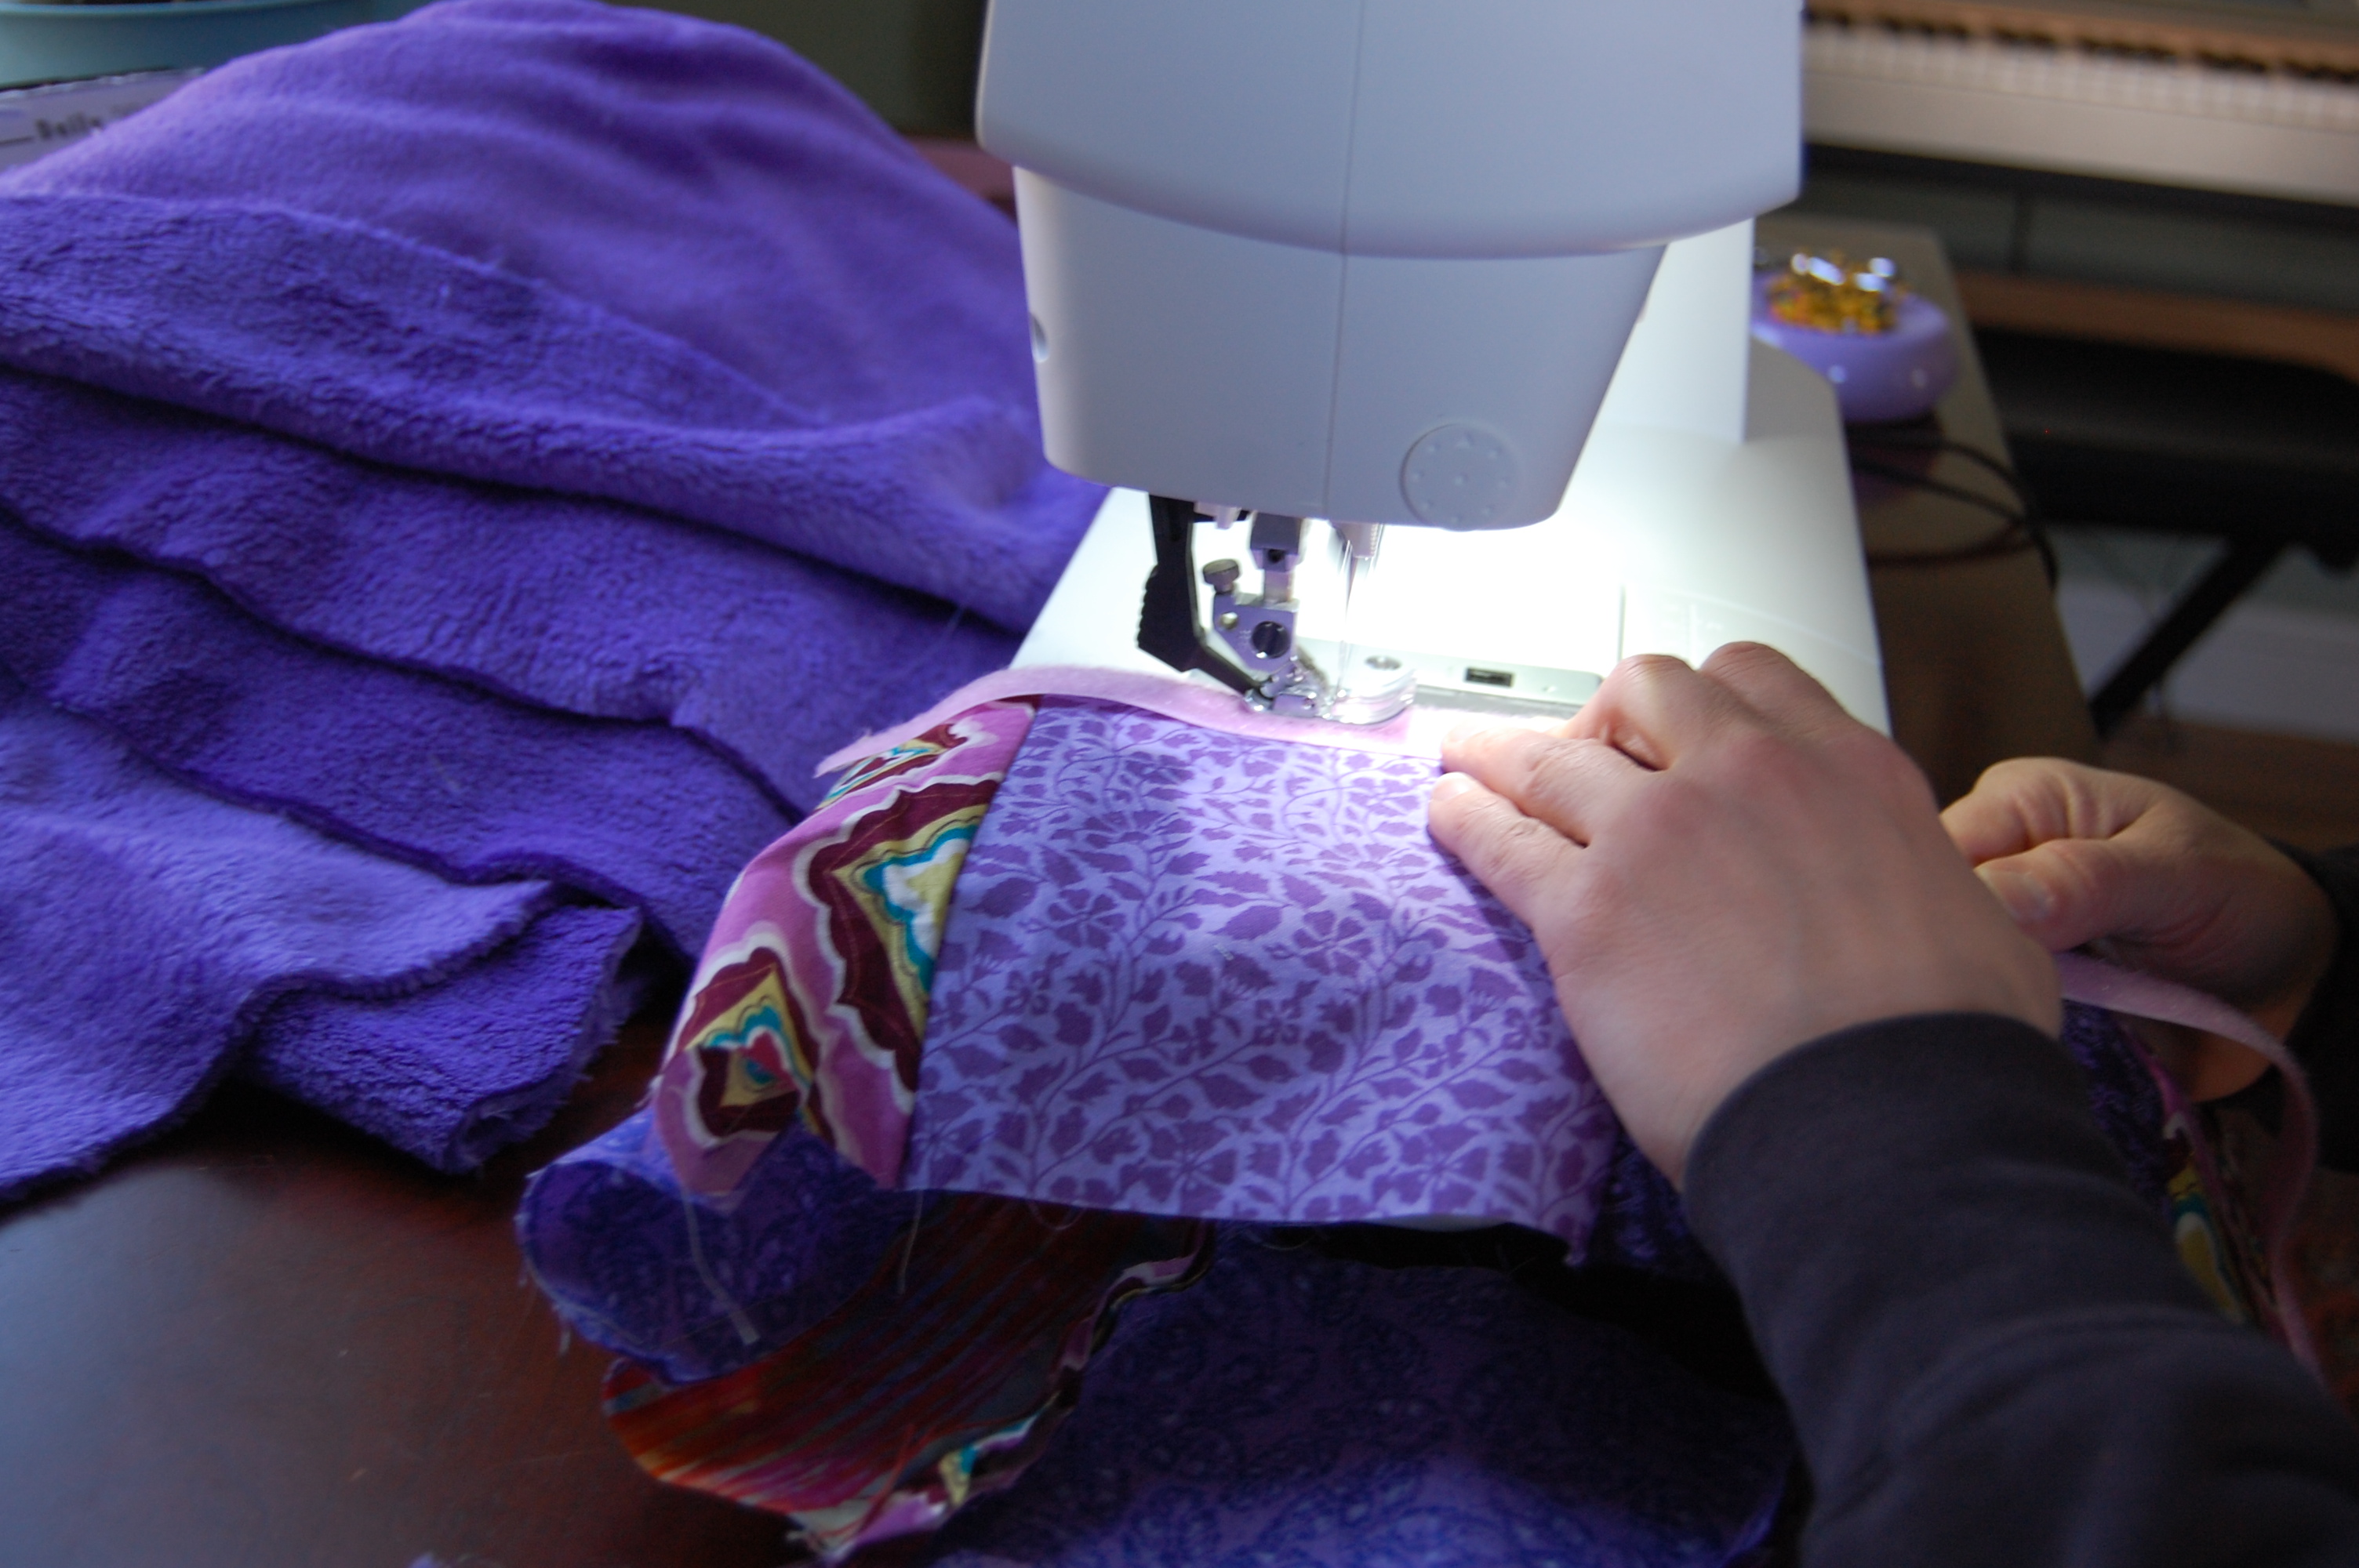
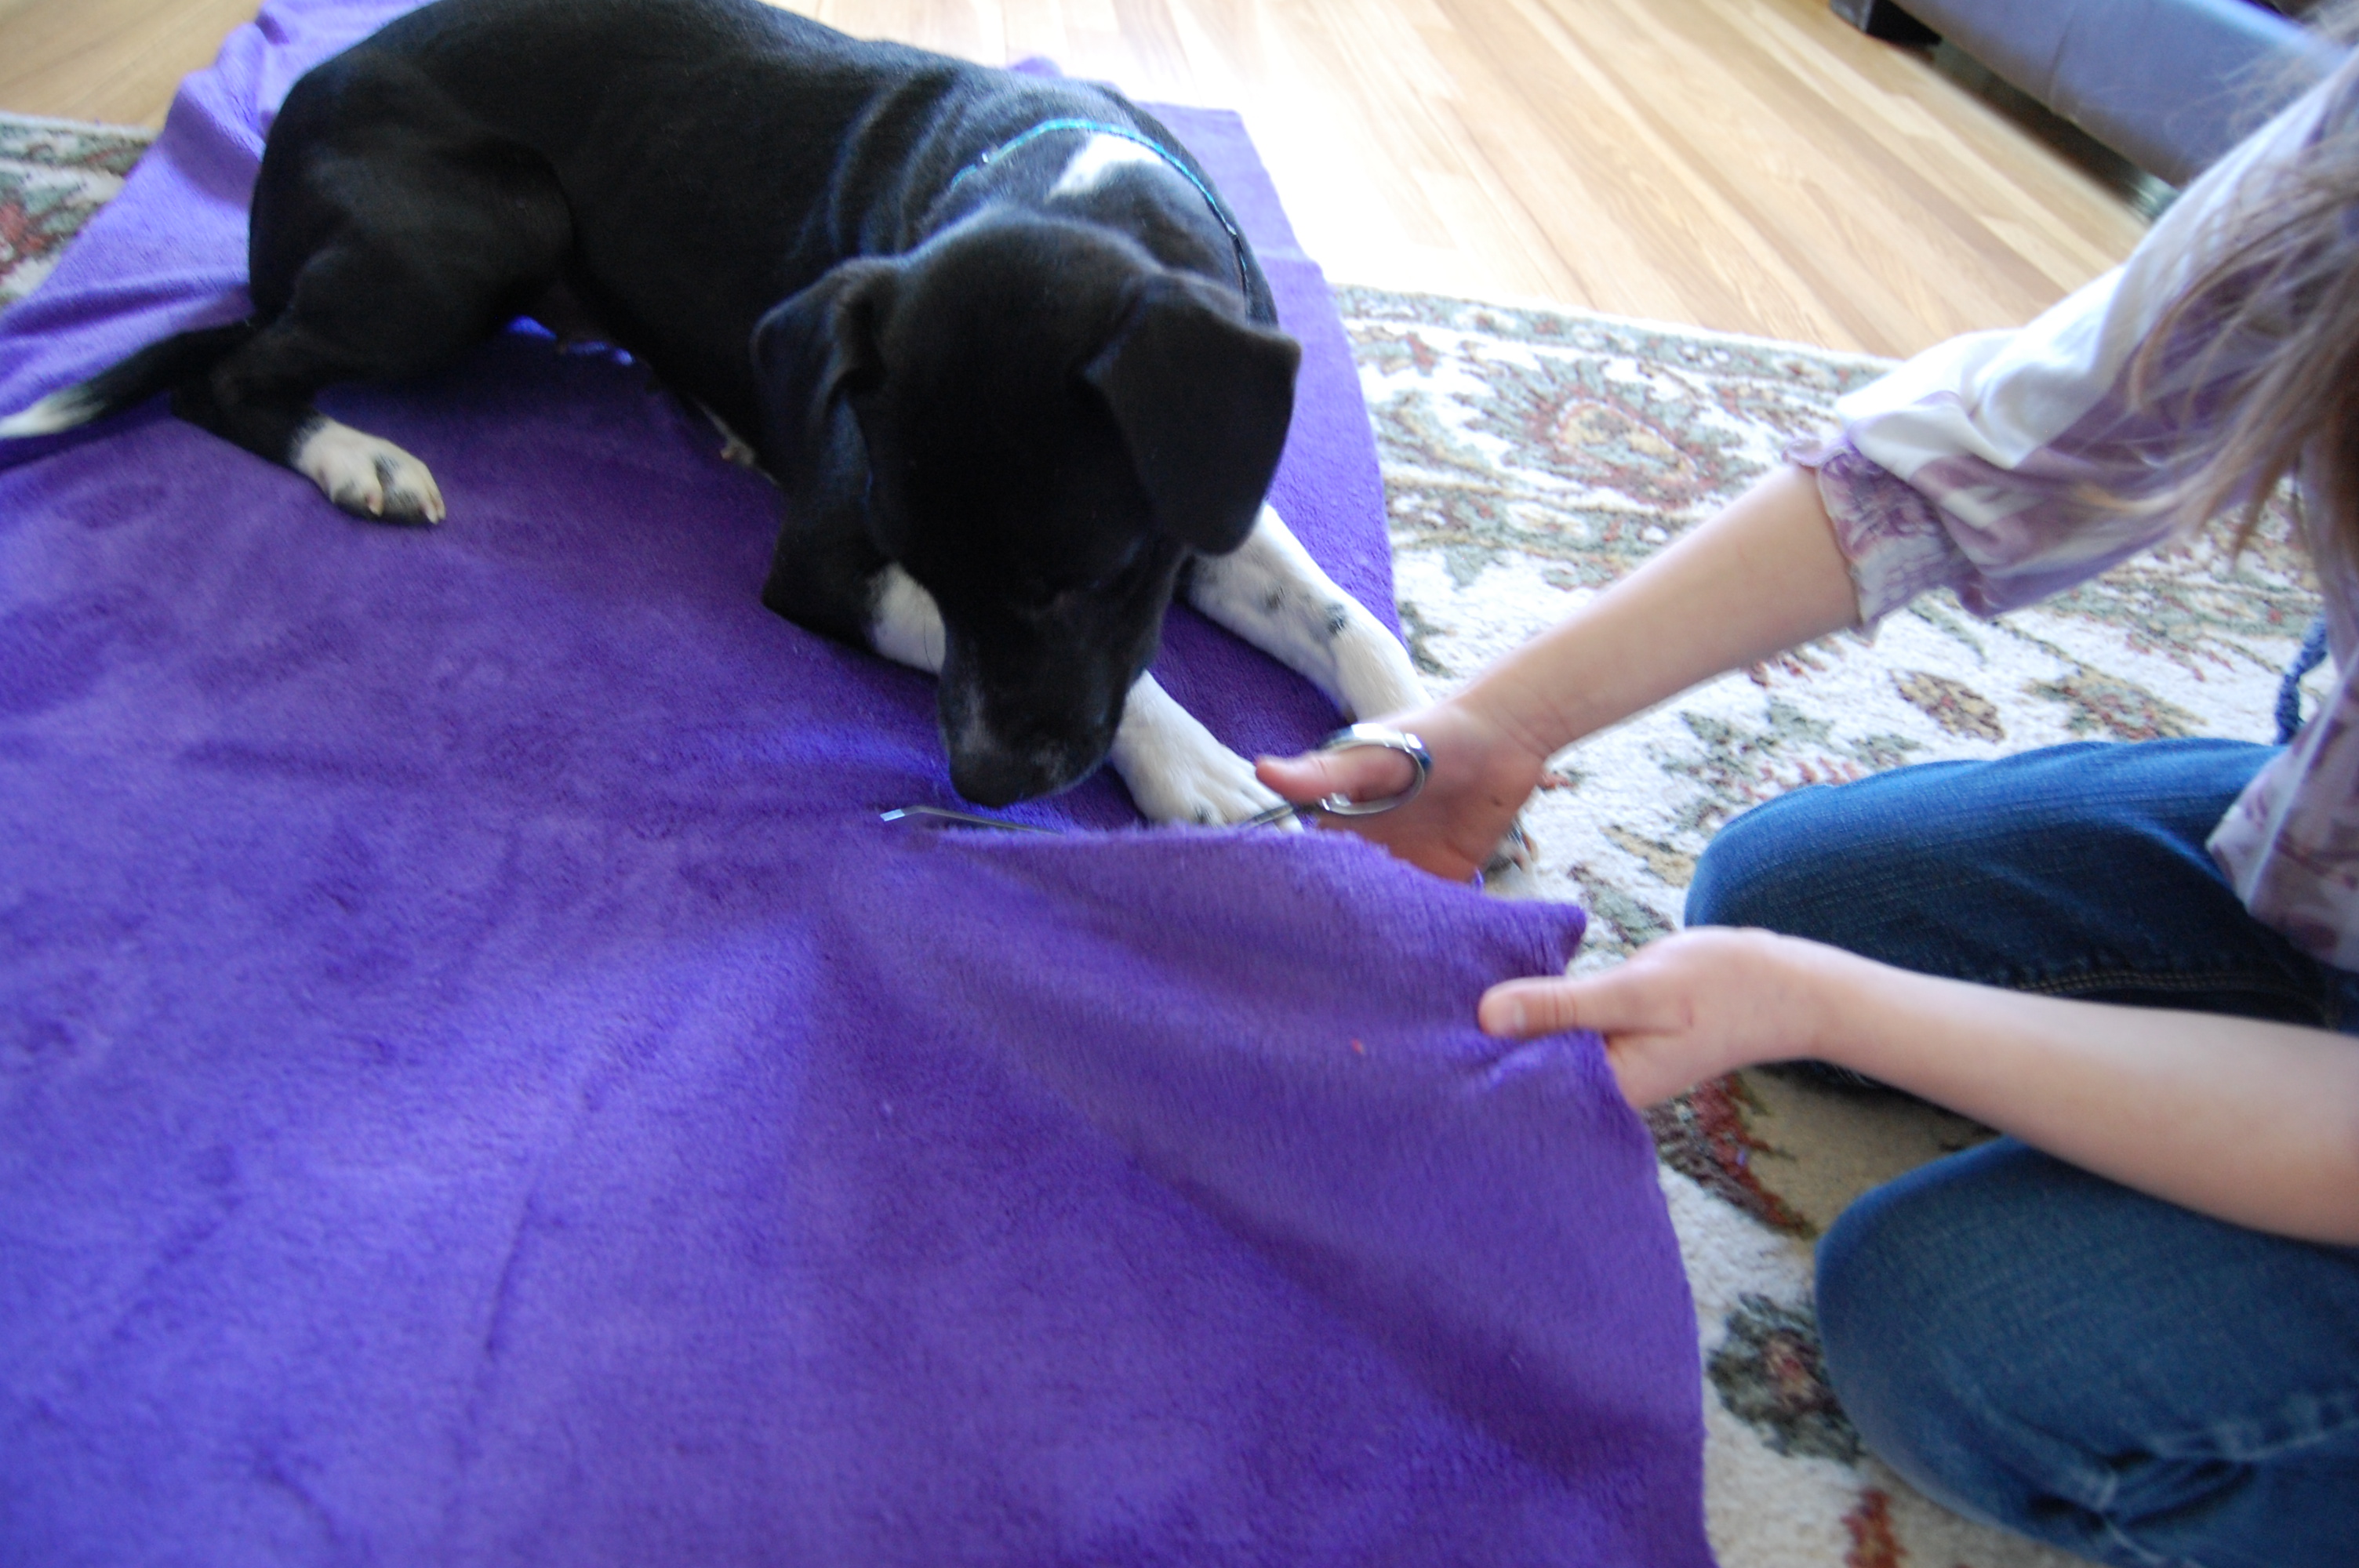
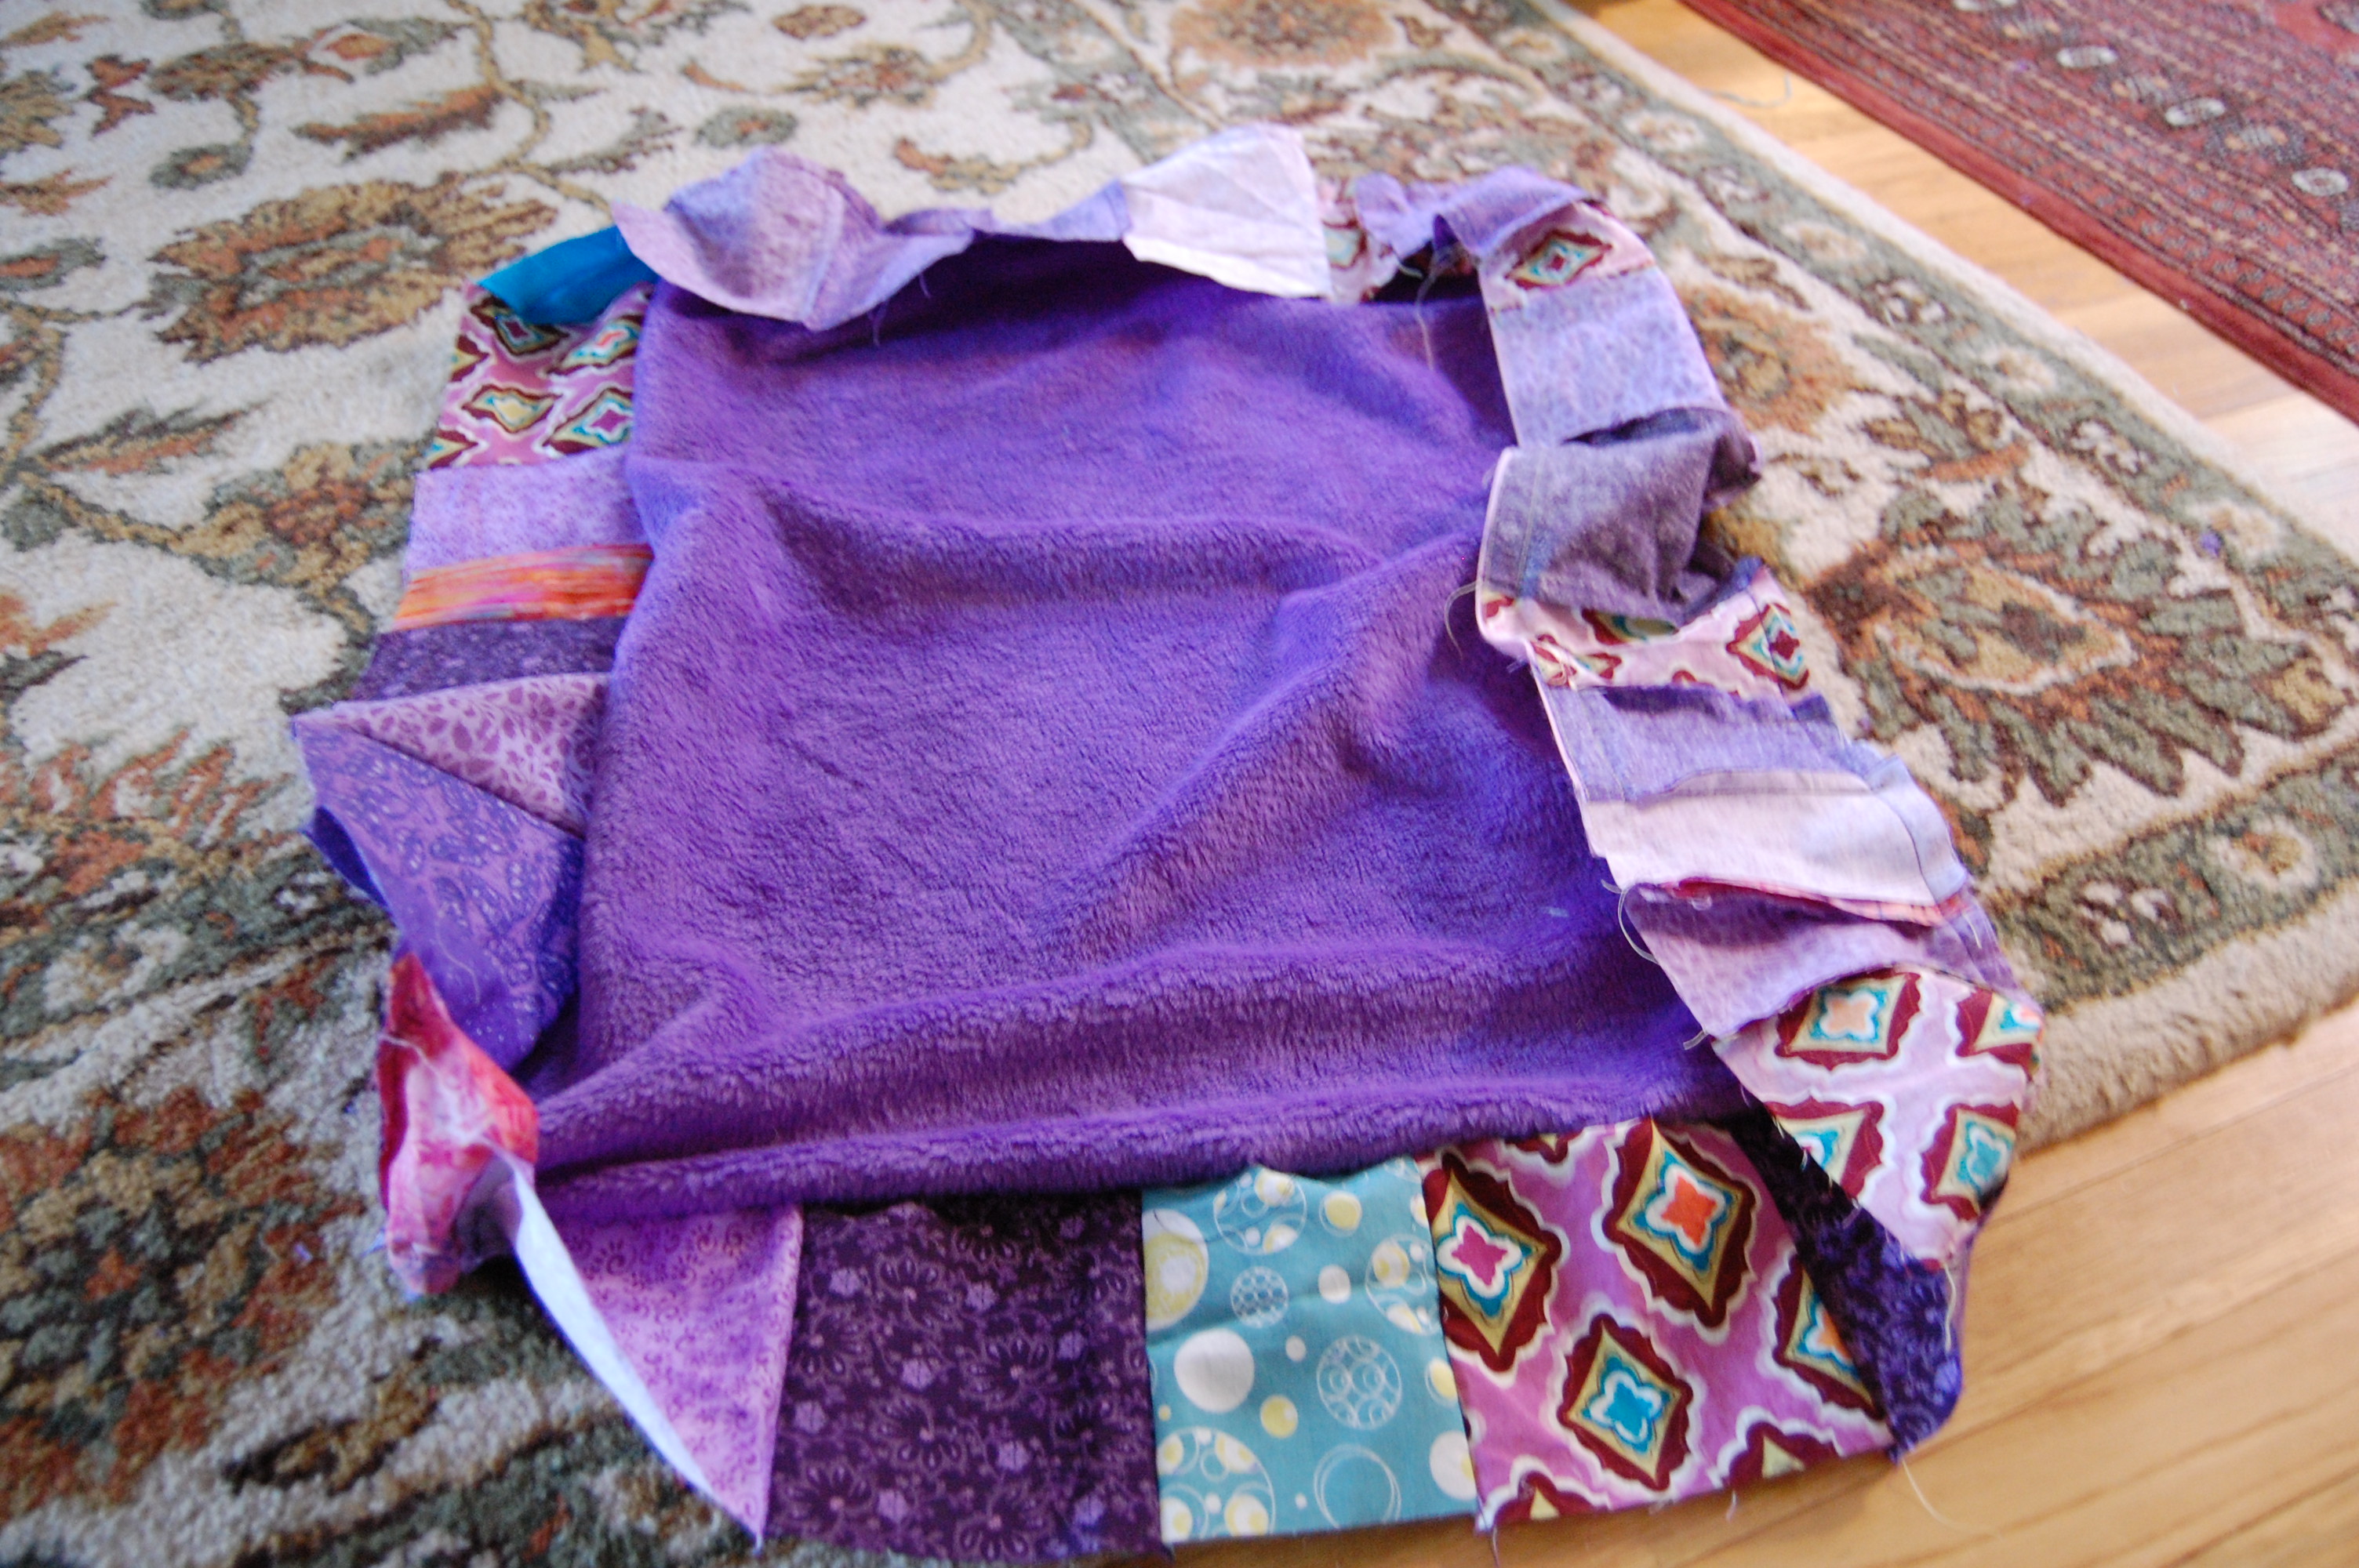
Then I went into the fabric stash and found a large piece of super soft purple fleece, some mostly purple scraps and some Velcro. I cut all of the scraps to 5 1/2 inches in height (based on the new pillow thickness) and various lengths from about 3 to 7 inches long, and stitched them together (right sides together, finger pressing in between) into a strip long enough to go all of the way around the perimeter of the pillow.

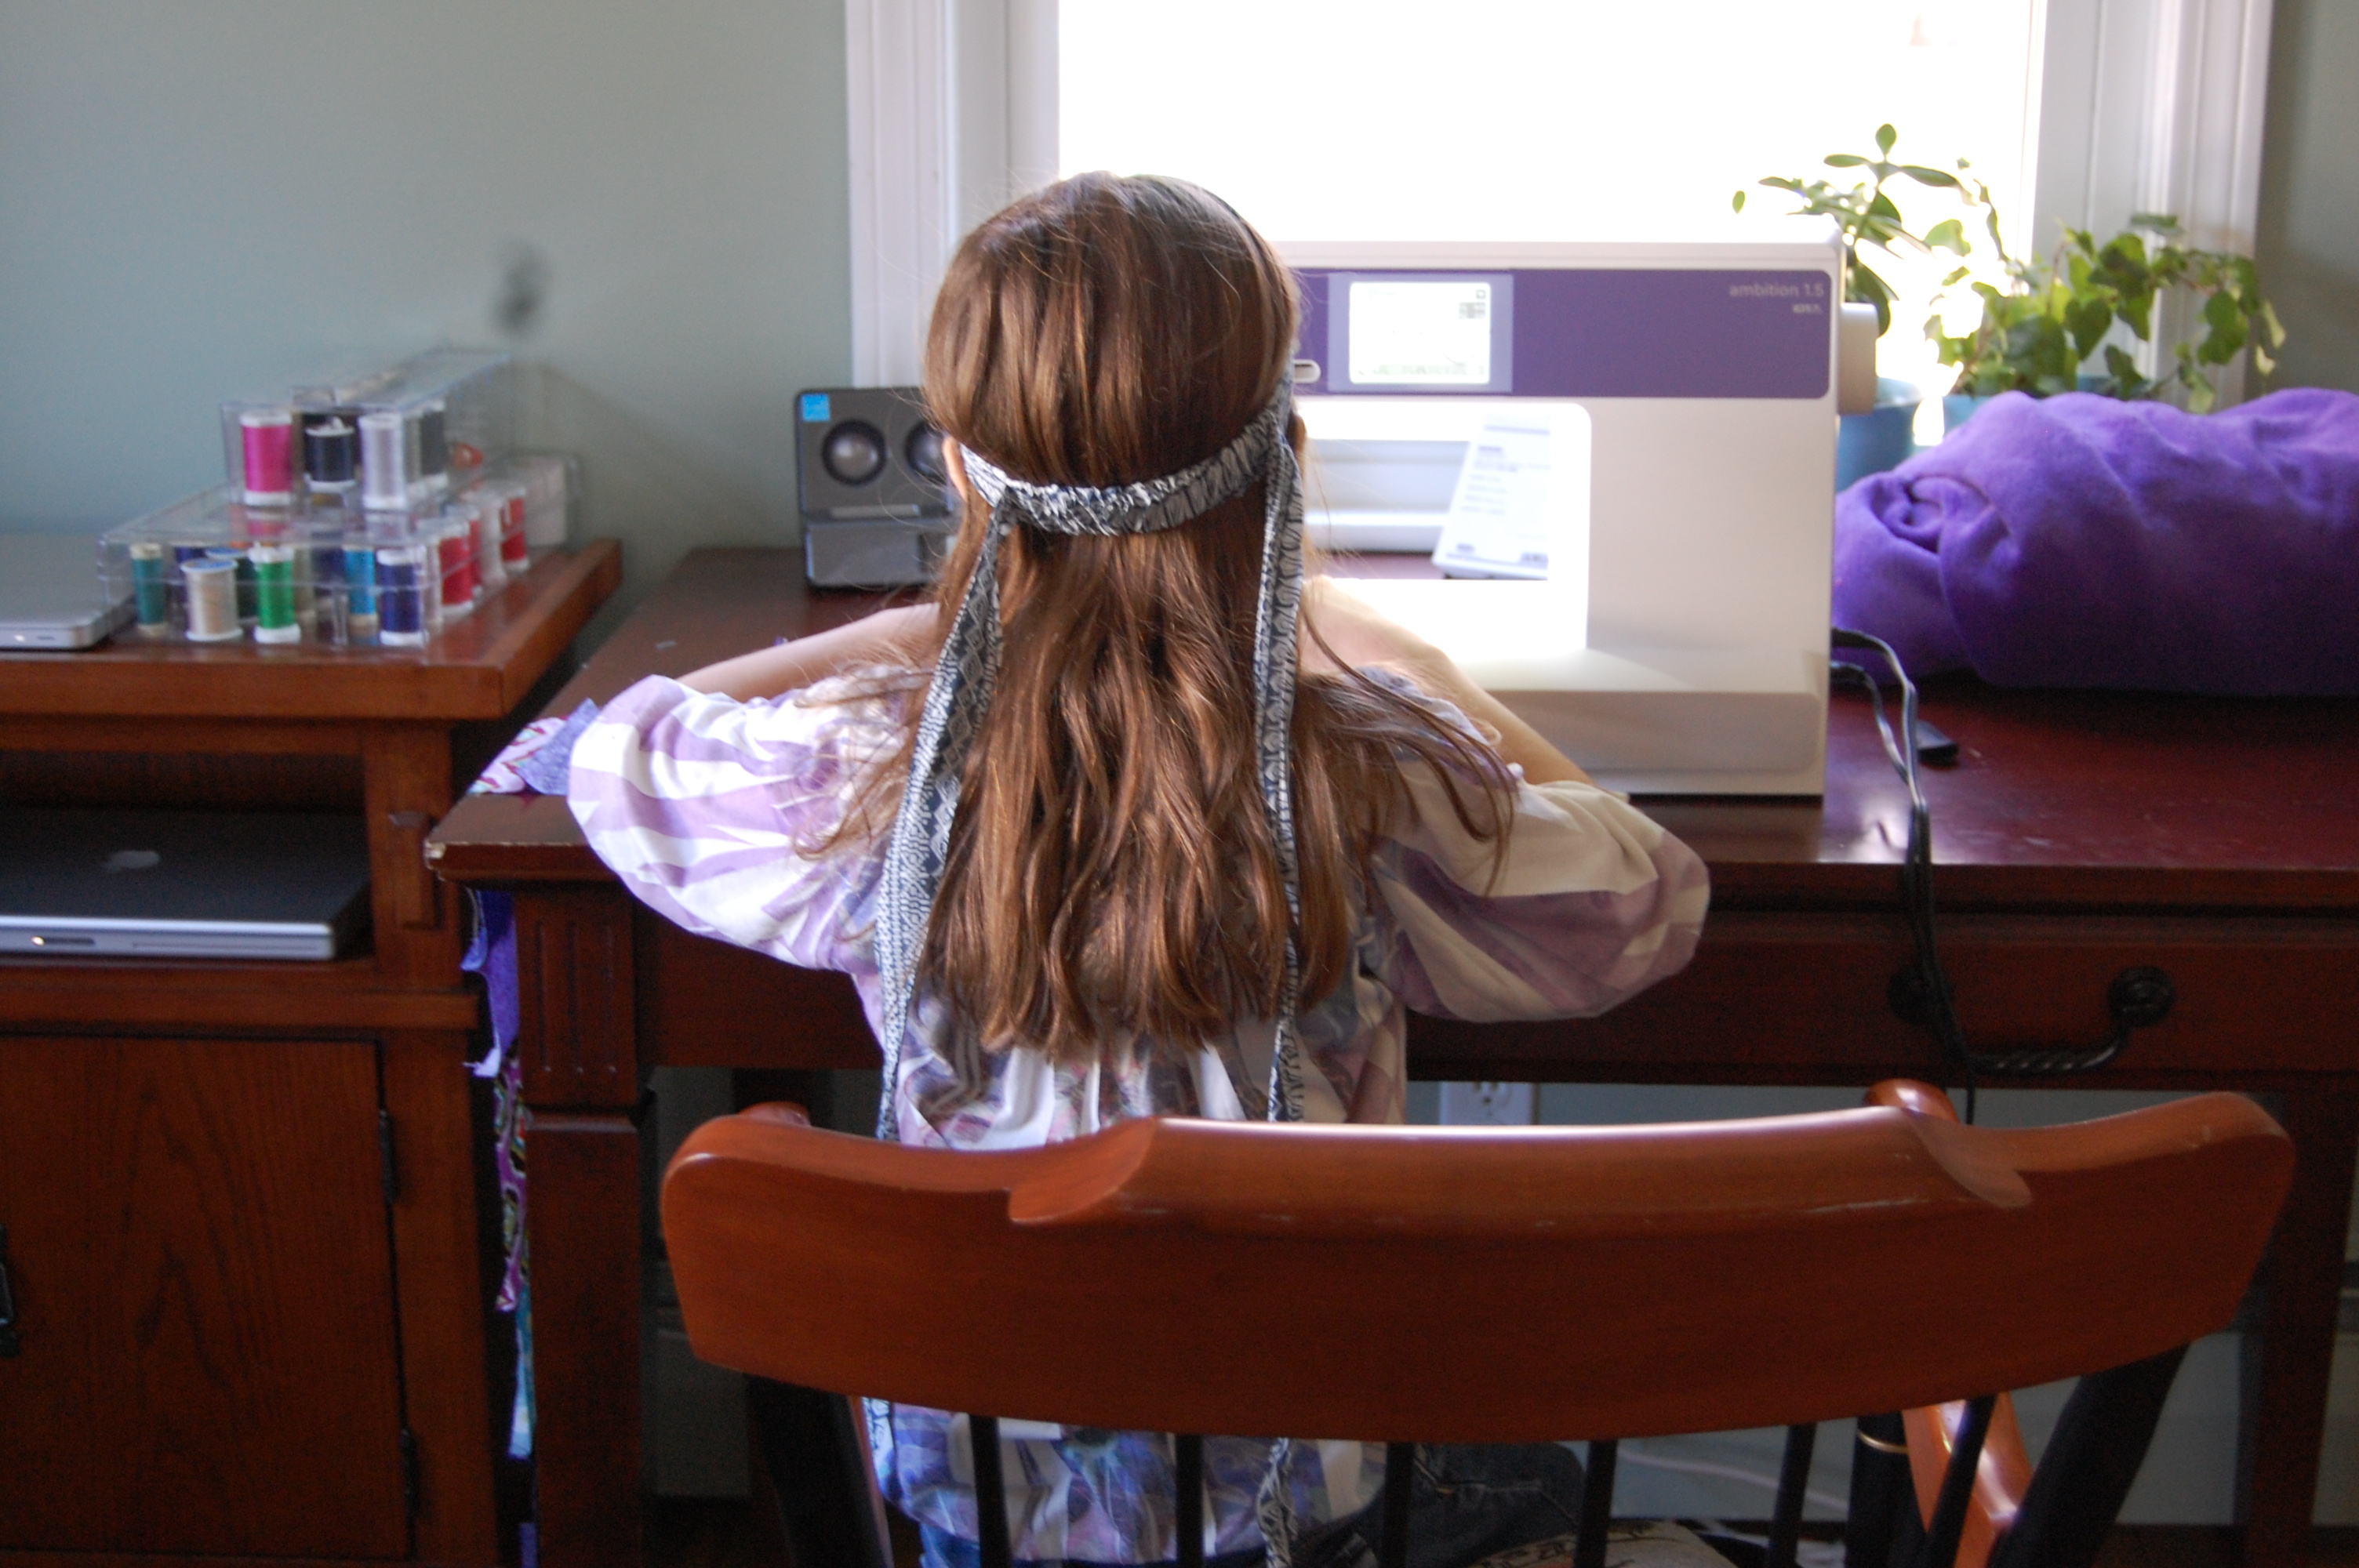
At this point, my 8 year old decided to help, and stitched some of the strip together.
We measured the top of the pillow to cut the fleece to size (adding 1/2 inch seam allowance on each side).

I cut a length of Velcro (determined by the pillow length measurement minus a couple inches) and sewed one side onto the fabric strip. I aligned and sewed the Velcro to the top of the strip. The Velcro is 1/2 inch wide to match the seam allowance used on the fleece top/bottom.
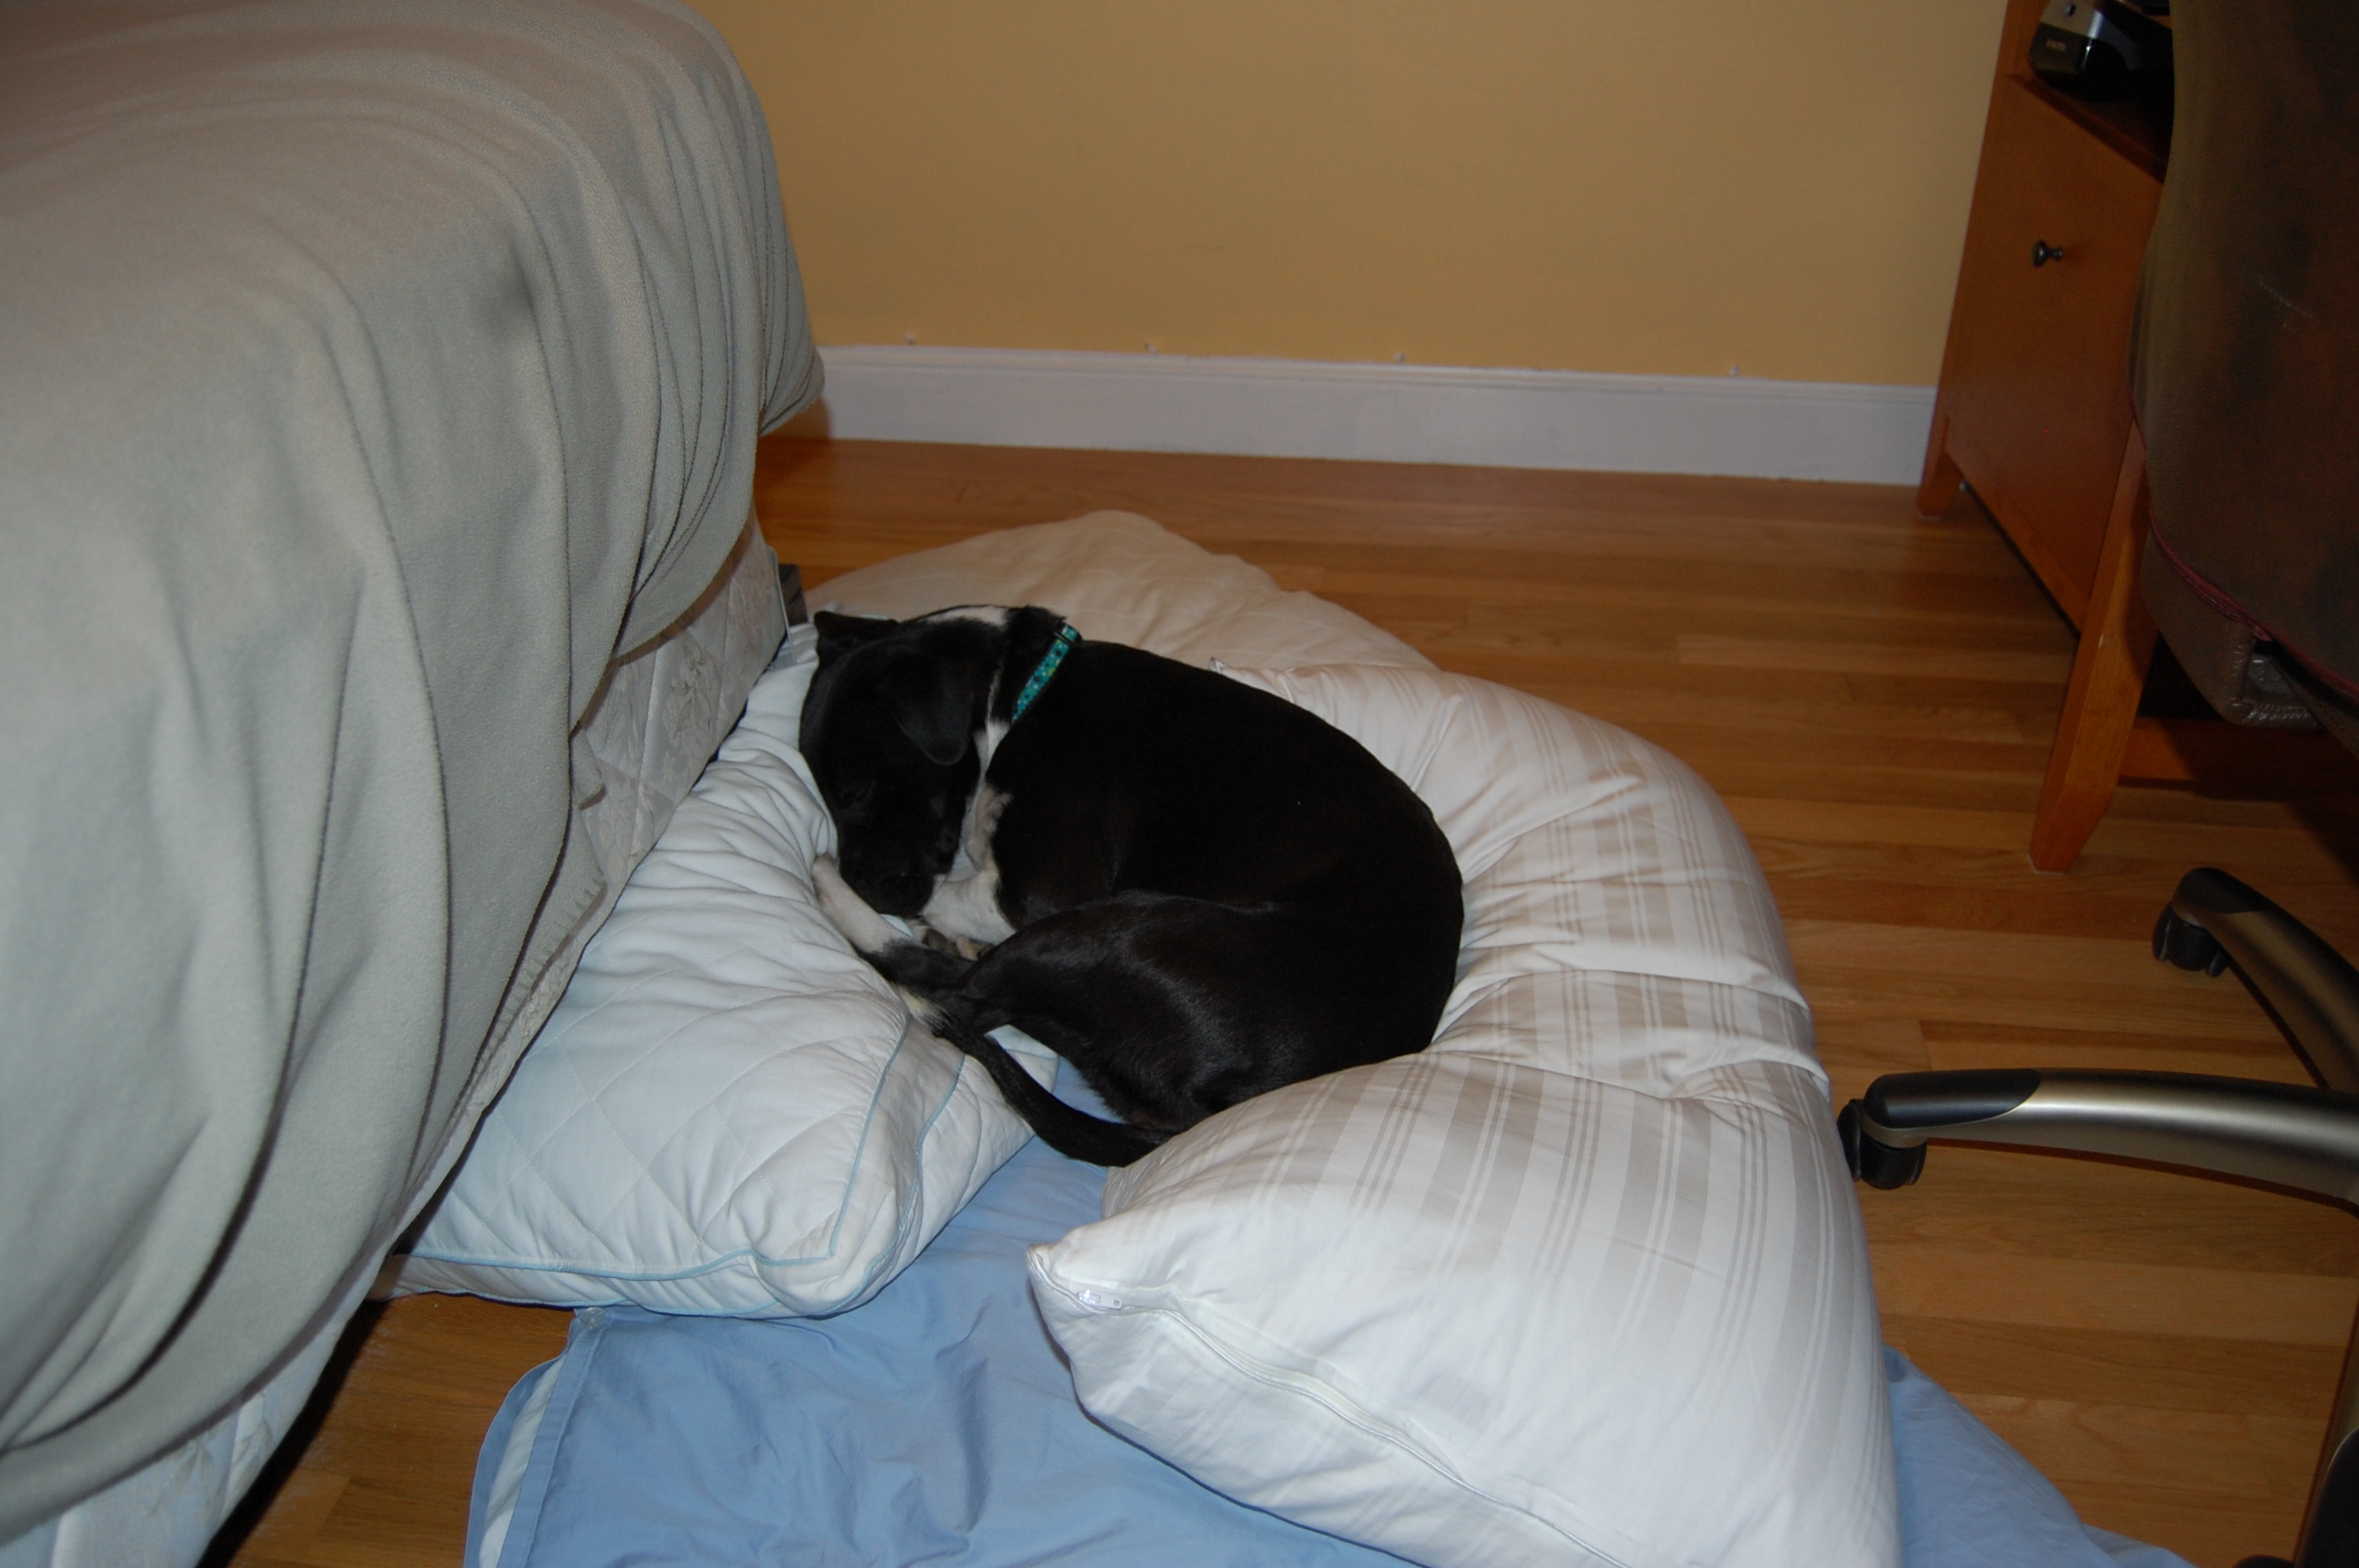
While we were measuring and getting the Velcro on, Rosie found the super soft fleece.
And wouldn’t get off.
We cut two pieces of fleece of the same size according our measurements – one for top and one for the bottom of the bed. I pinned and stitched the fabric strip around one of the pieces of fleece right sides together making sure that the Velcro side of the strip ran down the longer side of the fleece rectangle as I intended (and not on the stitched down side) and putting a slight curve around the corners. I had to adjust the length of my strip slightly after pinning it.
I stitched the other side of the Velcro to the other fleece rectangle, being careful to line it up so that it would run securely down the long edge and align with the Velcro on the strip.

I stuck the Velcro sides together and pinned the fleece around the rest of the strip.
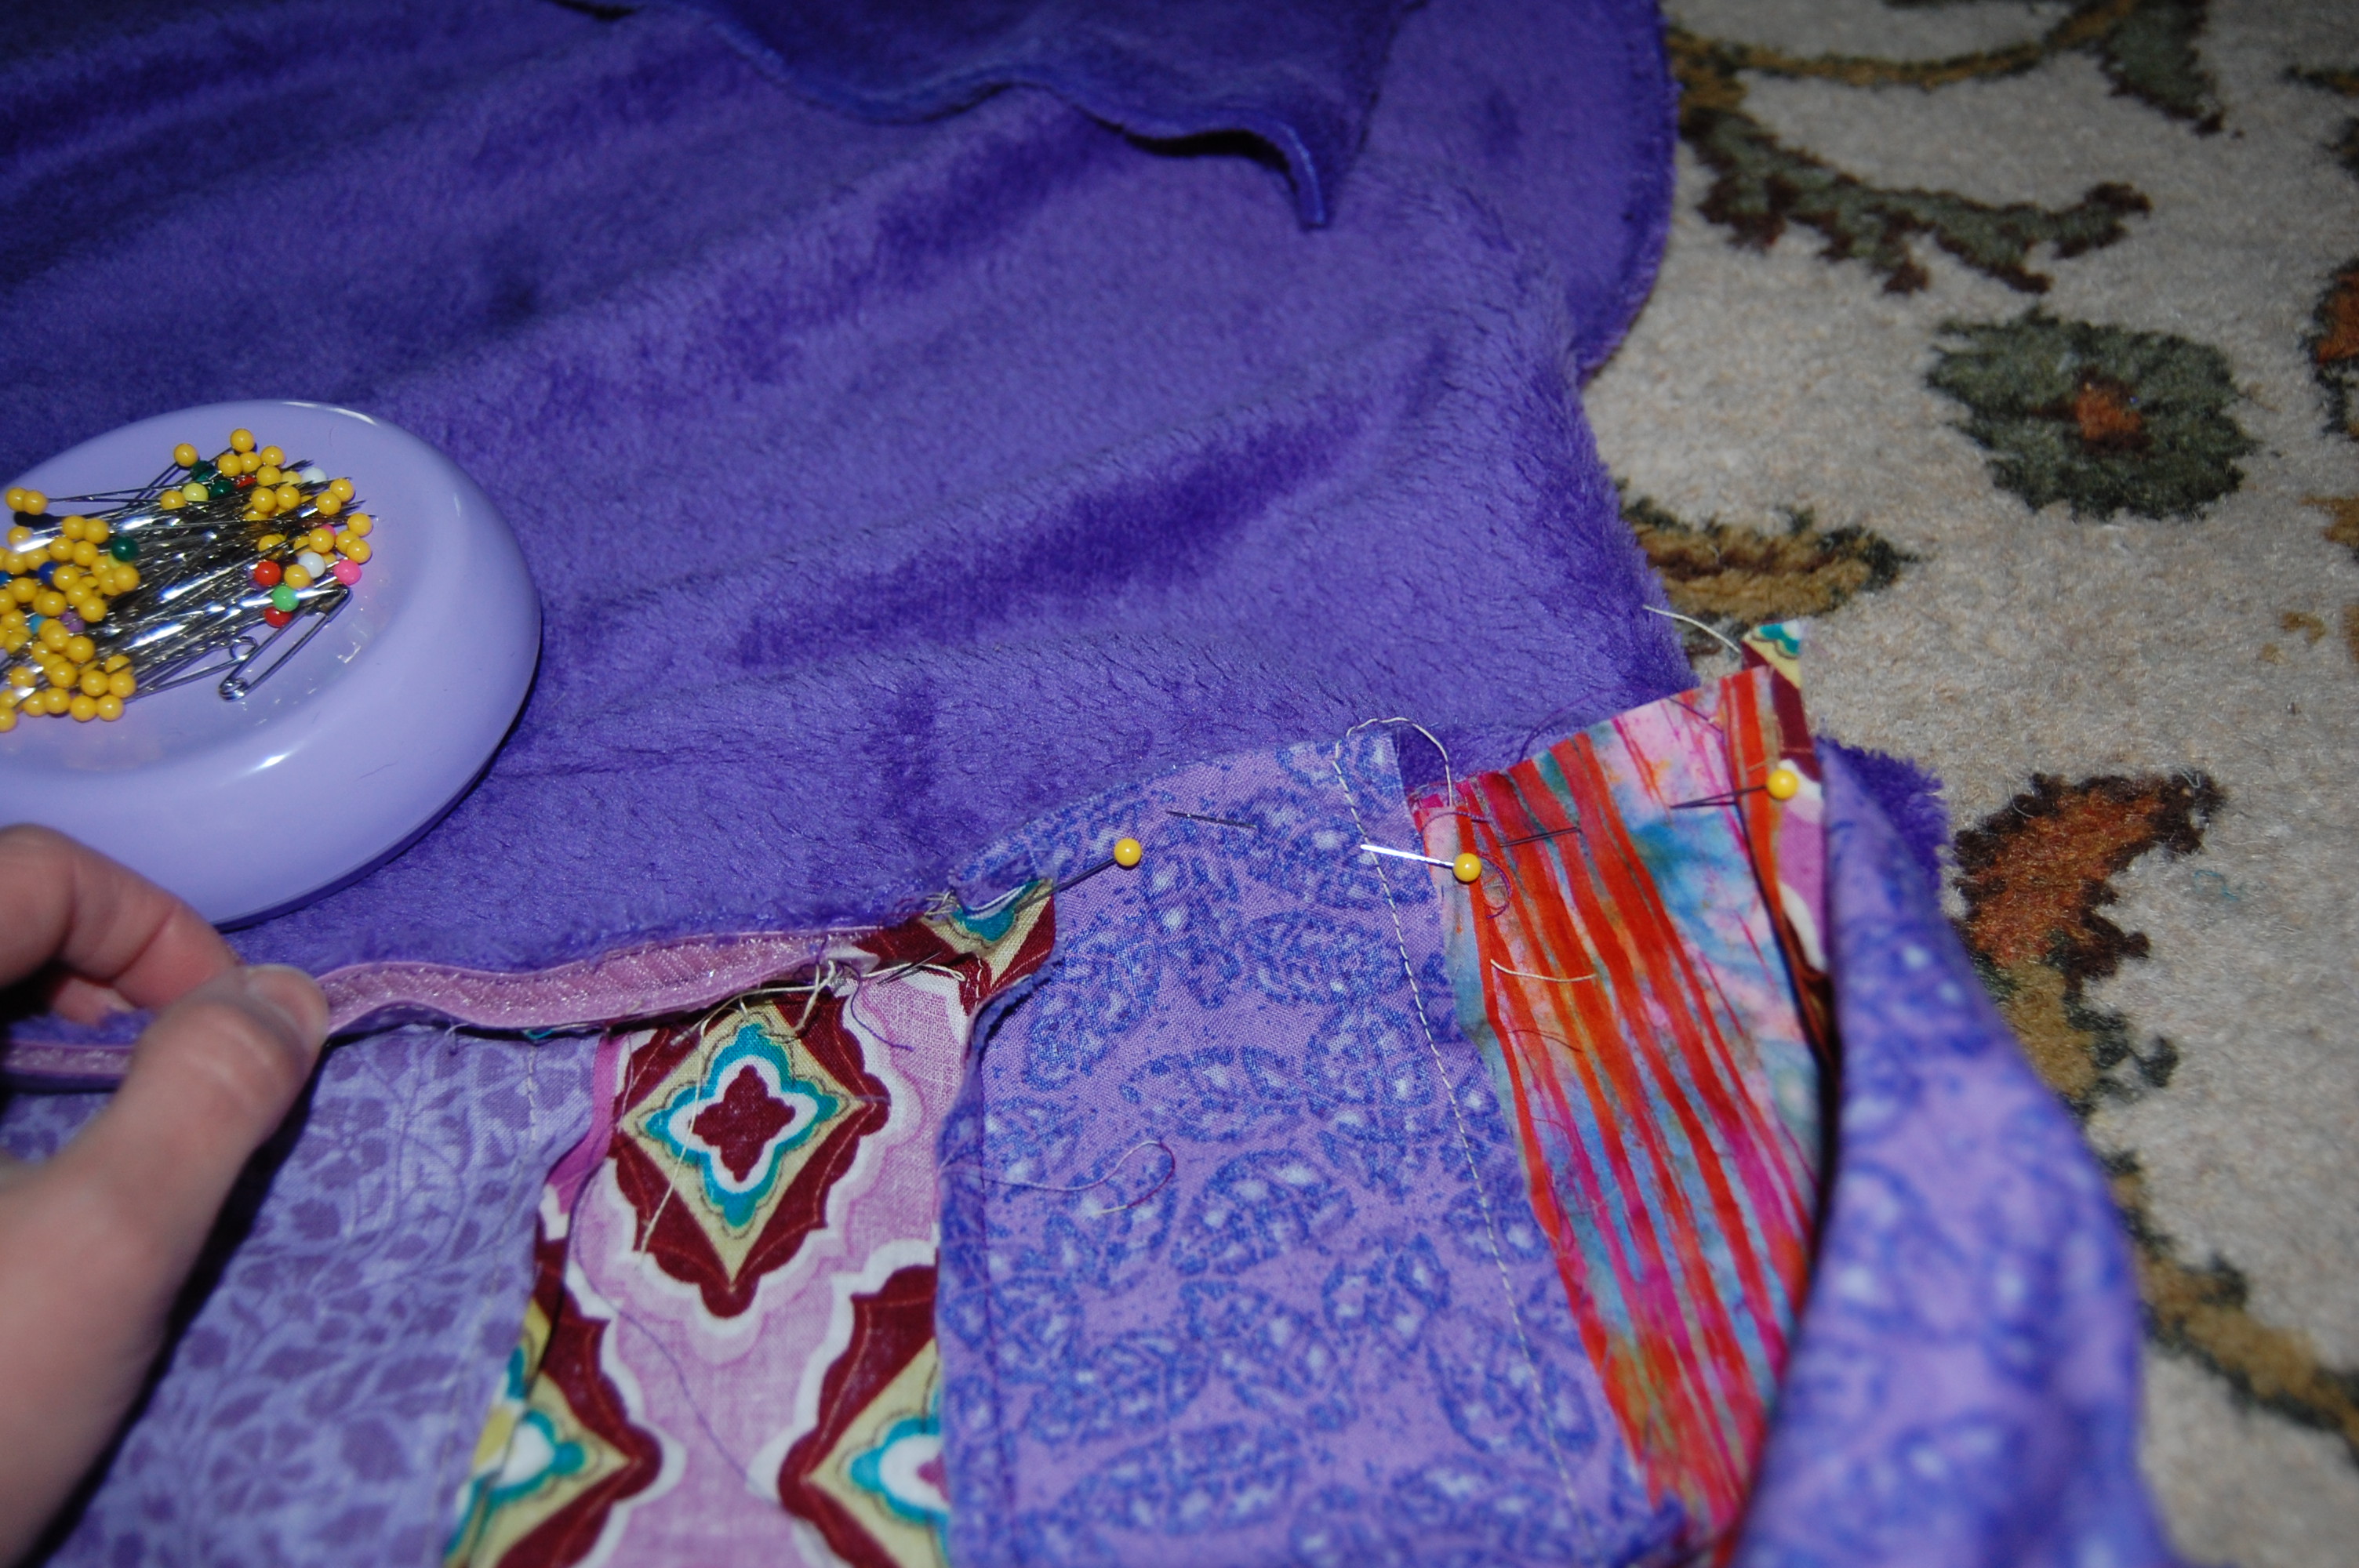
I stitched the fleece to the strip, starting and ending at – but not running over – the Velcro. I opened up the Velcro, turned everything right side out, stuffed in the pillow, and brought the bed to it’s spot.
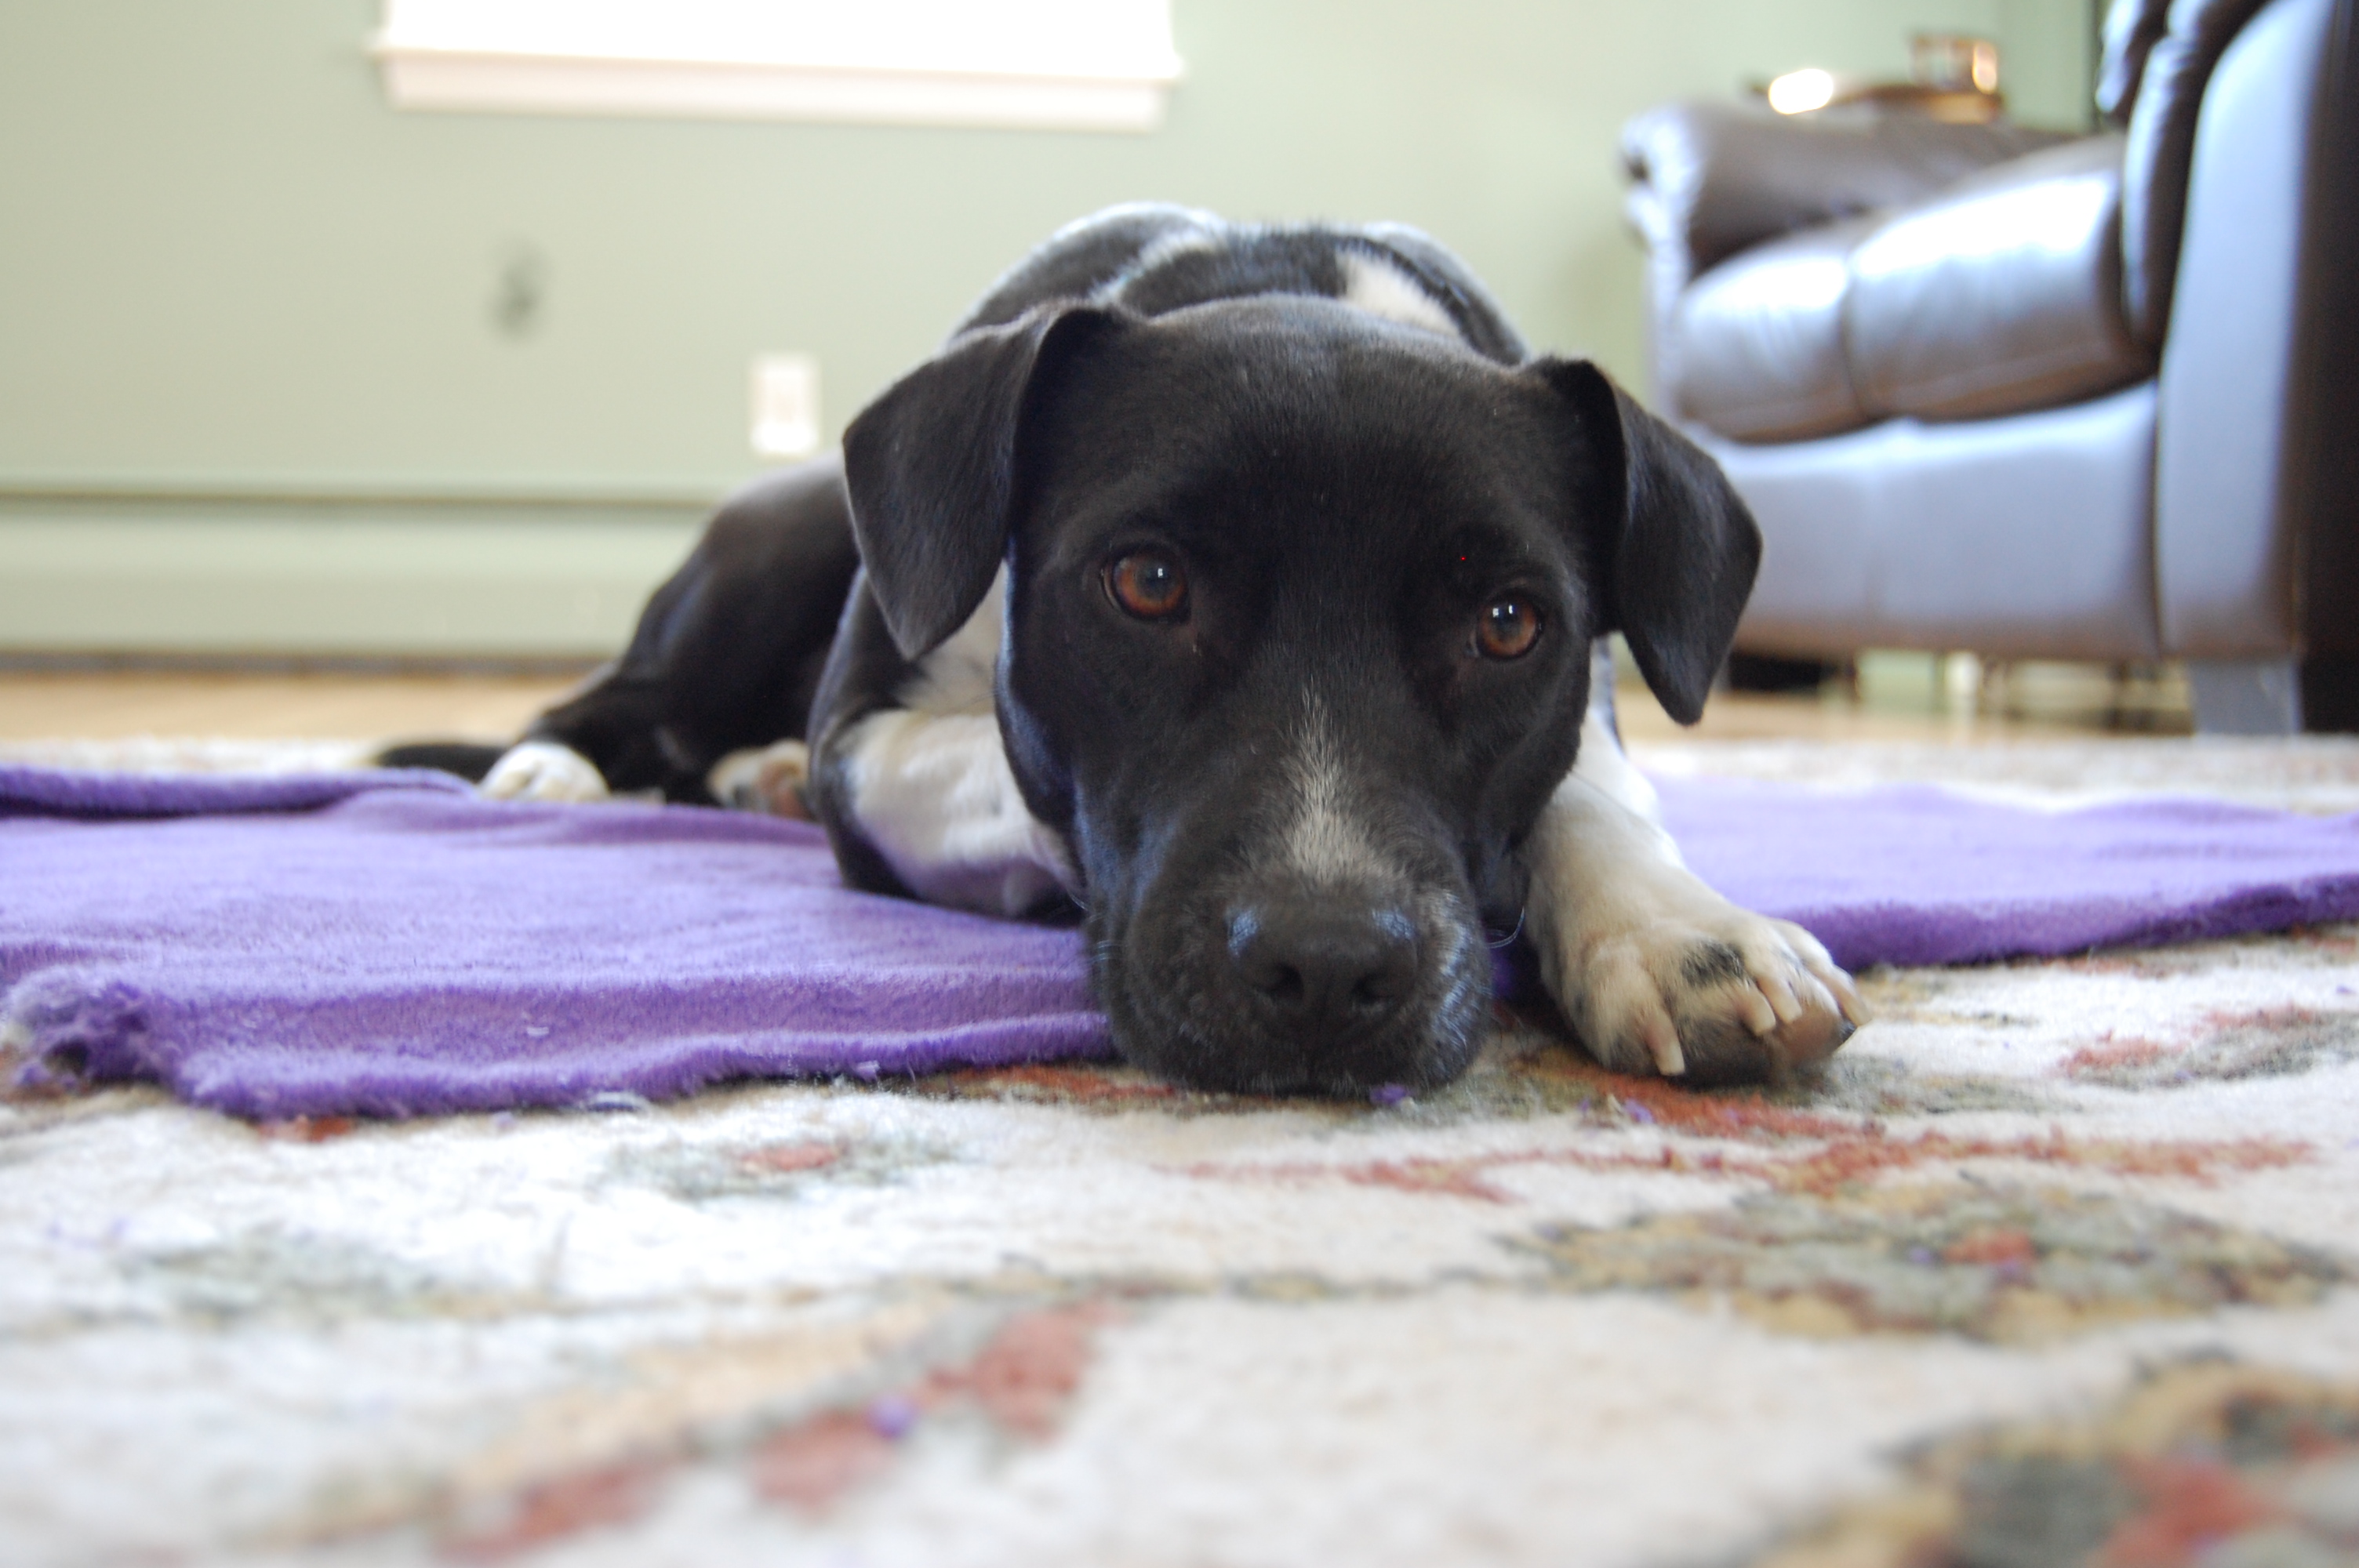
Without invitation, it’s resident assumed occupancy.
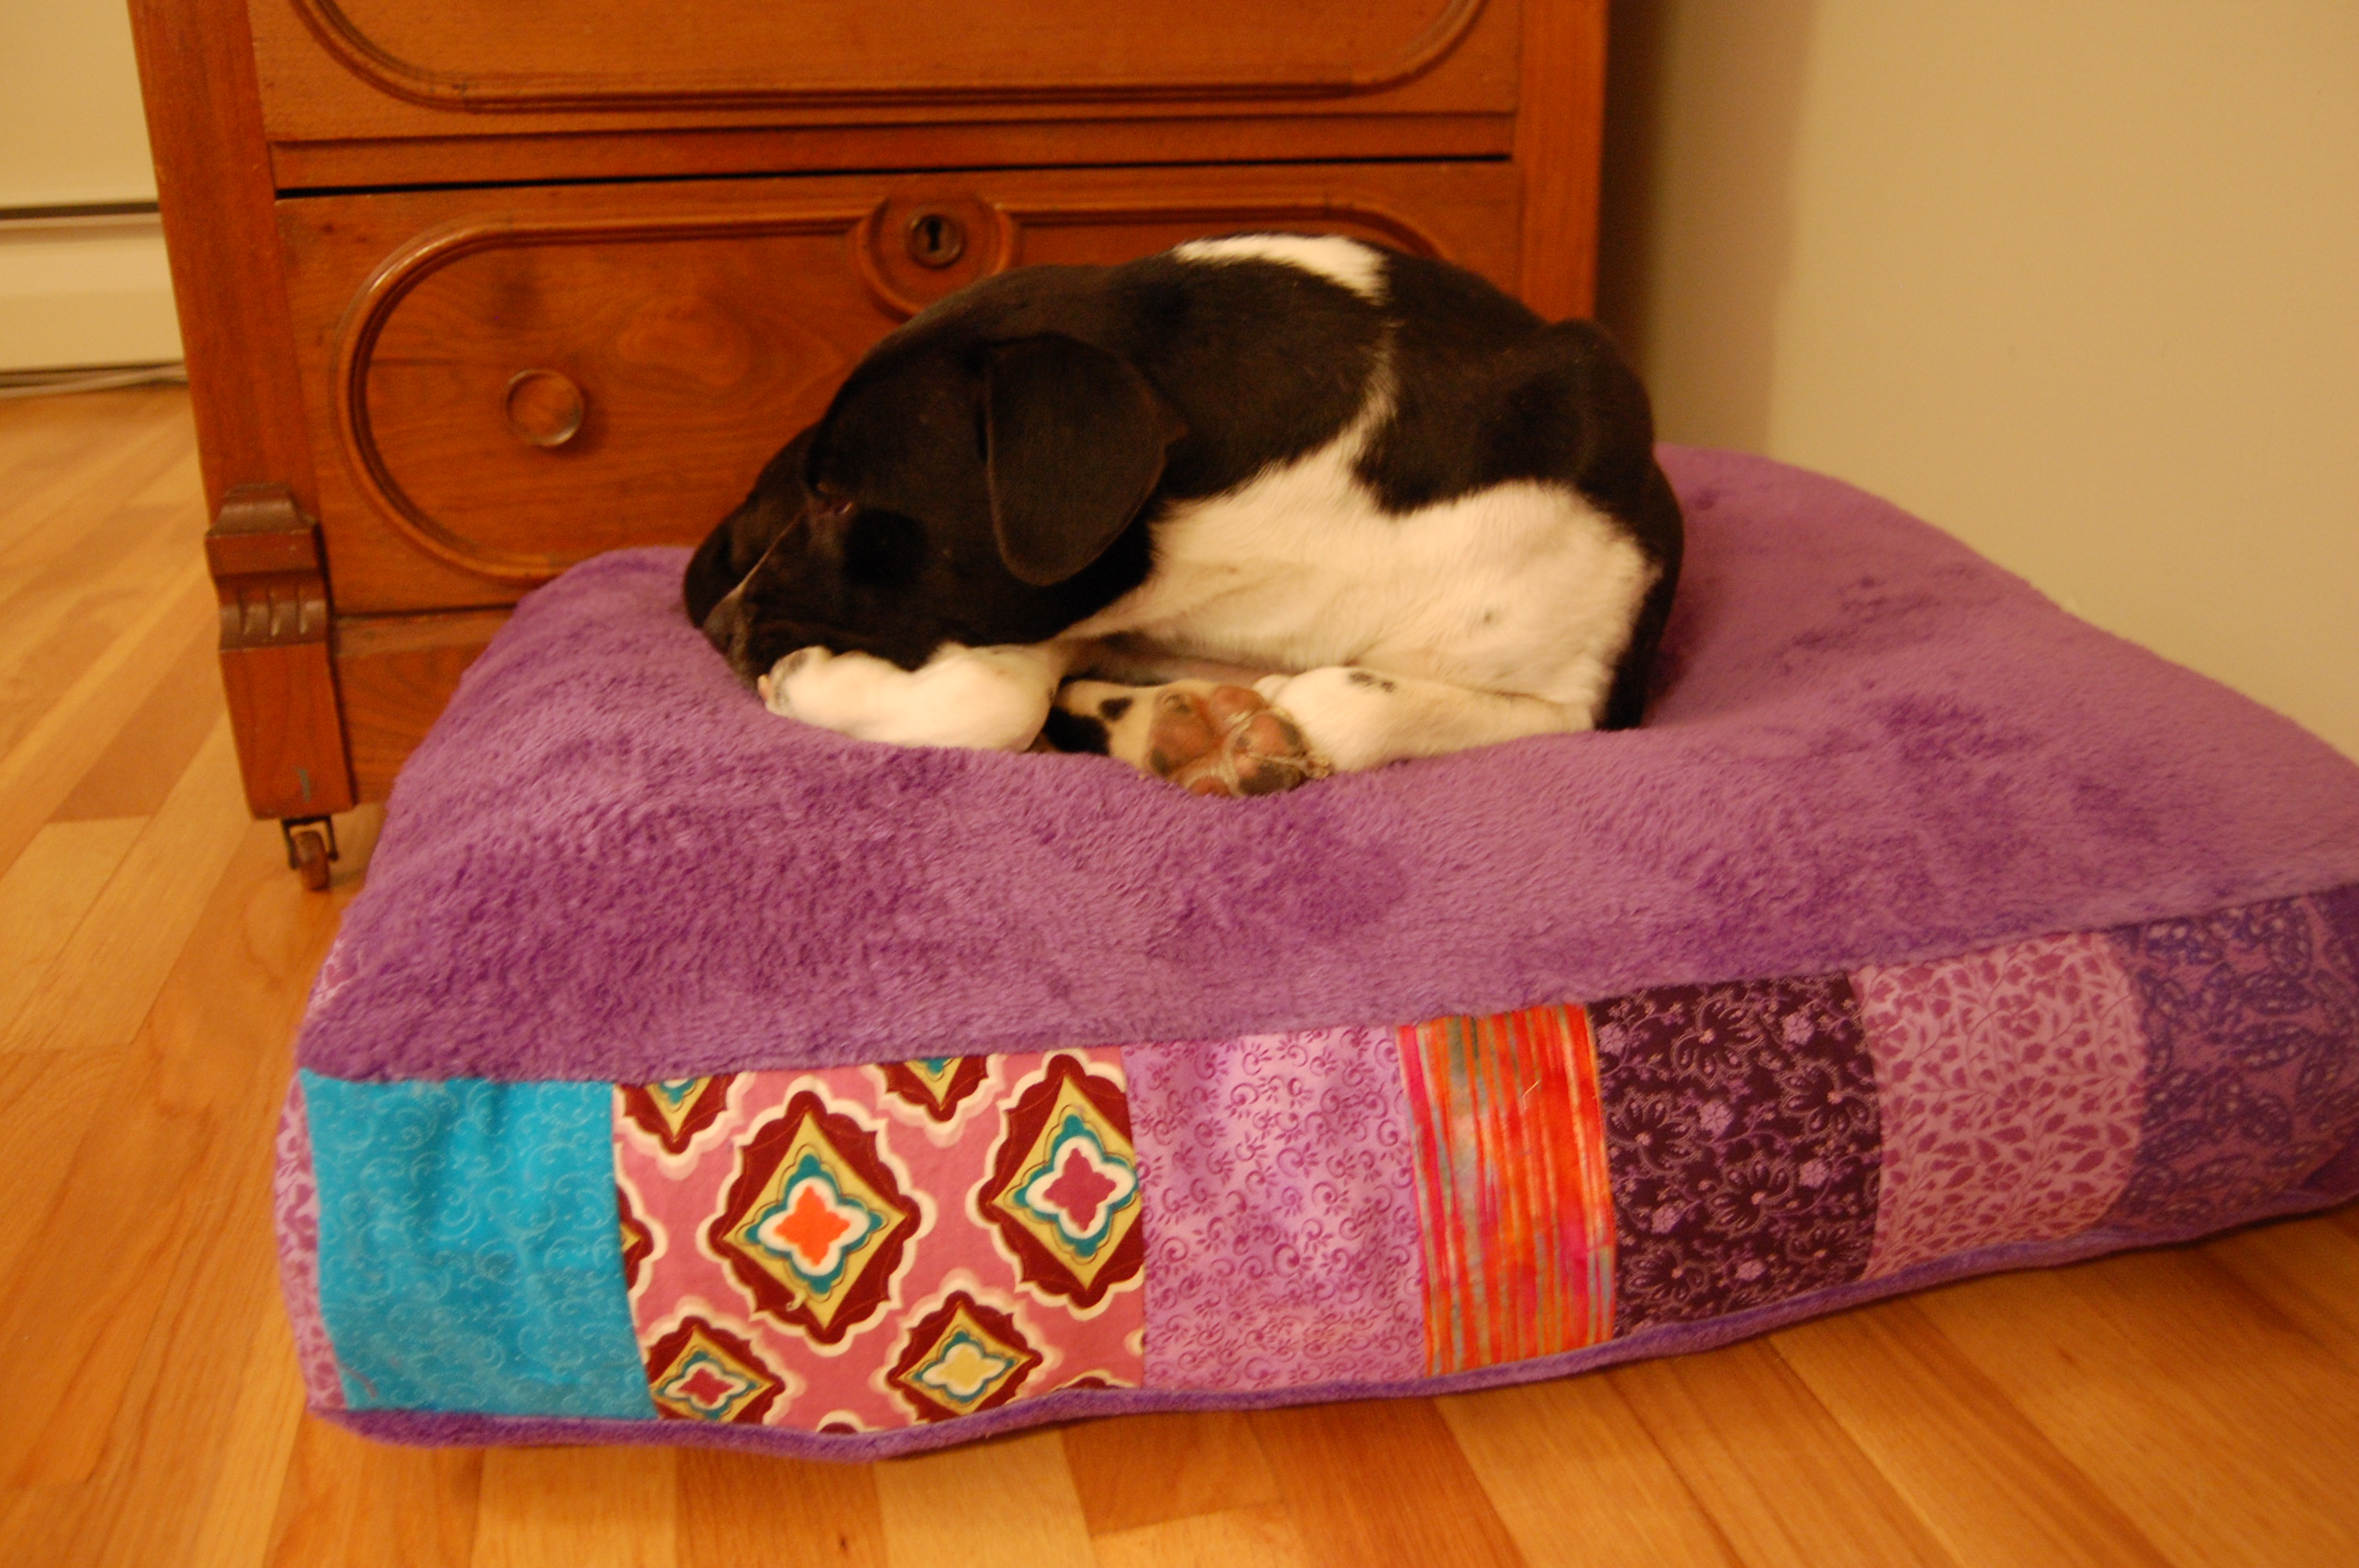
Rosie is happy with it. It was fun for my girl and I to work on part of the project together. Even though it’s purple, my husband likes the look of it much better than a pile of blankets in the corner of our bedroom. And I got to use some of the fabric stash. Happy day.


January 28, 2013 at 1:23 am
I know two nephew- pups who would really enjoy this awesome bed! Great job and lucky Rosie!
Pingback: Sweet Little Things . Week 4 - this little light
February 1, 2013 at 11:45 pm
This is precious!
Pingback: Another Dog Bed | Two Clever Moms
Pingback: Box Cushion Staycation | Two Clever MomsTwo Clever Moms